How to Add Cookie Banner in Matomo
To Connect Matomo and CookieYes

Note:
To get the cookie banner installation code, refer to our guide.
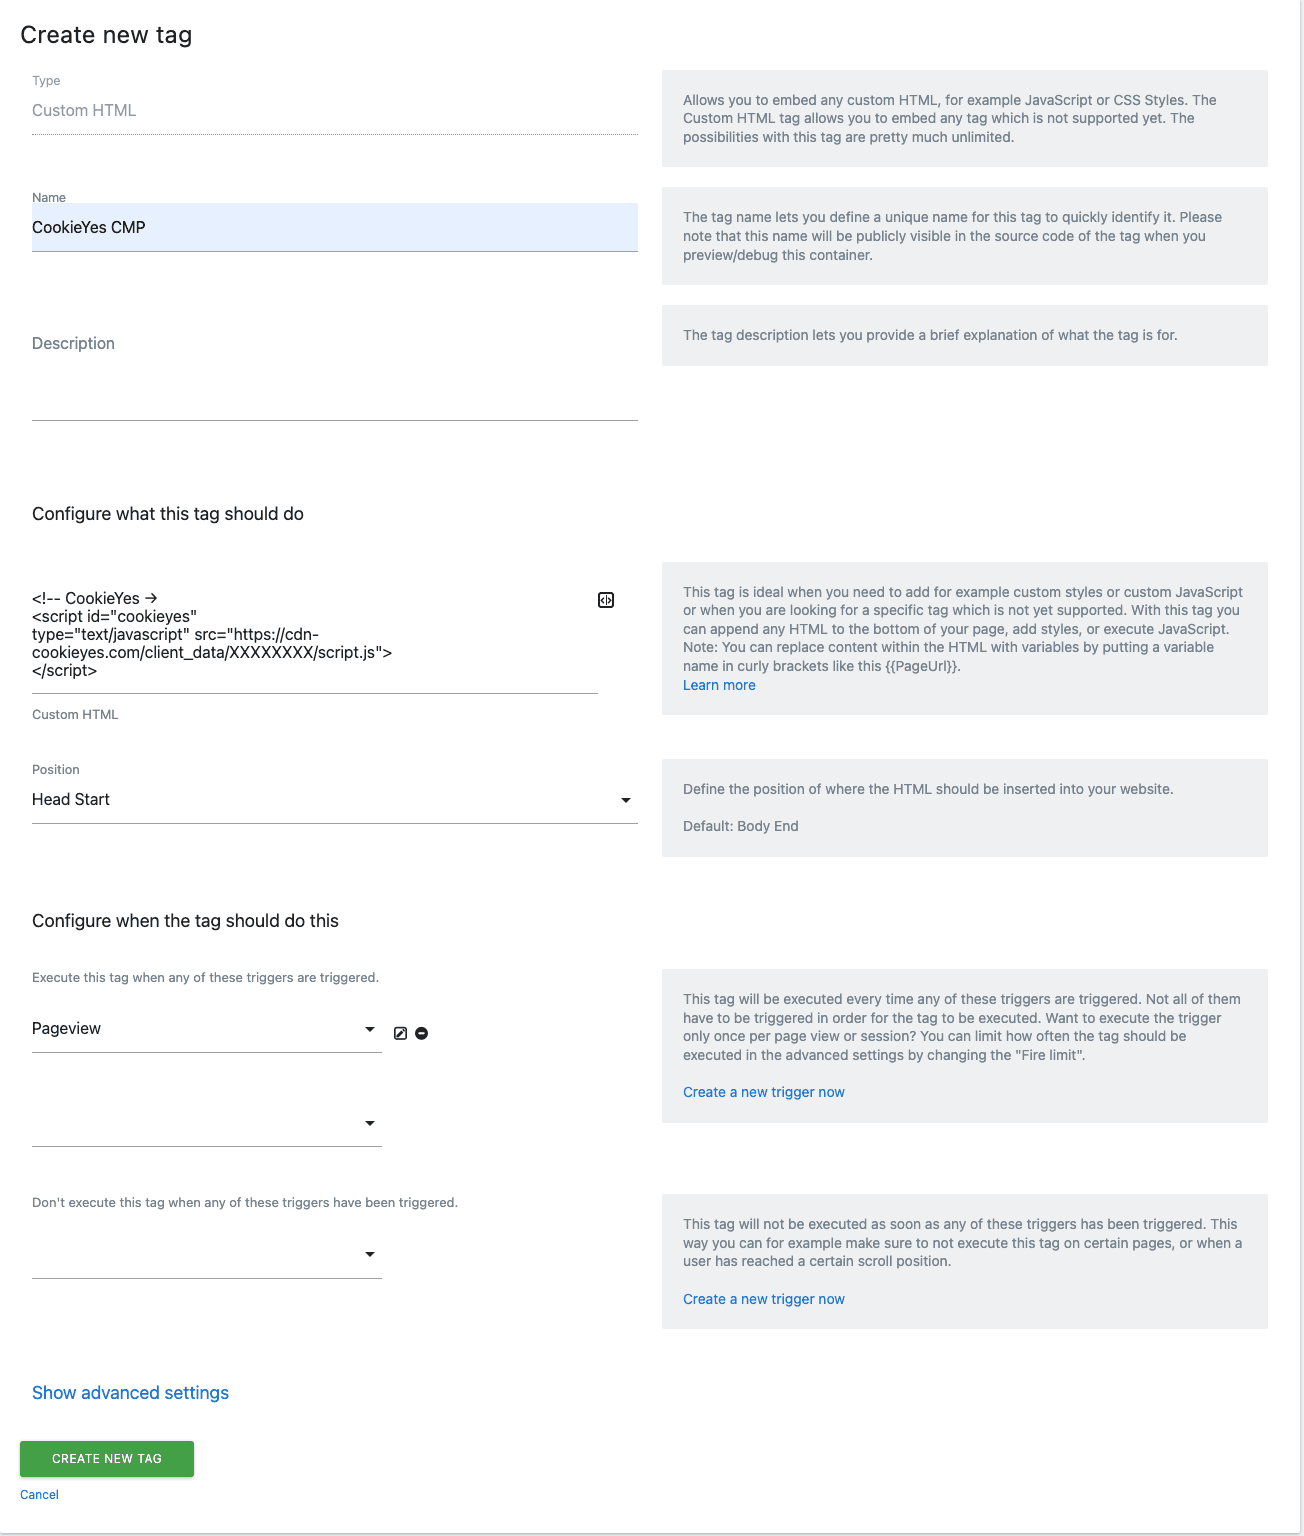
Note:
Make sure you’ve added the Matomo Tag Manager script inside the head tag immediately after opening of the <head> tag of your website.
To Block Tags Before Cookie Consent
<script>
  document.addEventListener("cookieyes_consent_update", function (eventData)
 {
   const data = eventData.detail;
   if (data.accepted.includes("analytics")) {
     _mtm.push({"event": "analytics-yes"});
    }
  });
  </script>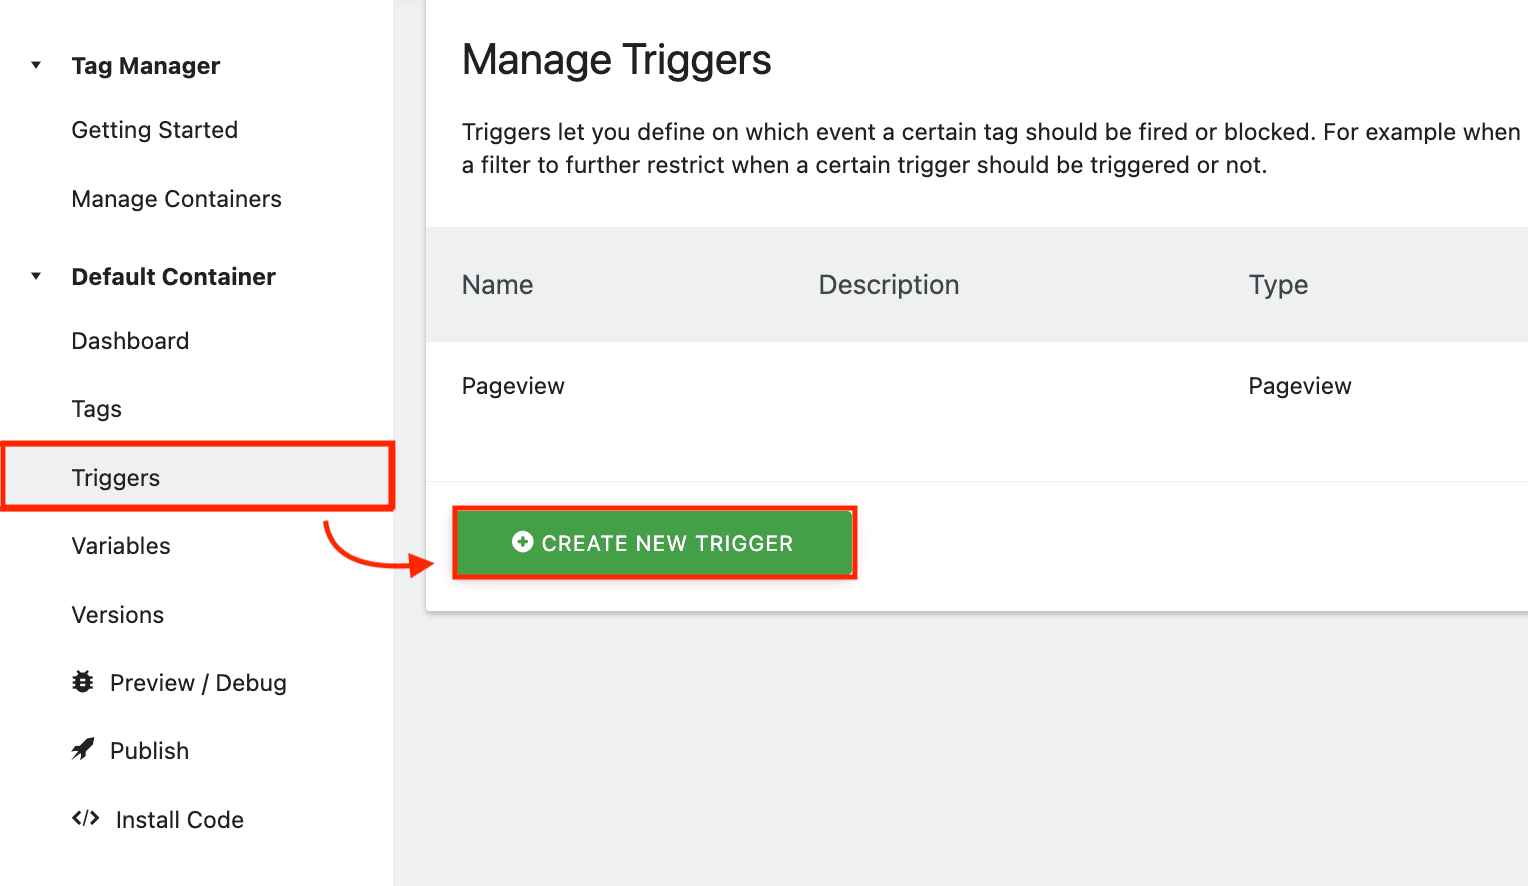
Note:
Once you’ve added a tag or trigger, ensure to publish a new version to apply your changes.
Still have questions or facing issues? Contact technical support