How to Add a “Do Not Sell” Banner for US State Laws on Your Website
Last updated on October 16, 2025
On this page
How to add "Do Not Sell" banner
Step 1. From your Dashboard's top navigation panel, select Cookie Banner. Then select General from the left panel.
Step 2. Tap on Consent Template. Select US State Laws template for your website.
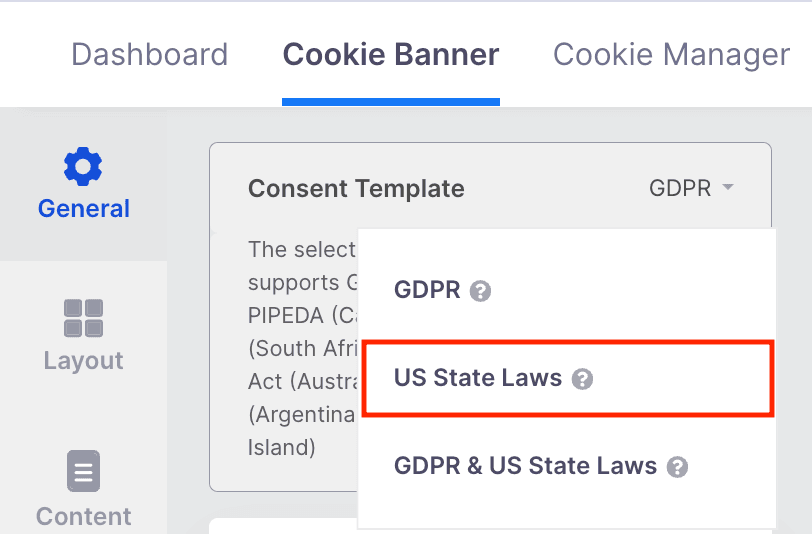
Note: You can select the GDPR & US State Laws template if you want to display both the GDPR cookie banner and the US State Laws 'Do not sell' banner to your visitors. (Available on Pro and Ultimate plans).
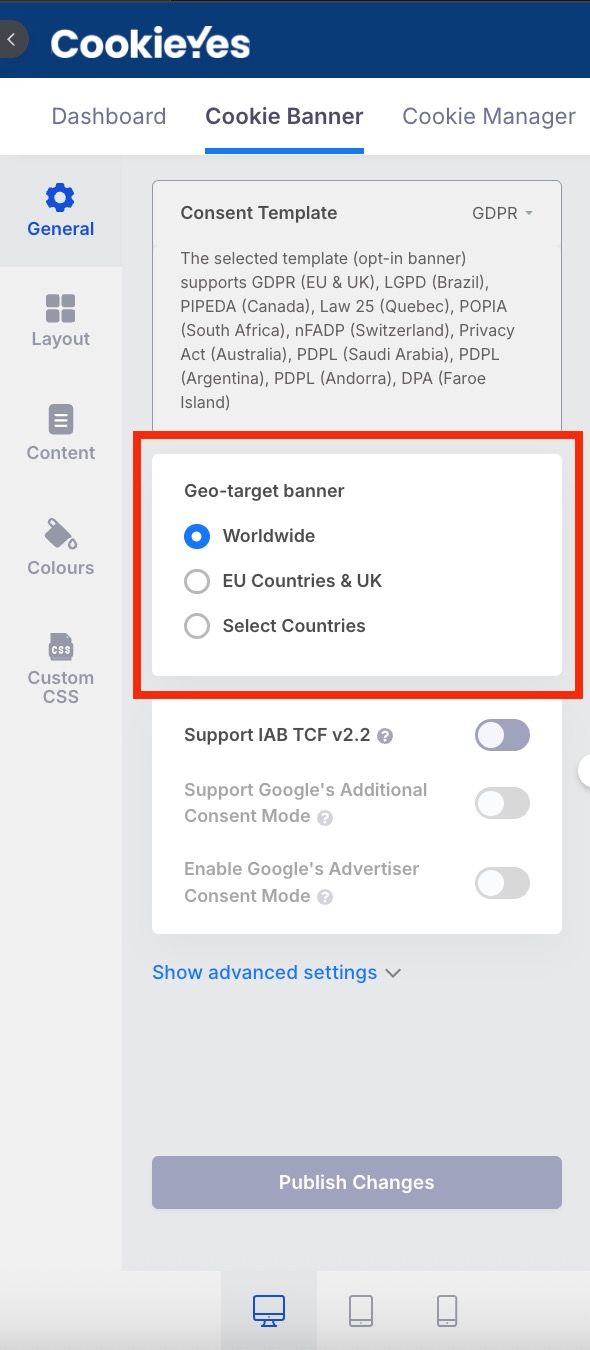
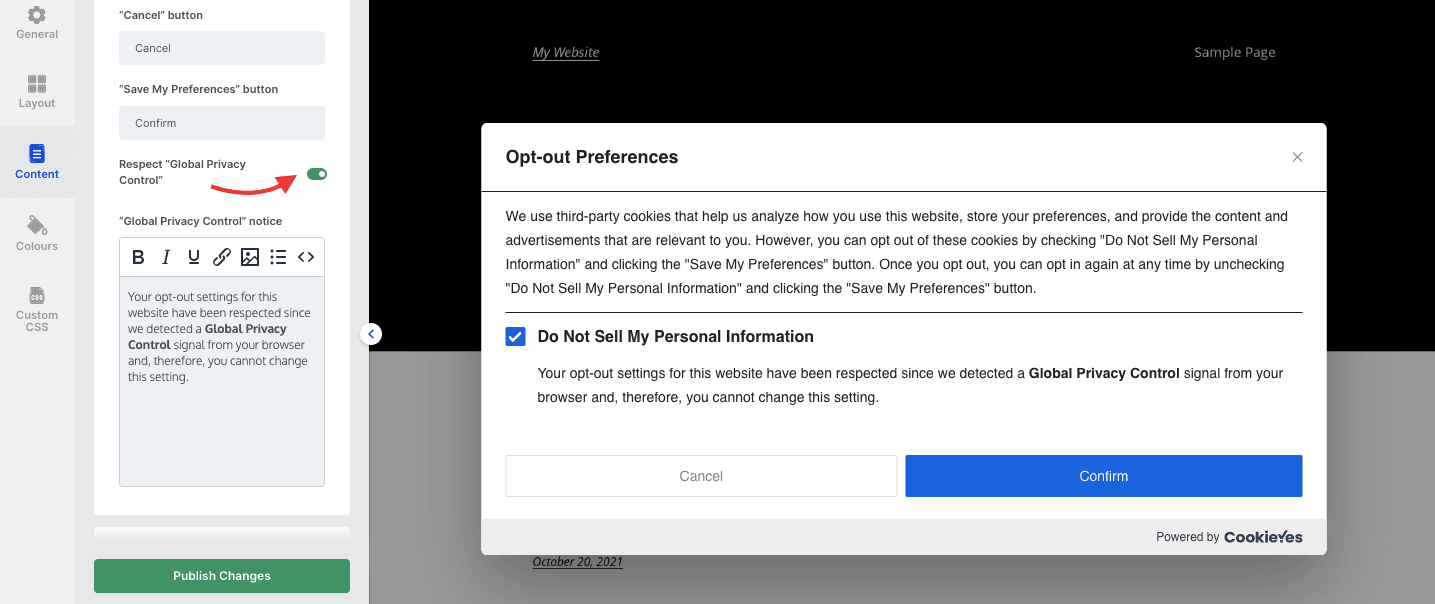
'Do Not Sell' Link in Footer
You can include a "Do Not Sell My Personal Information" link in your website footer, as required by US State Laws. From the General tab, scroll to “Do Not Sell” link, copy the code and add it to your website footer.
Step 5. Block cookies when visitors opt out of the sale or sharing of personal data
To ensure that your website blocks cookies for users who opt out of the sale or sharing of personal data:
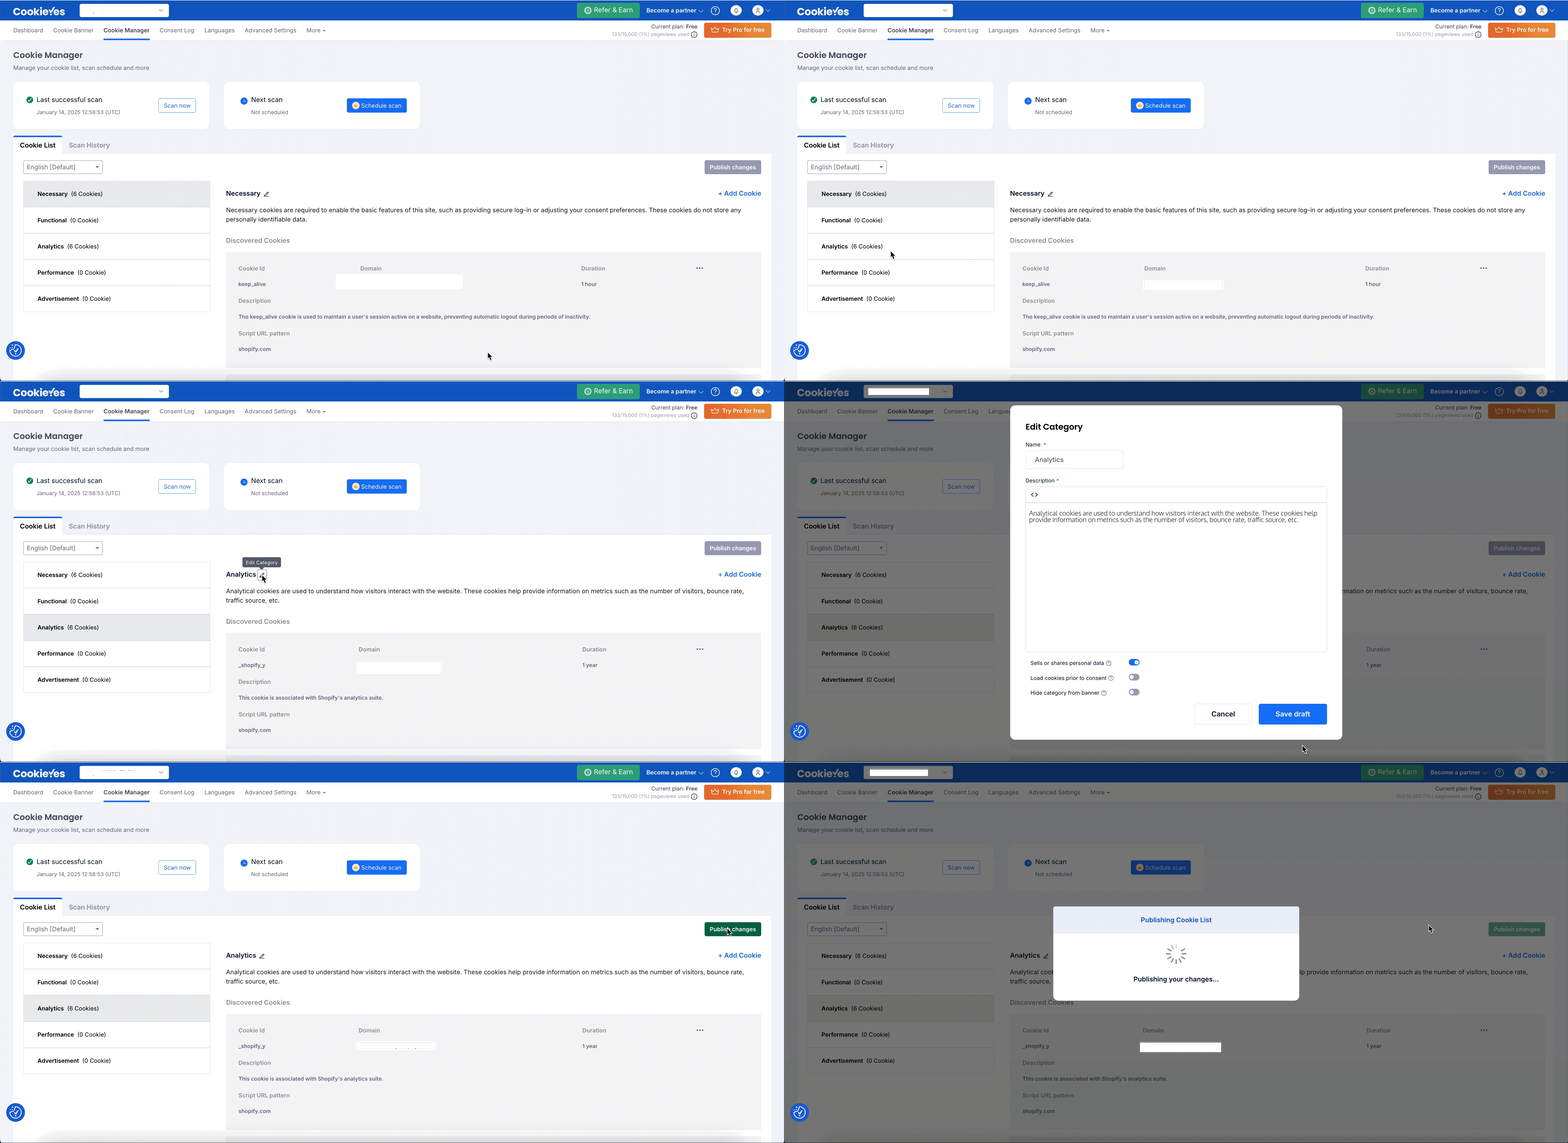
By default, the Sell or Share personal data option should be enabled. However, if you have disabled it at any point, follow these steps to turn it back on:
- Go to Cookie Manager > Cookie List.
- Select the relevant cookie category and click Edit Category.
- Enable the toggle Sell or Share personal data for that category.
- Click Save Draft, and then click Publish Changes to apply your updates.
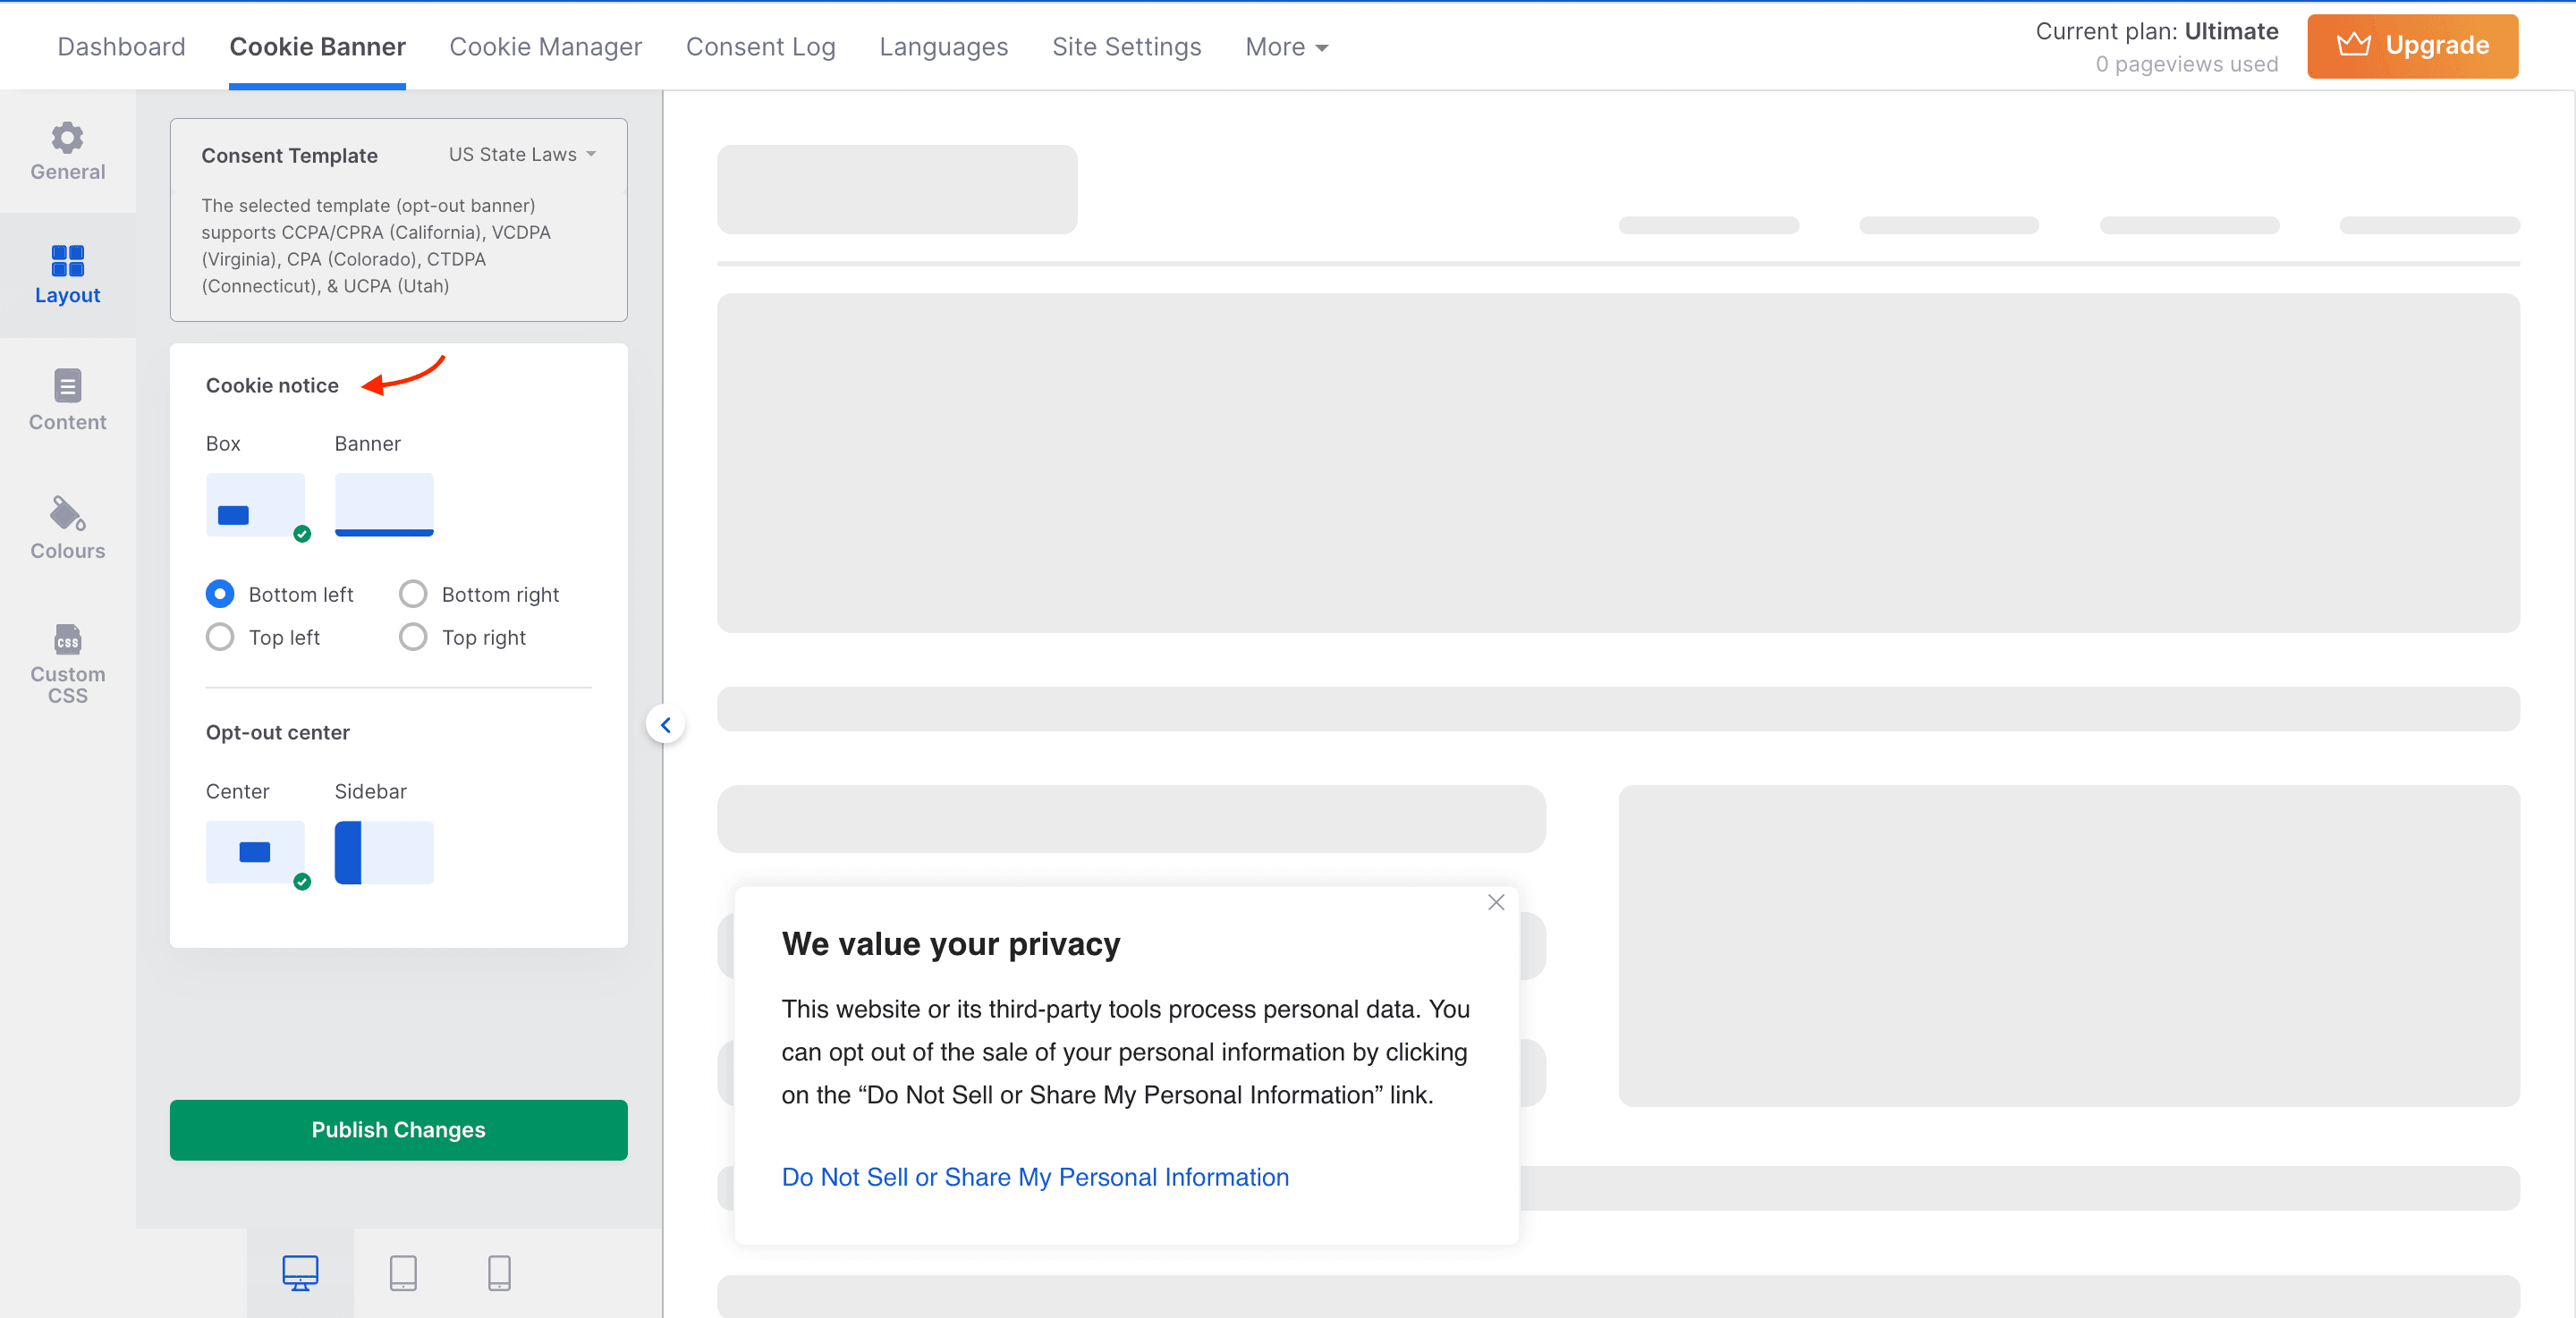
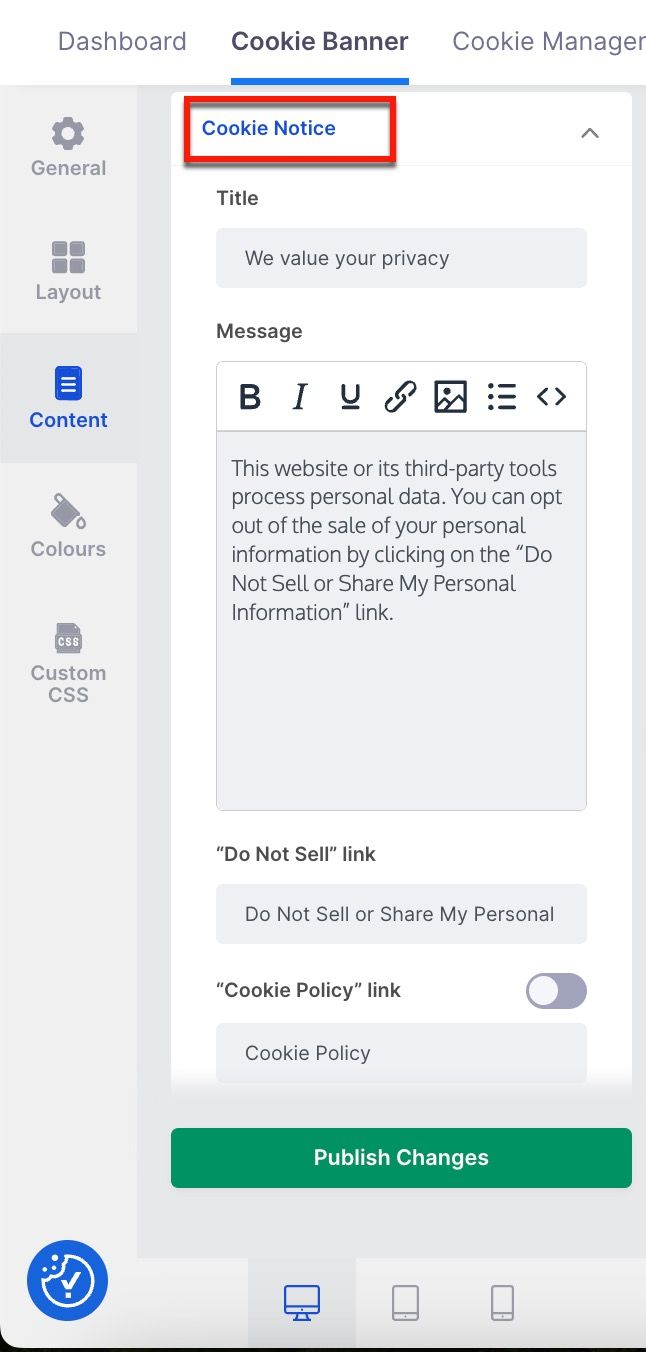
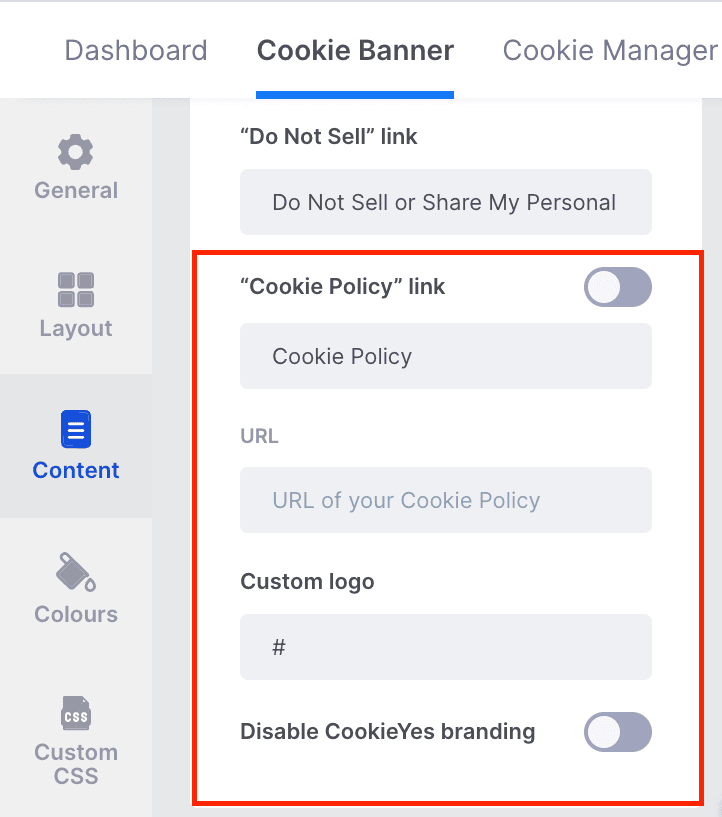
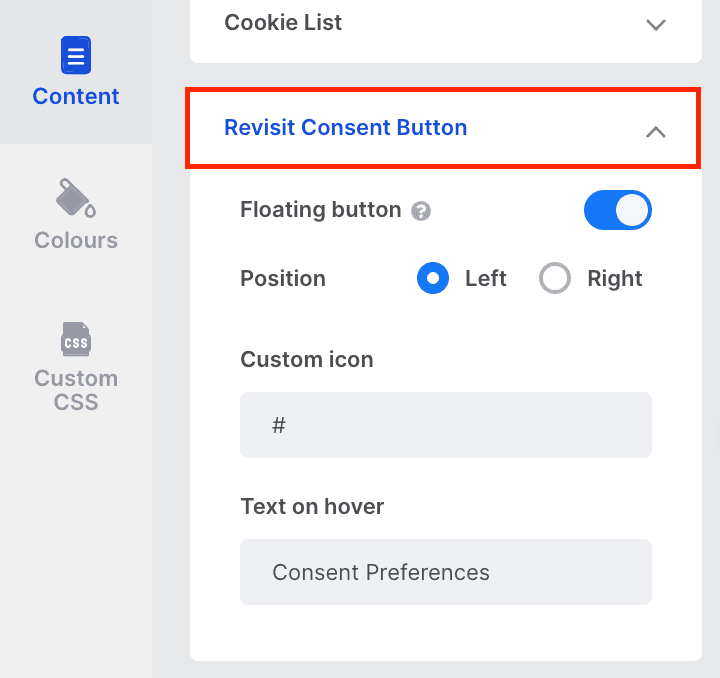
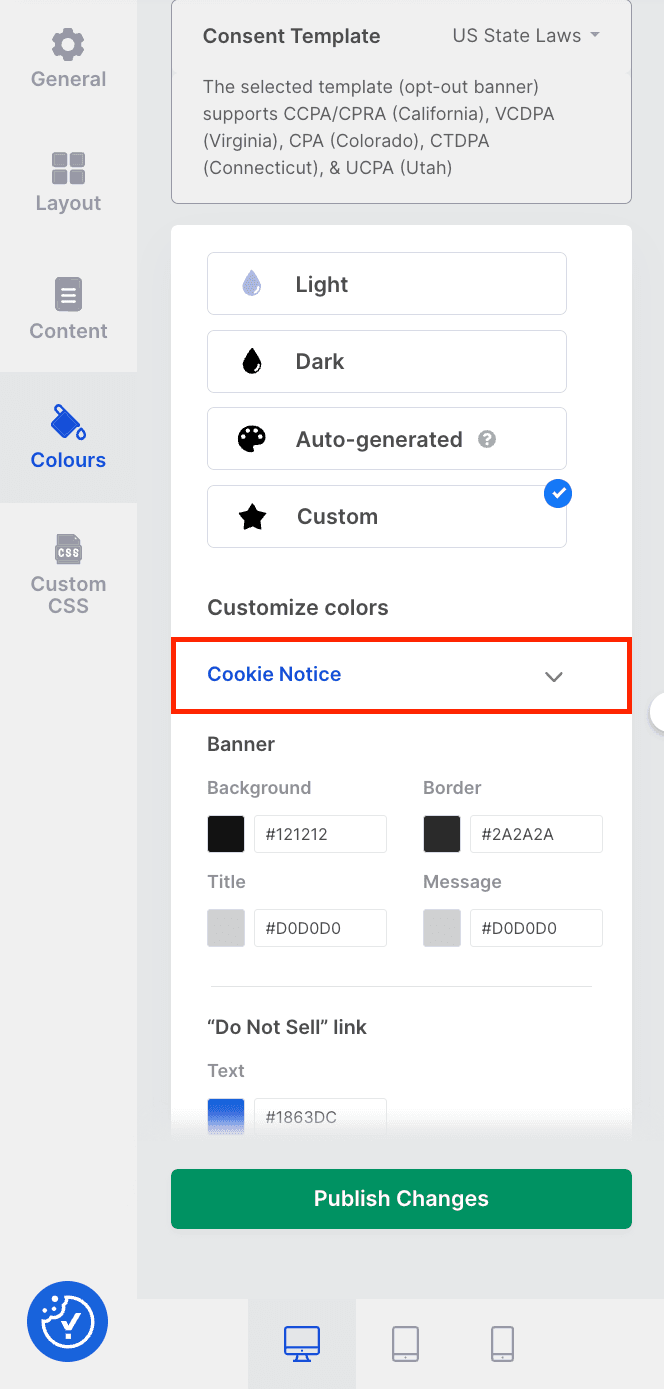
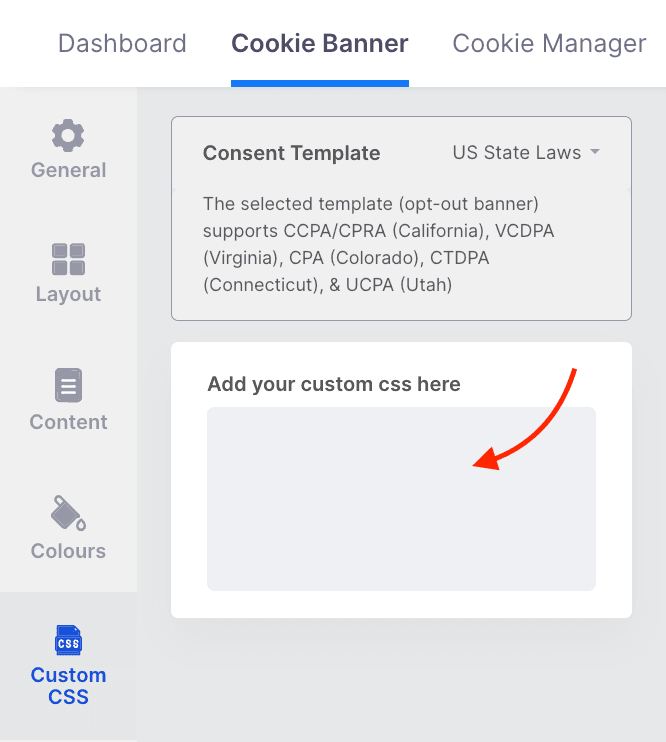
Step 6. You can further customize the US State Laws banner as per your liking. Below, find the step-by-step instructions on how to customize the layout, content, colour and add custom CSS.
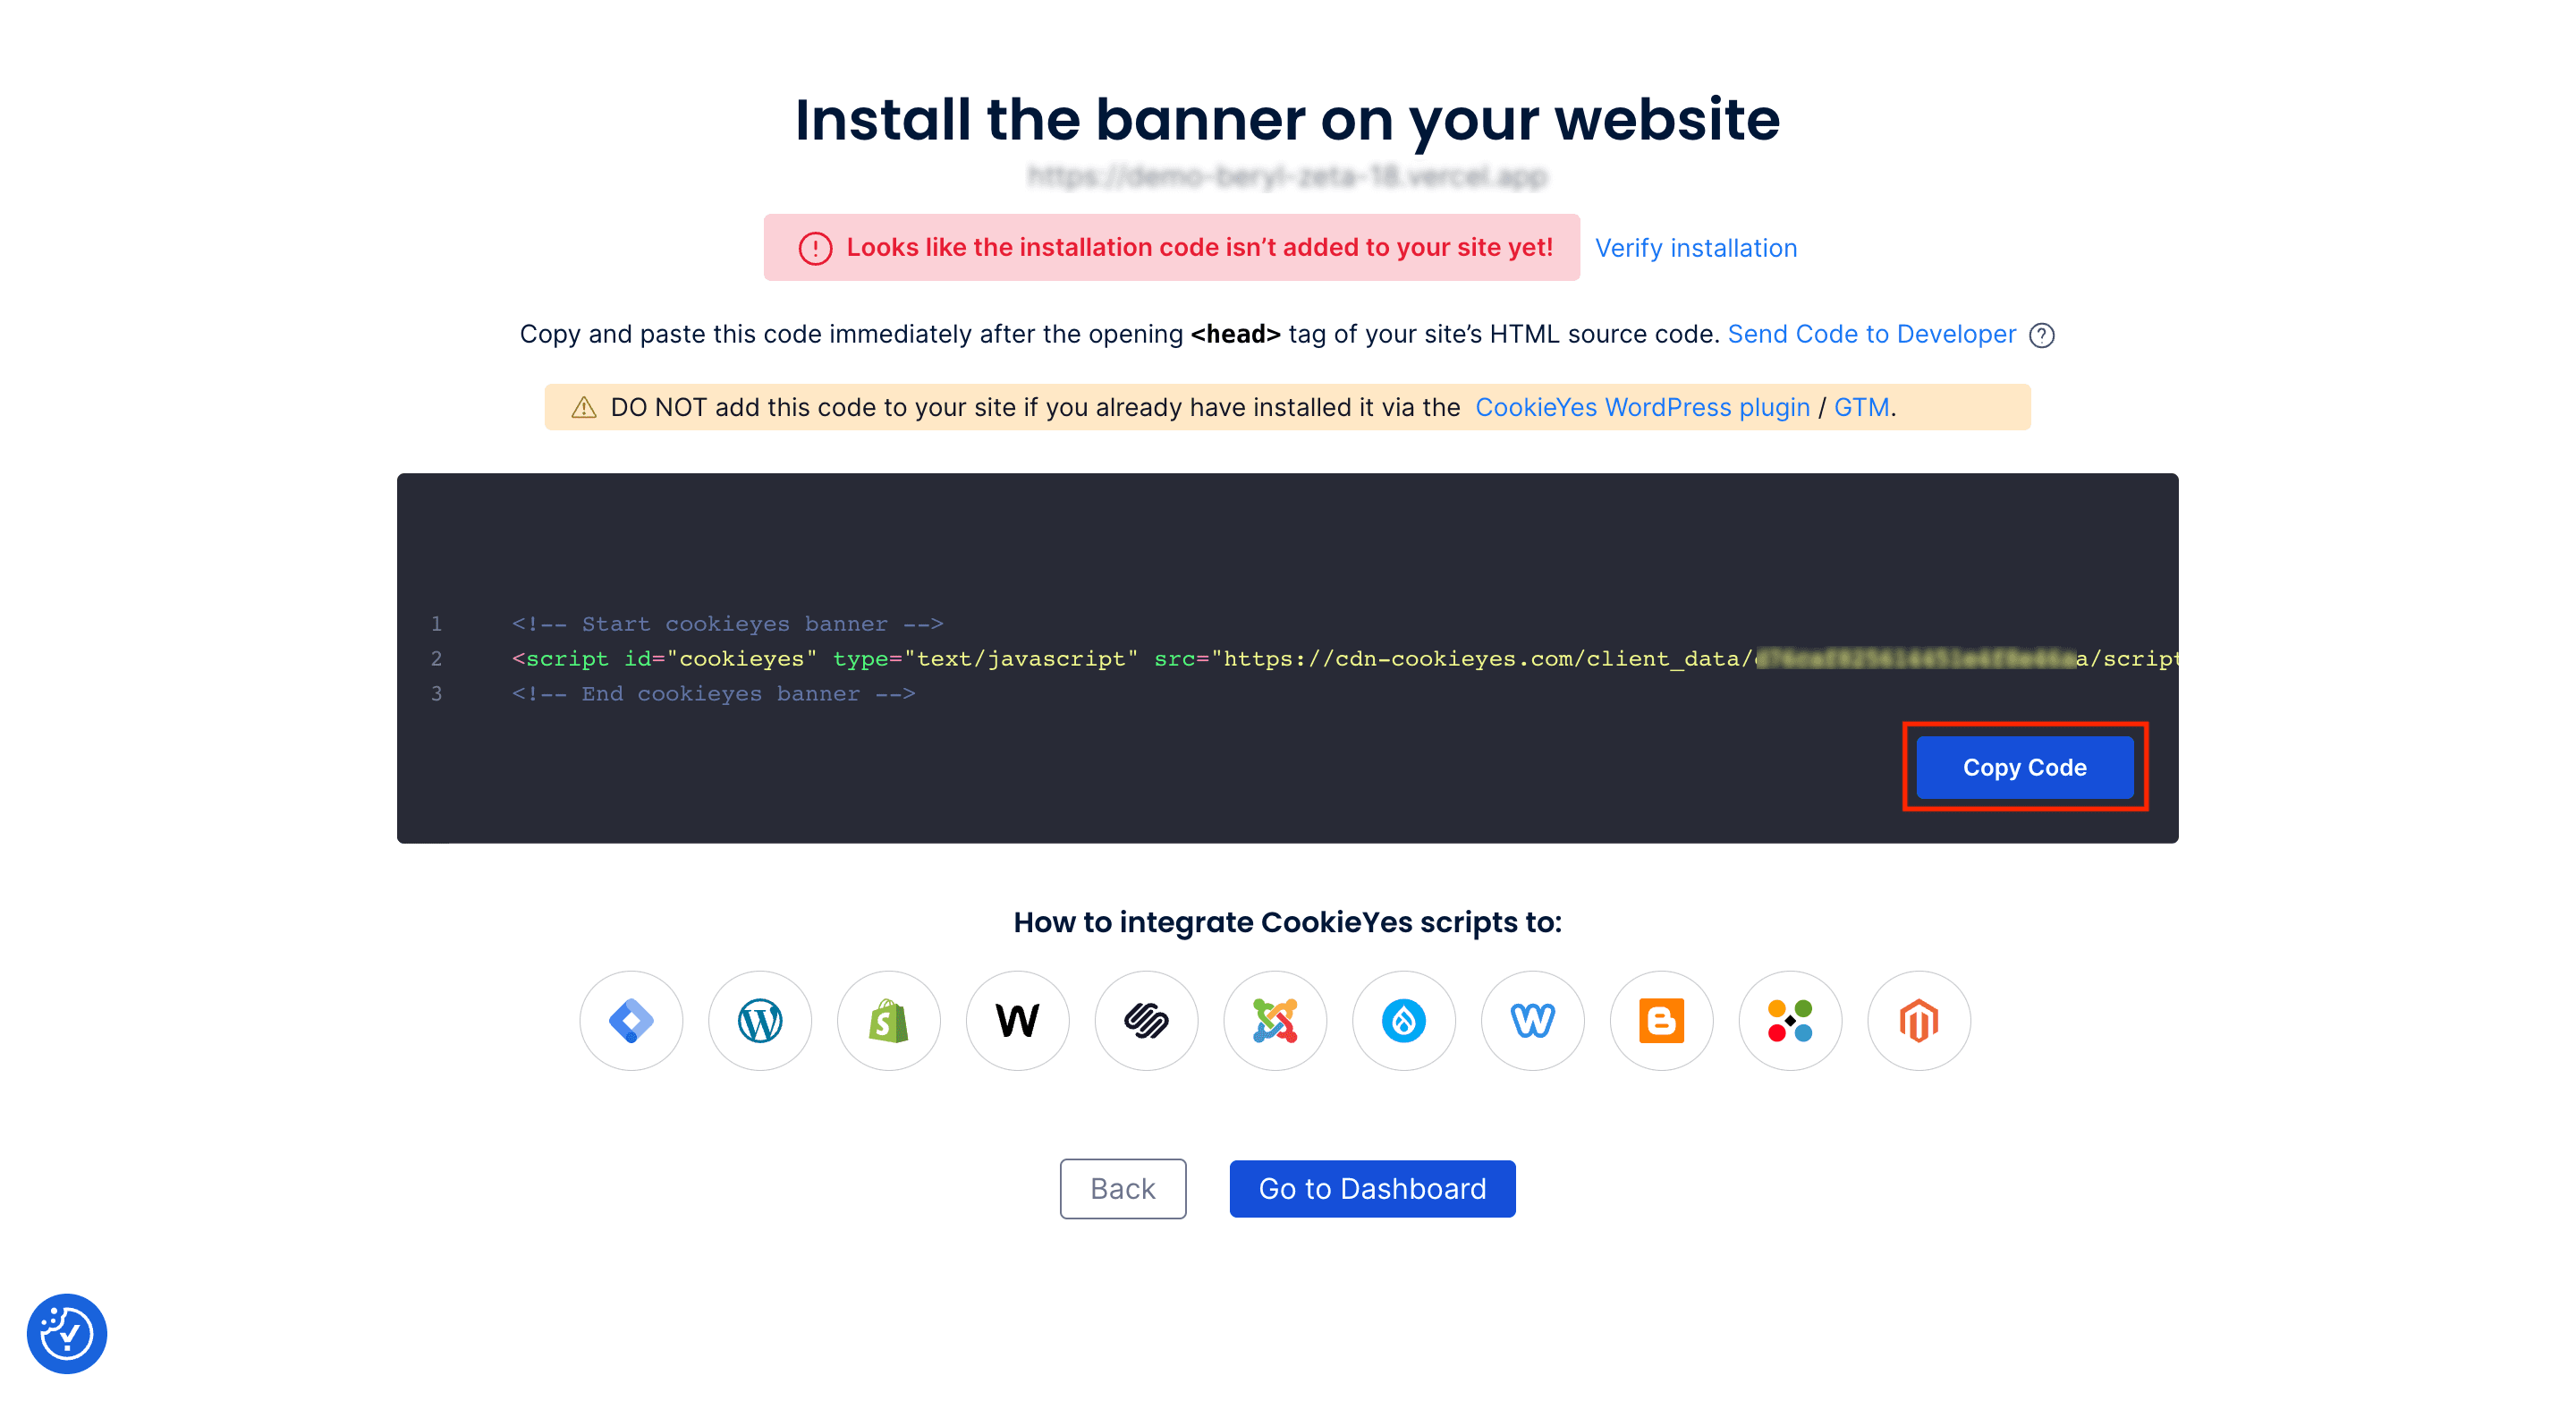
Tip: You can share the code with a developer or your team by clicking on Send code to Developer link. Enter the email address and then click on Send Instructions. The recipient will get the code and instructions via email.























Note: Don’t see your CMS in the list?
CookieYes can work on all major CMS platforms and custom-coded sites. If you need help installing the code on your website, please get in touch with technical support.