Required plan
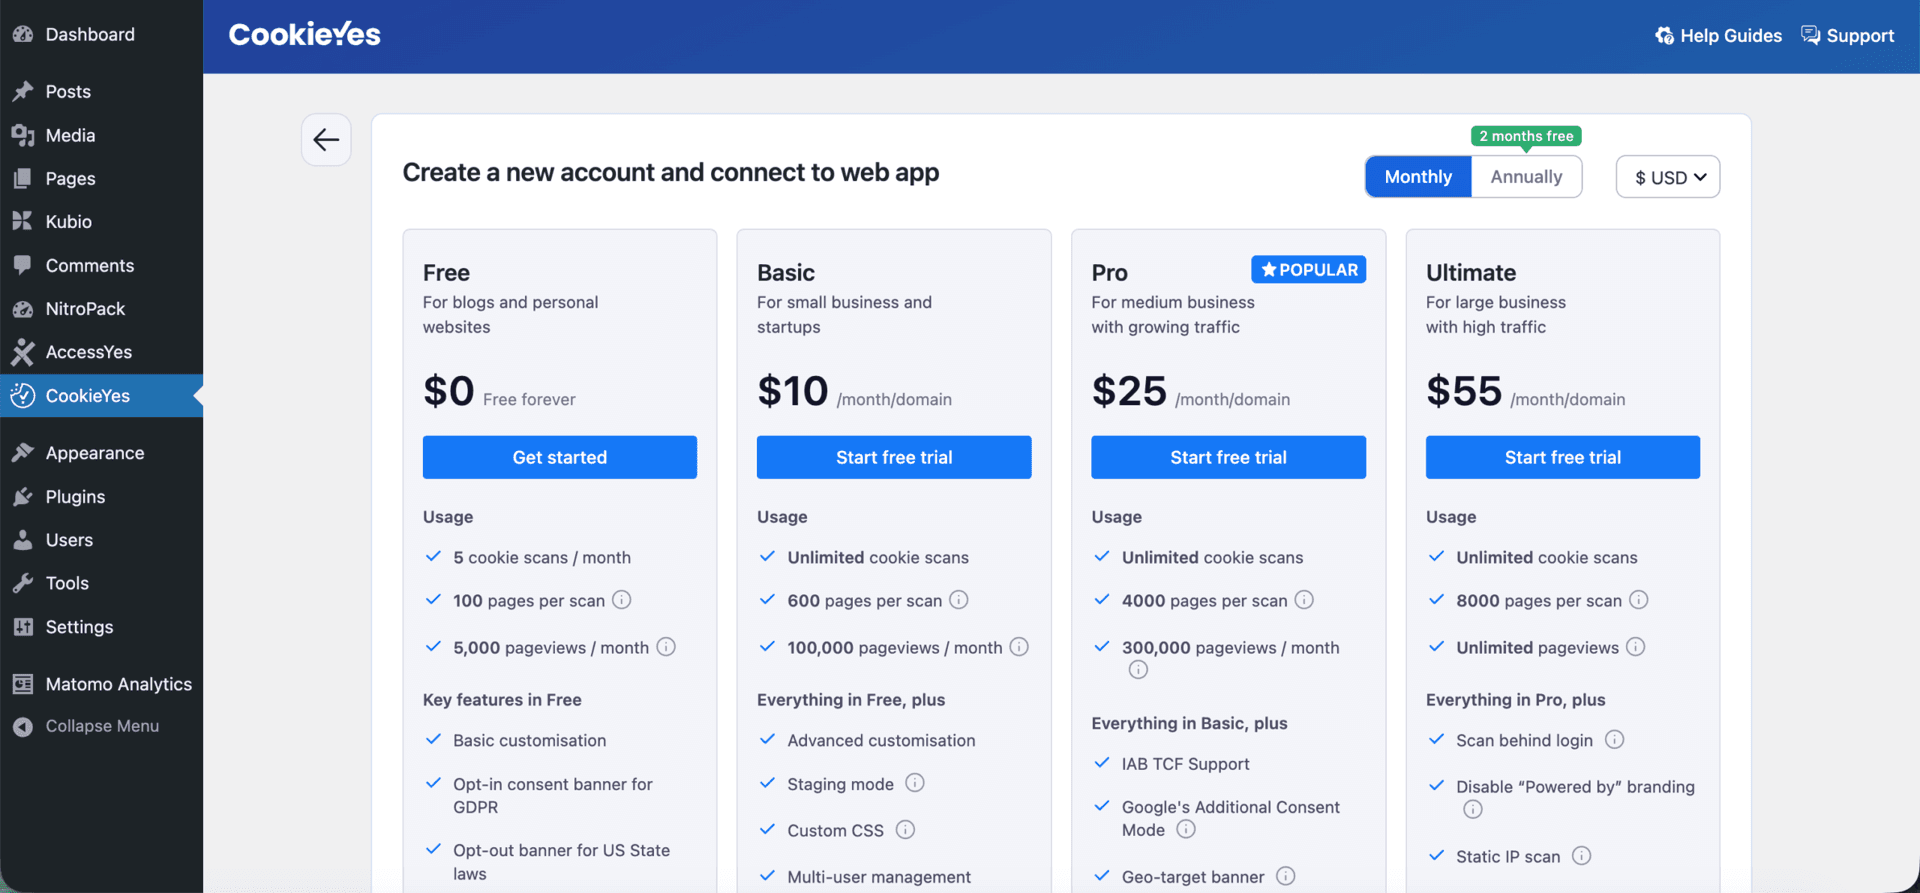
The terms and conditions generator is available on the Basic, Pro, and Ultimate plans. If you are on the Free plan, upgrade your plan to start using it.
This guide explains how to generate a terms and conditions page in CookieYes and add it to your WordPress website. Terms and conditions set out the rules governing how visitors use your website and the services offered through it, covering areas such as pricing, liability, and dispute resolution.
Prerequisites
Generate terms and conditions in CookieYes
Step 1: Access the terms and conditions generator
You can access the terms and conditions generator in two ways — either from your WordPress site (via the CookieYes plugin) or directly from the CookieYes web app.
Option 1: From the CookieYes web app
- Log in to your CookieYes account.
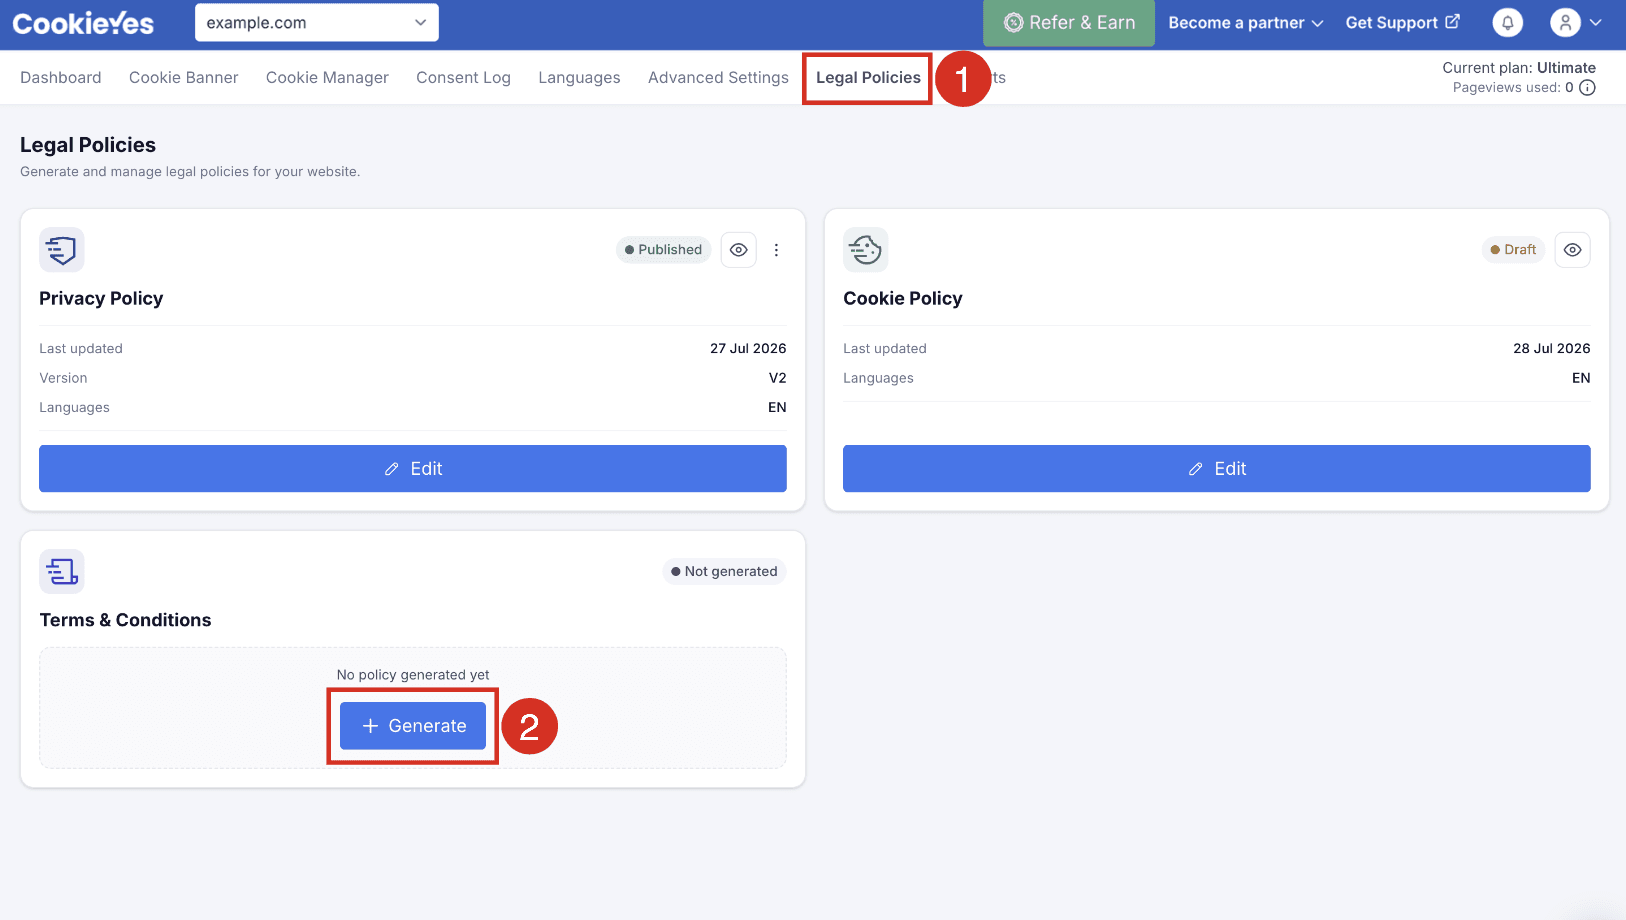
- From the top navigation bar, select Legal Policies.
- From the Terms & Conditions section, click + Generate.
Option 2: From the CookieYes plugin in WordPress
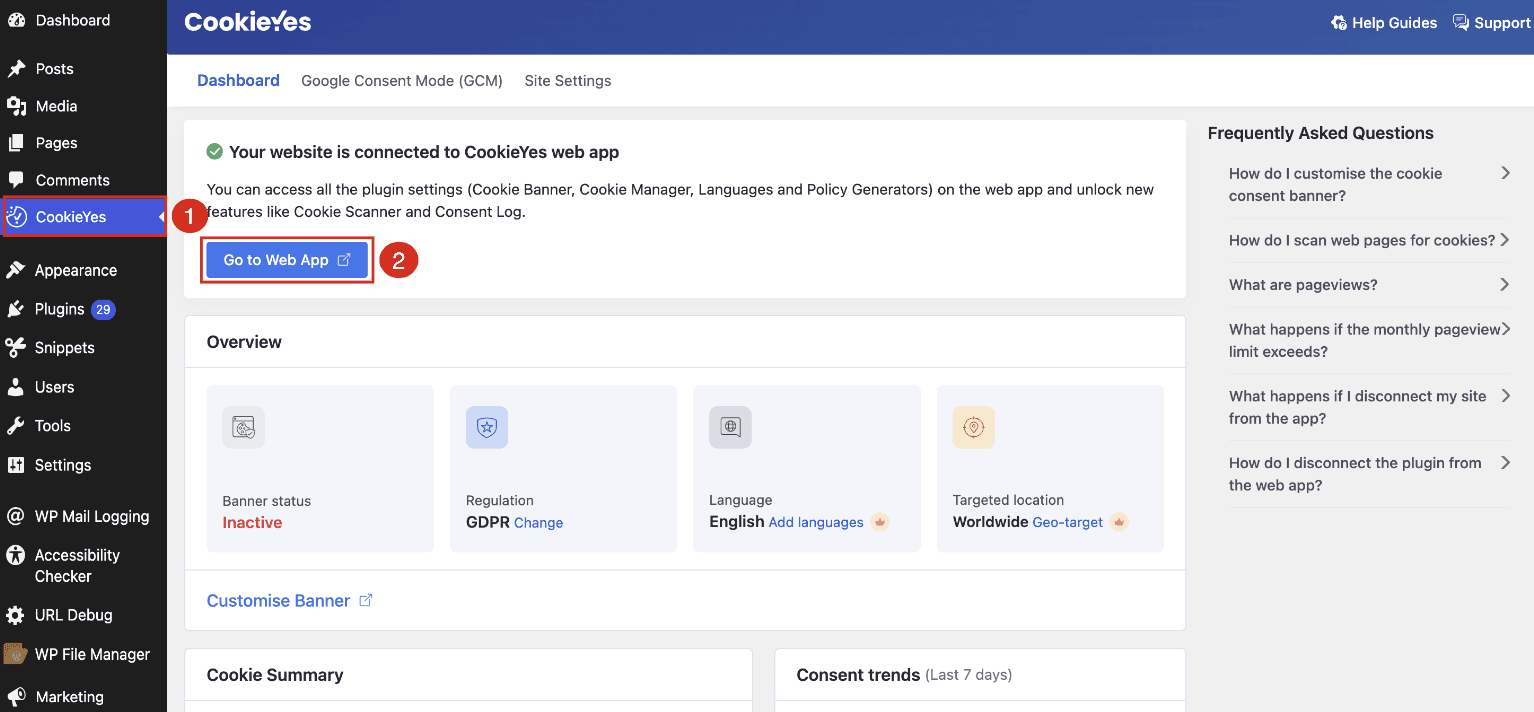
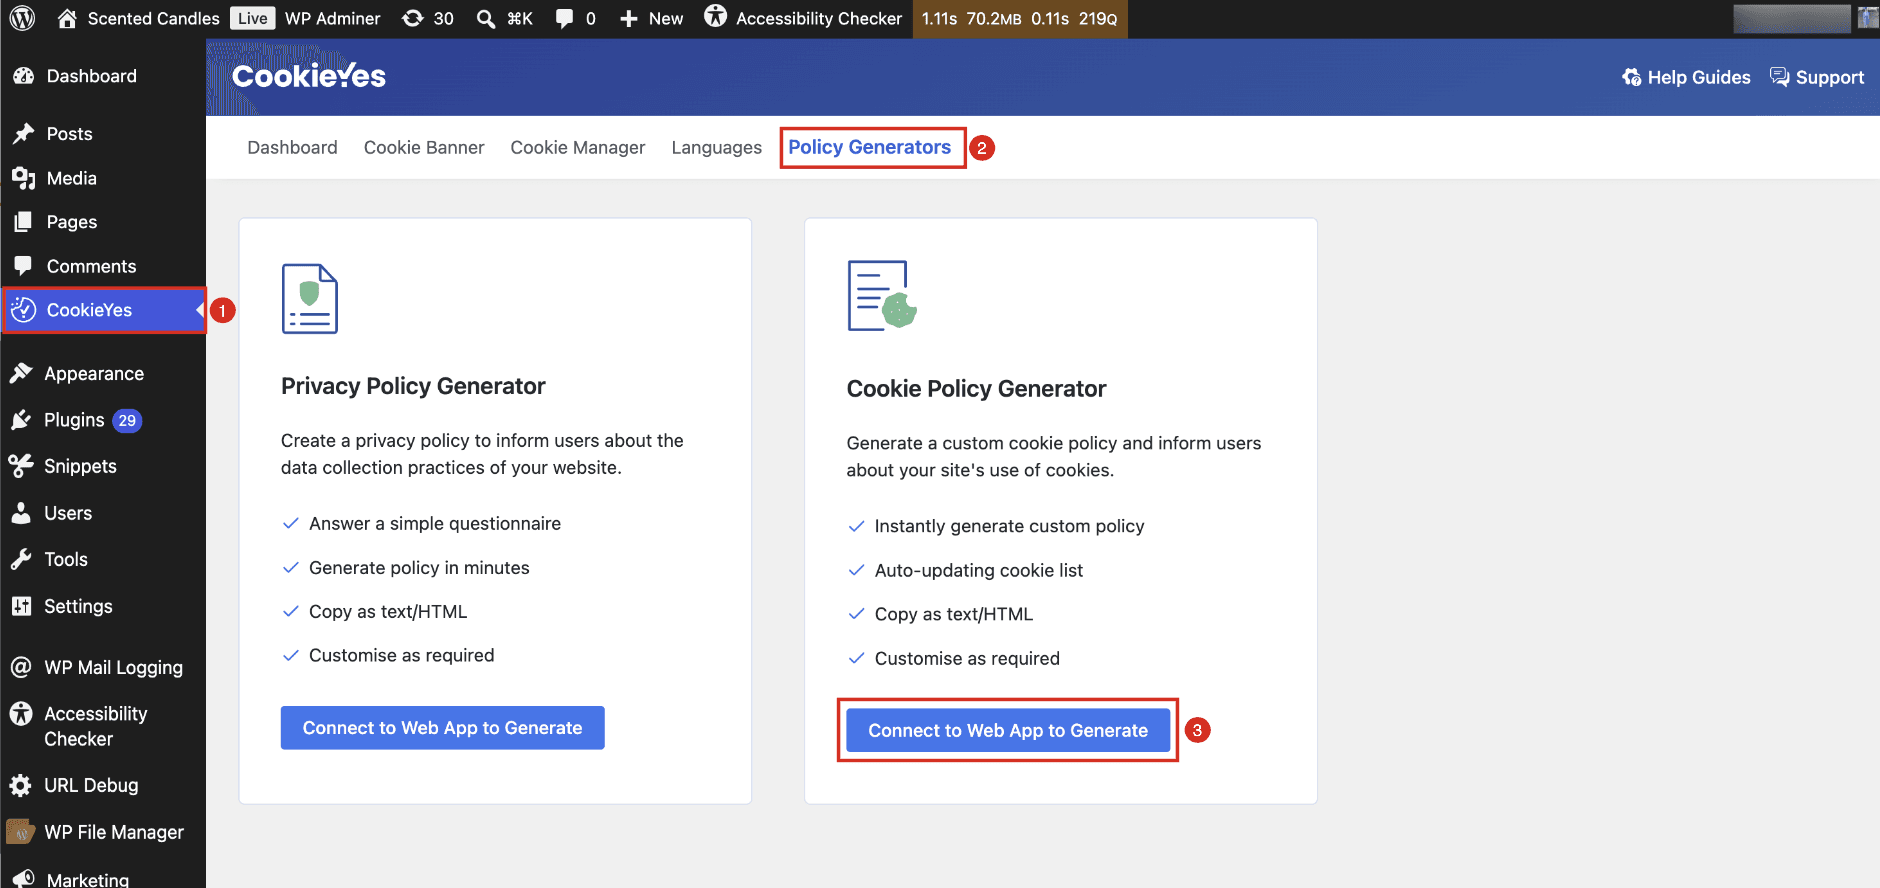
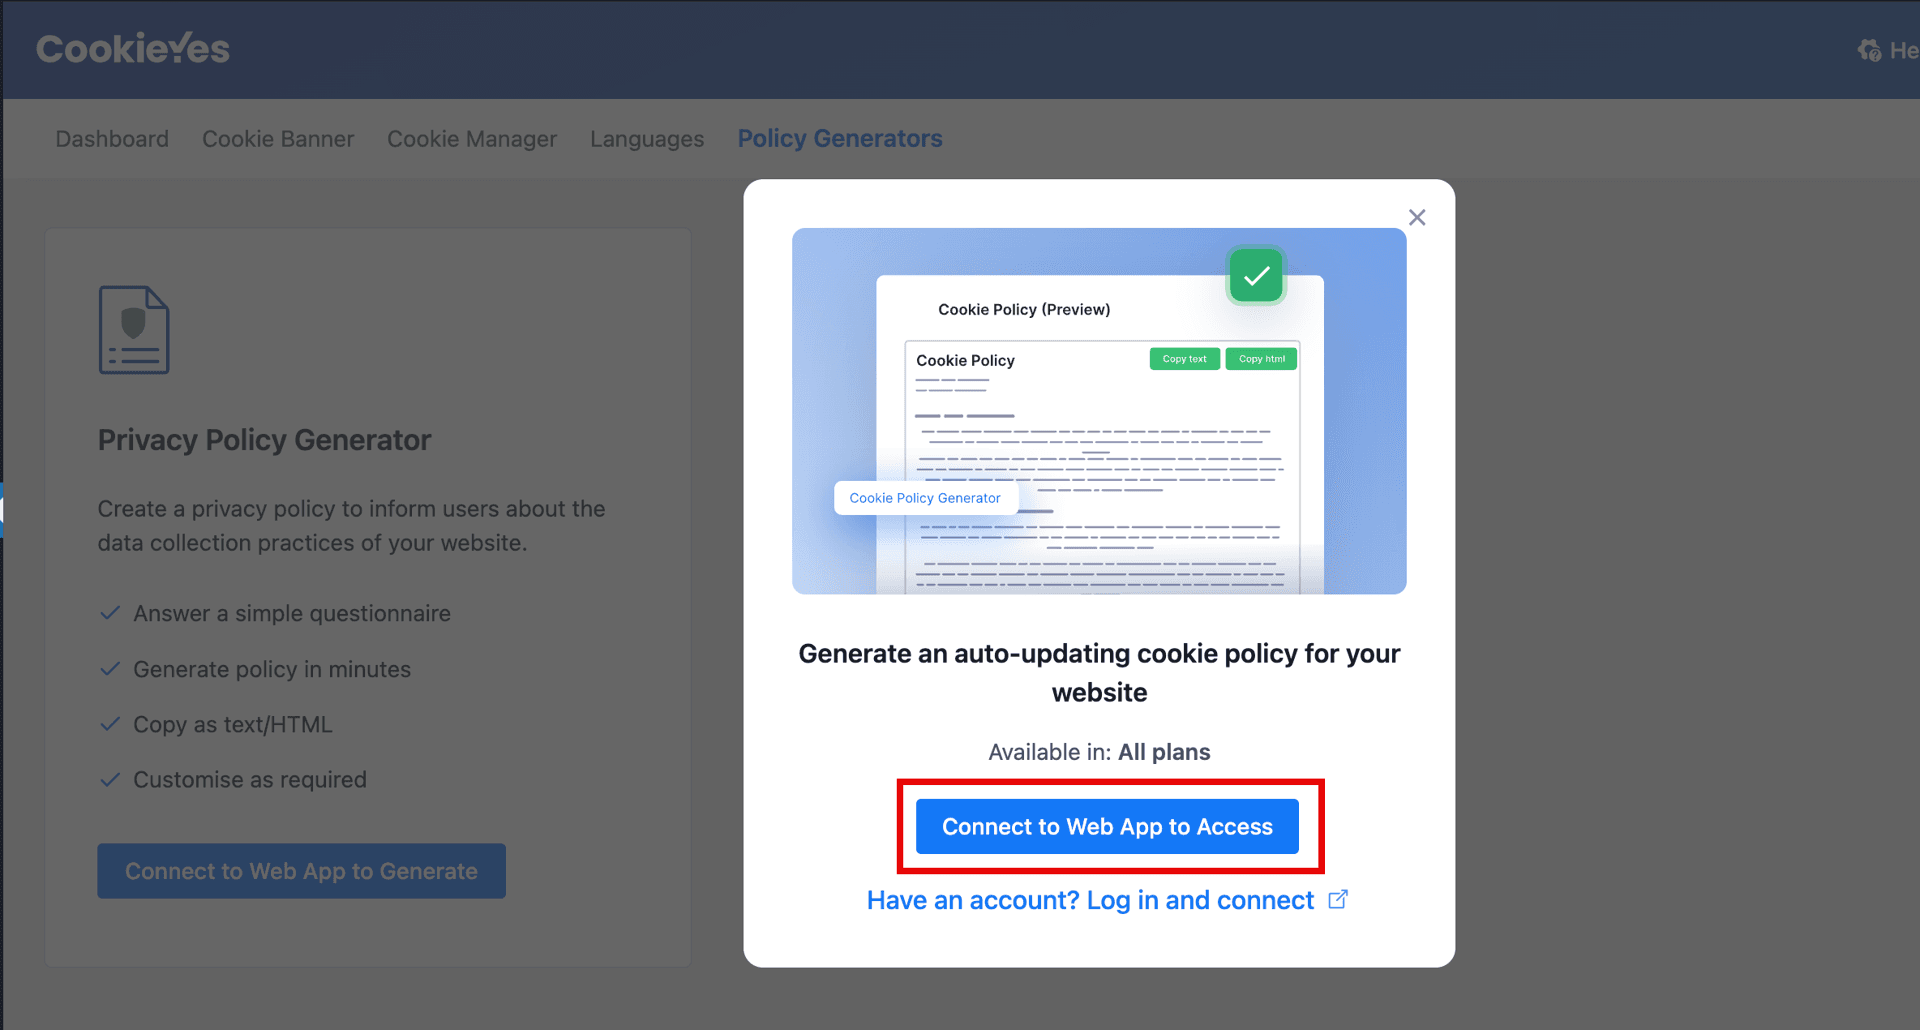
Log in to your WordPress account and go to the CookieYes plugin.
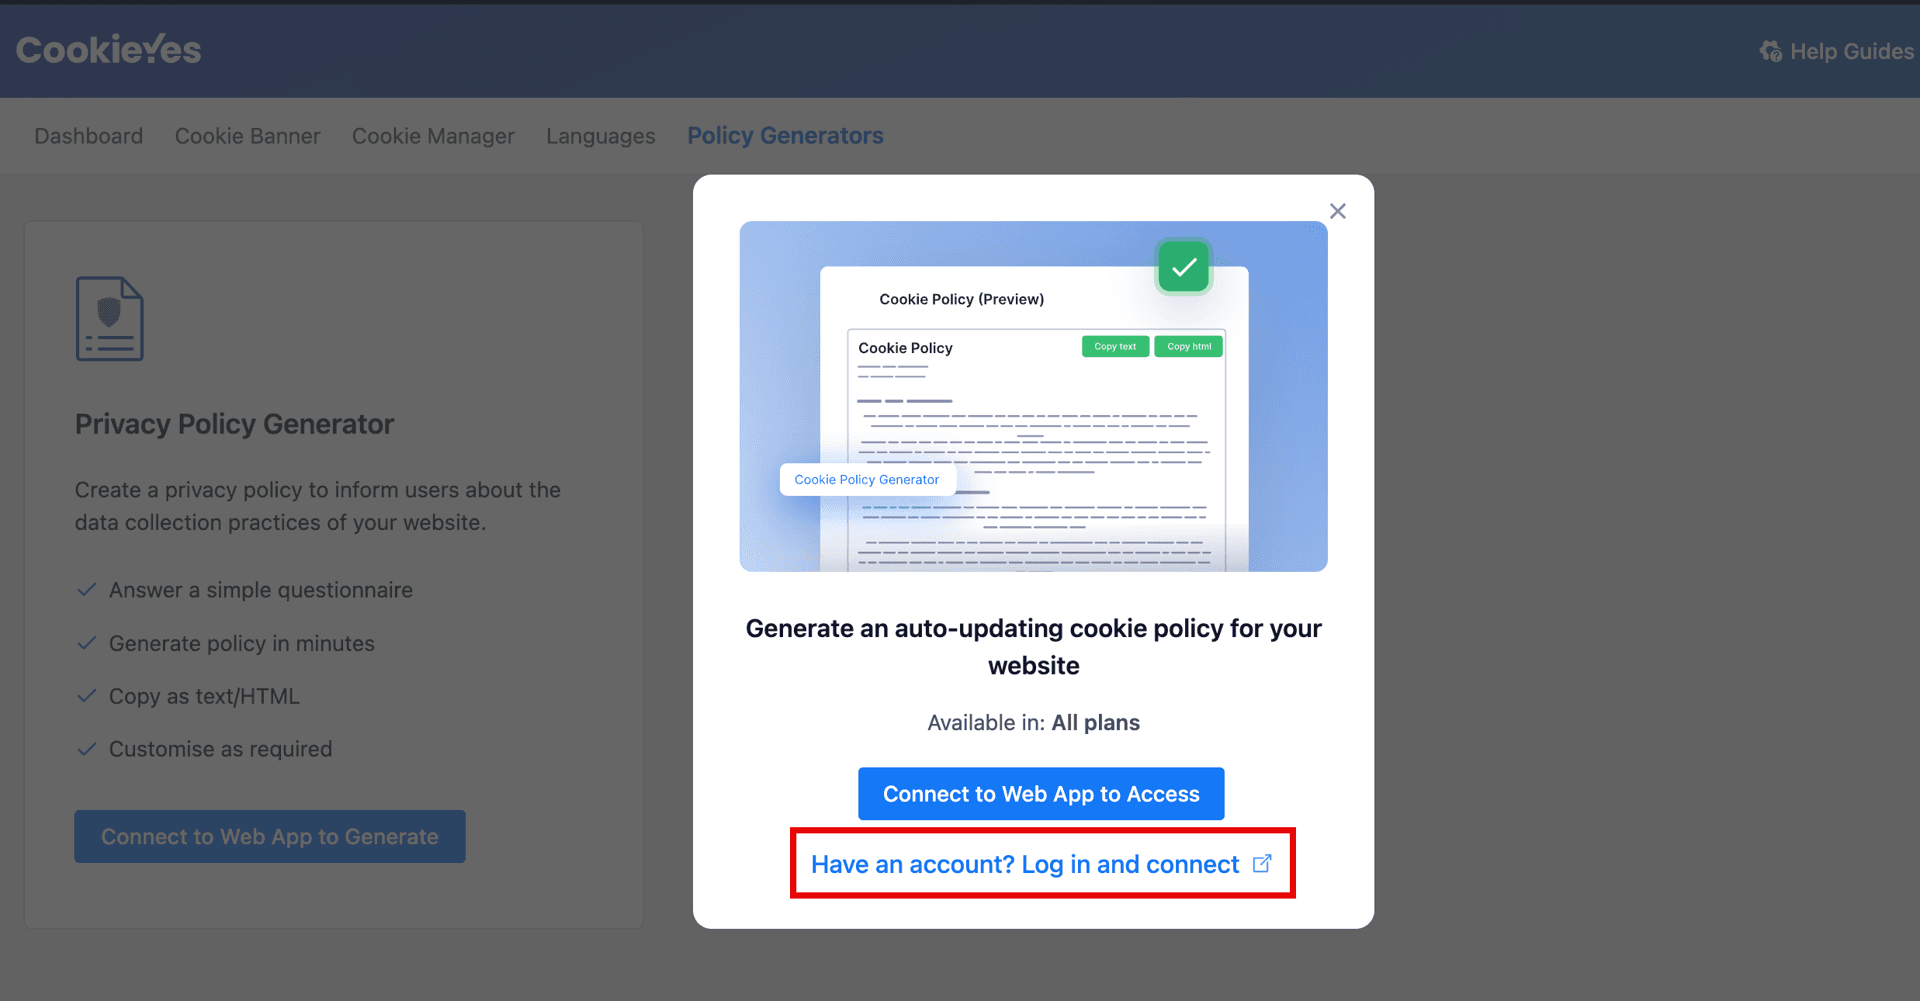
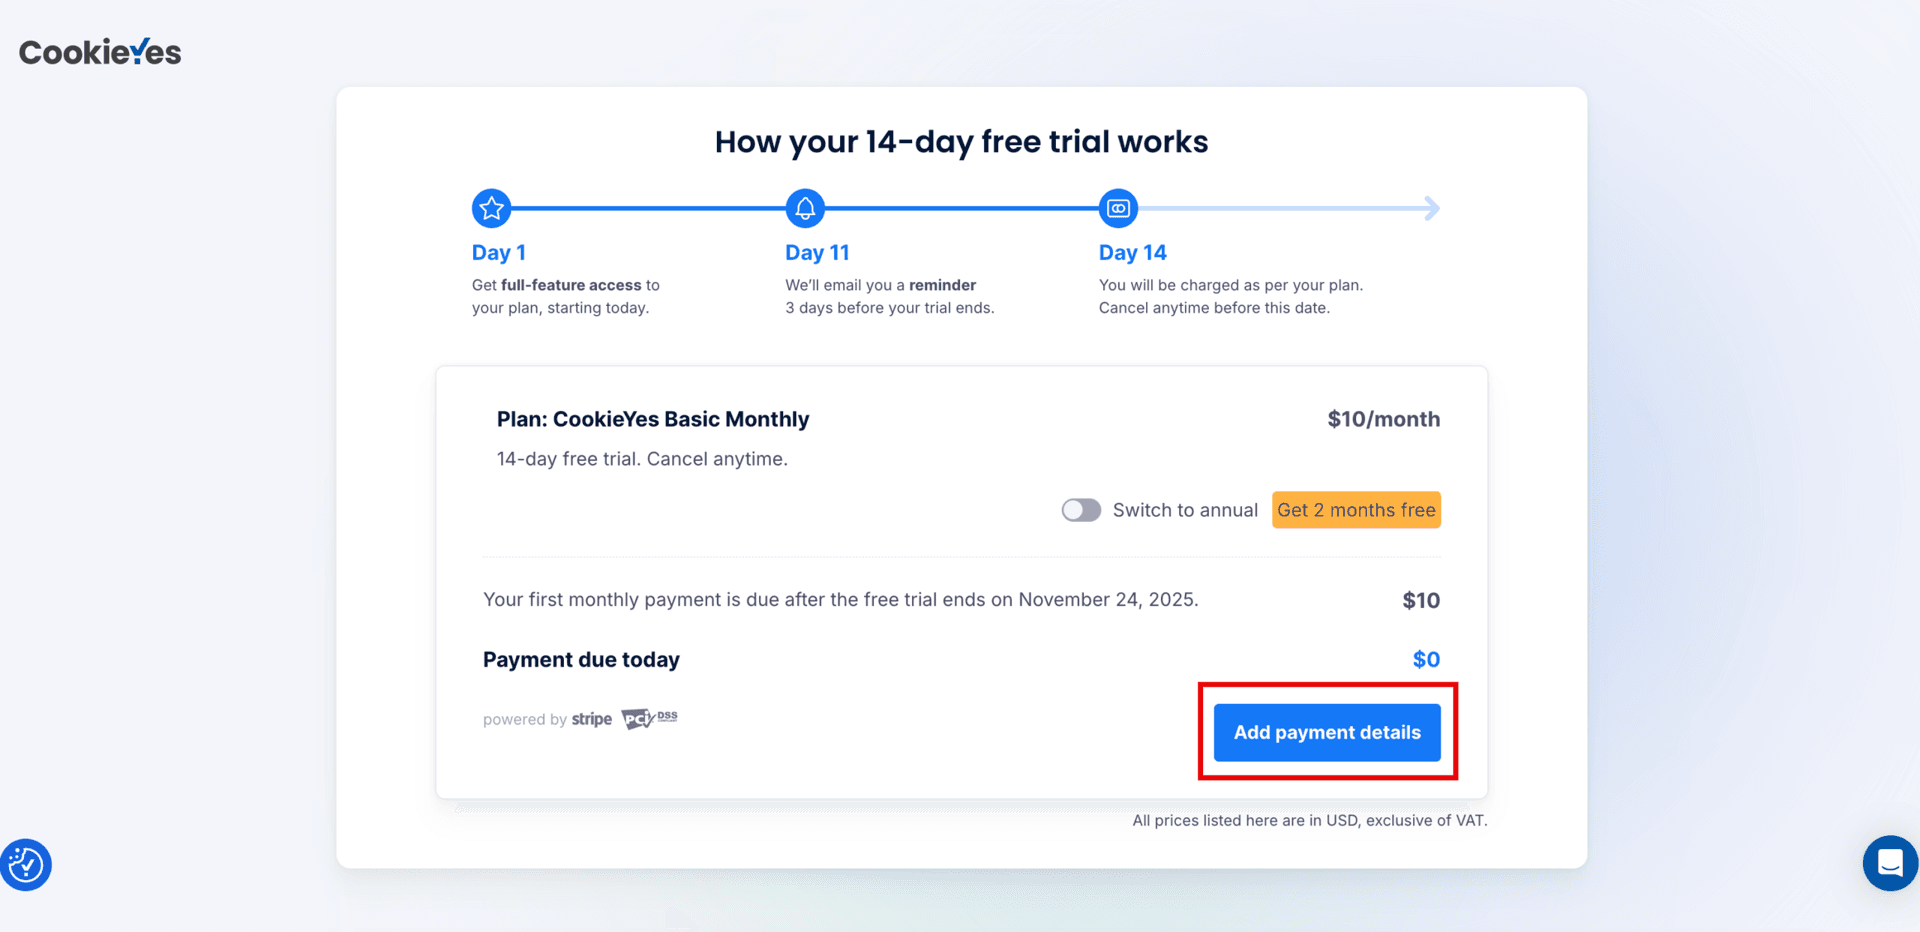
Once connected, you’ll be redirected to the CookieYes web app. In the CookieYes dashboard, select Legal Policies, and click + Generate under Terms & Conditions.
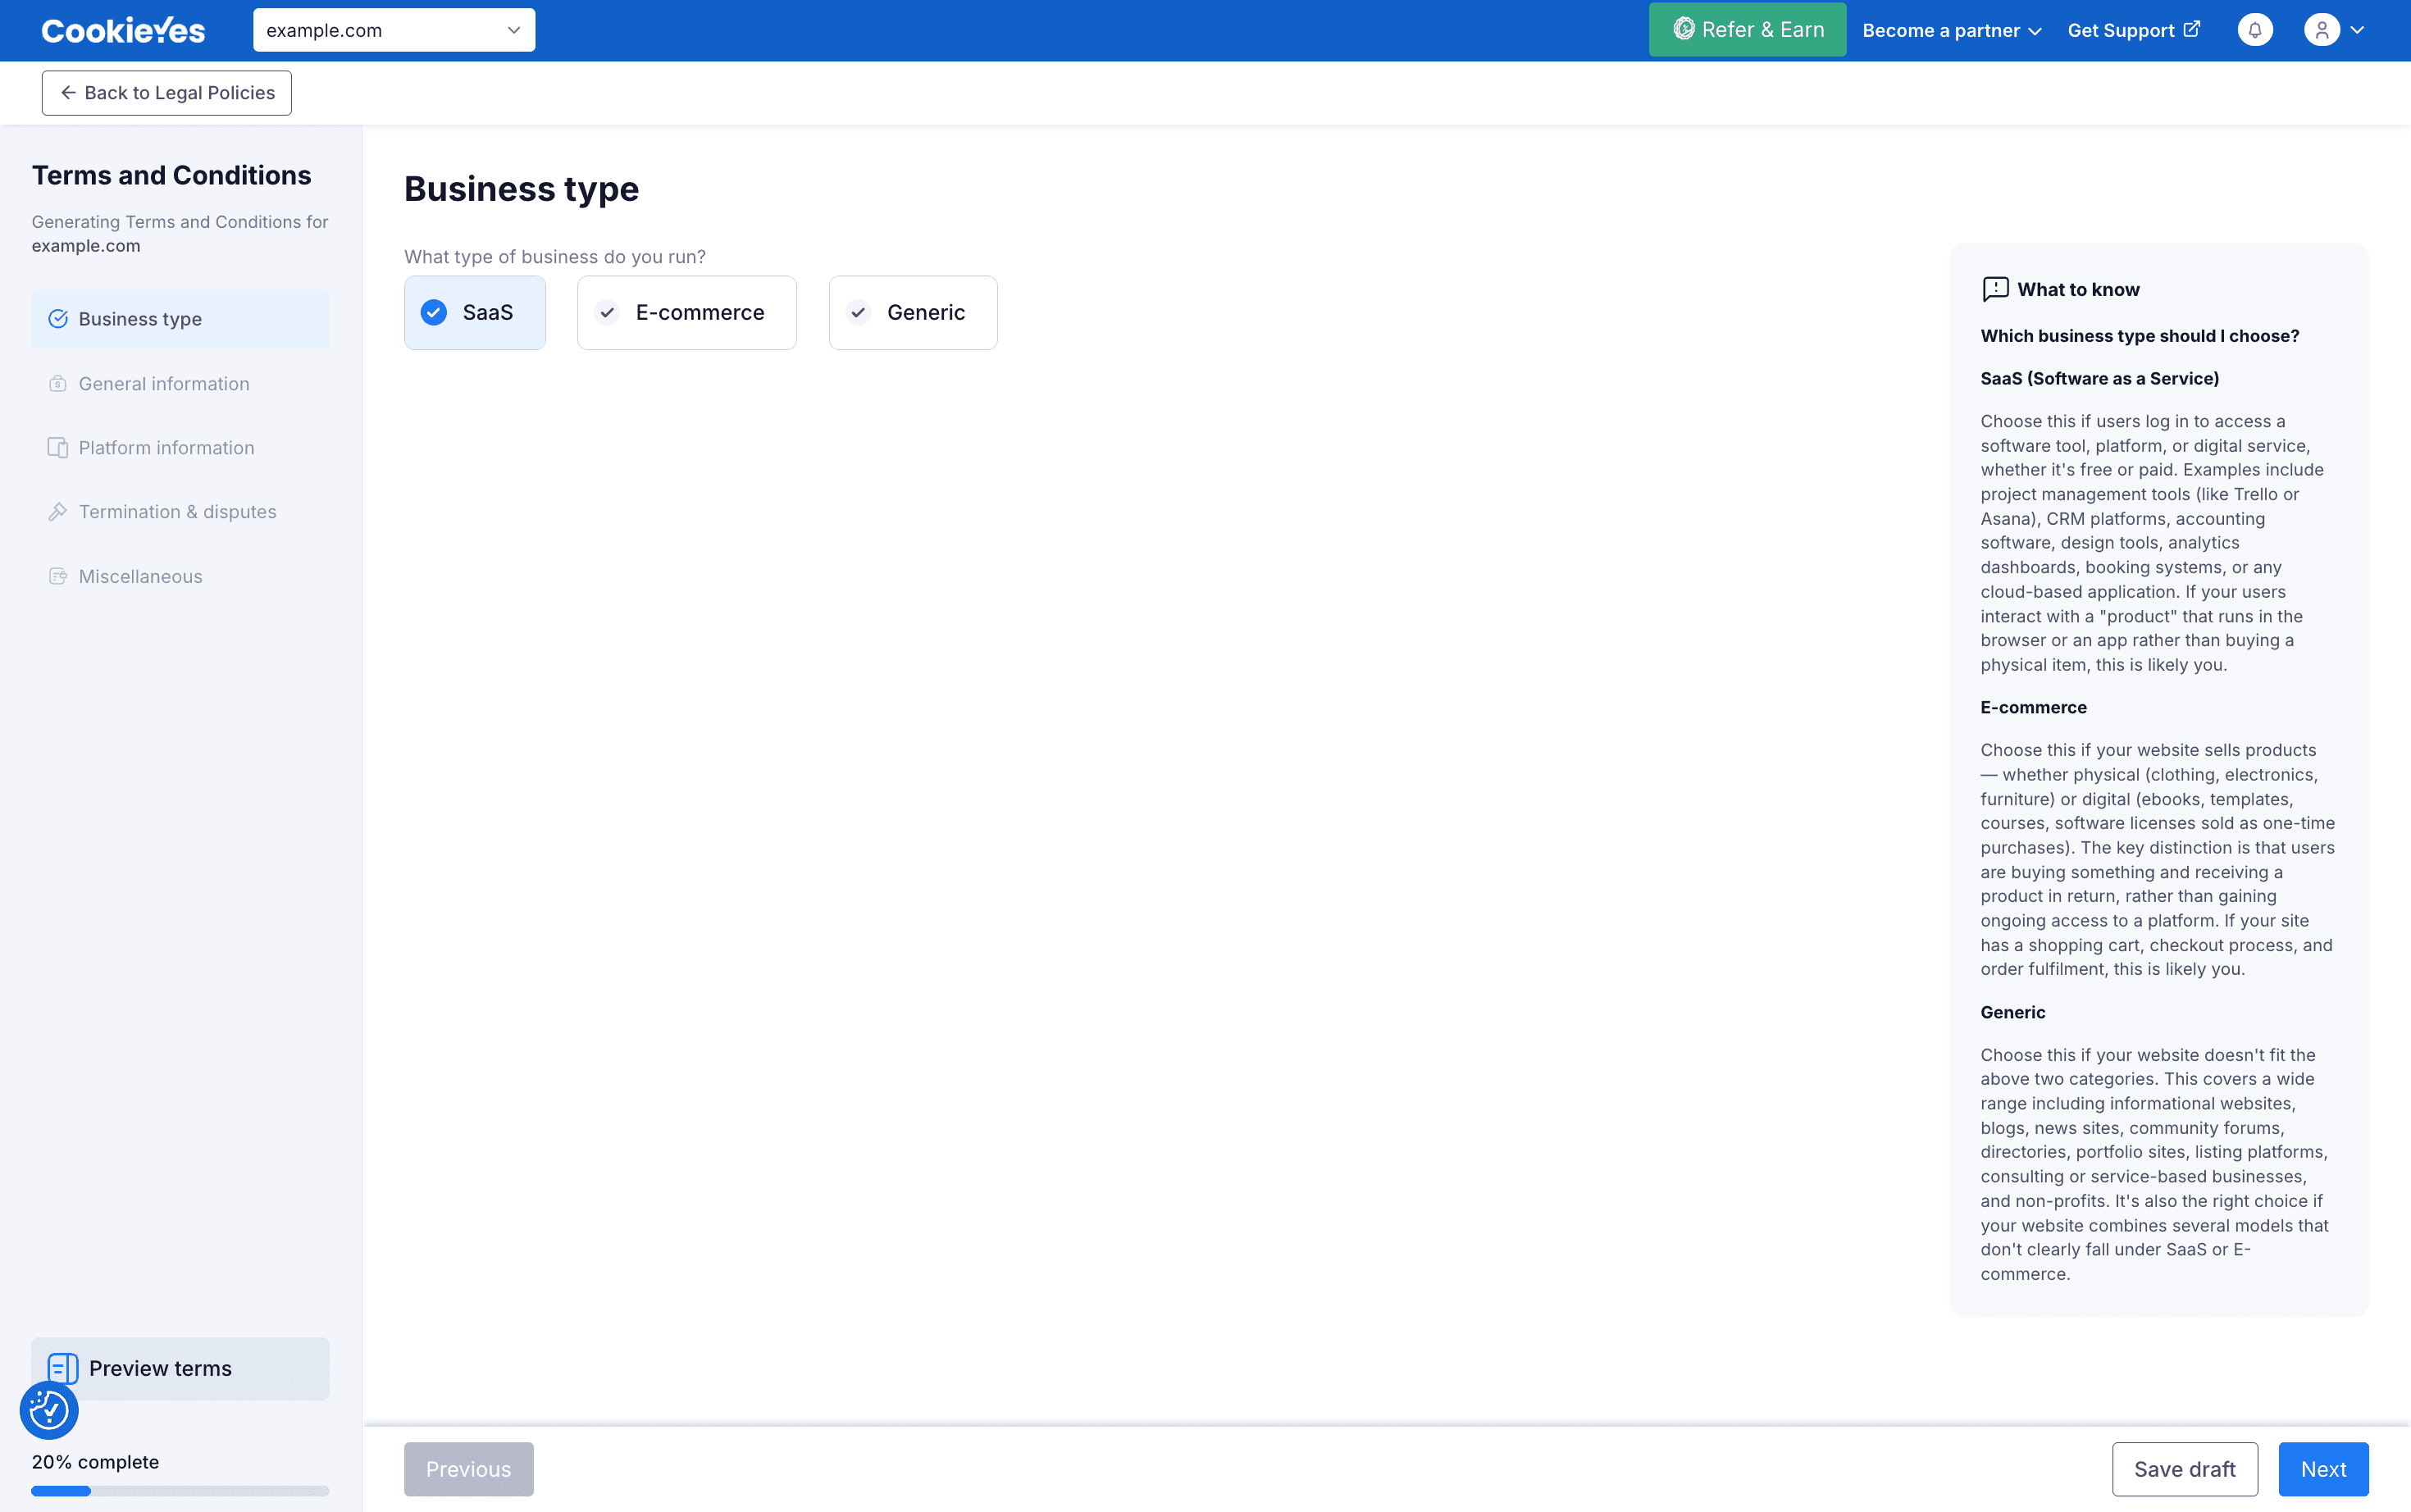
Step 2: Business type
Select the type of business you run. Your selection determines the clauses included in your terms. You can click Preview terms at any stage of the flow to check your progress.
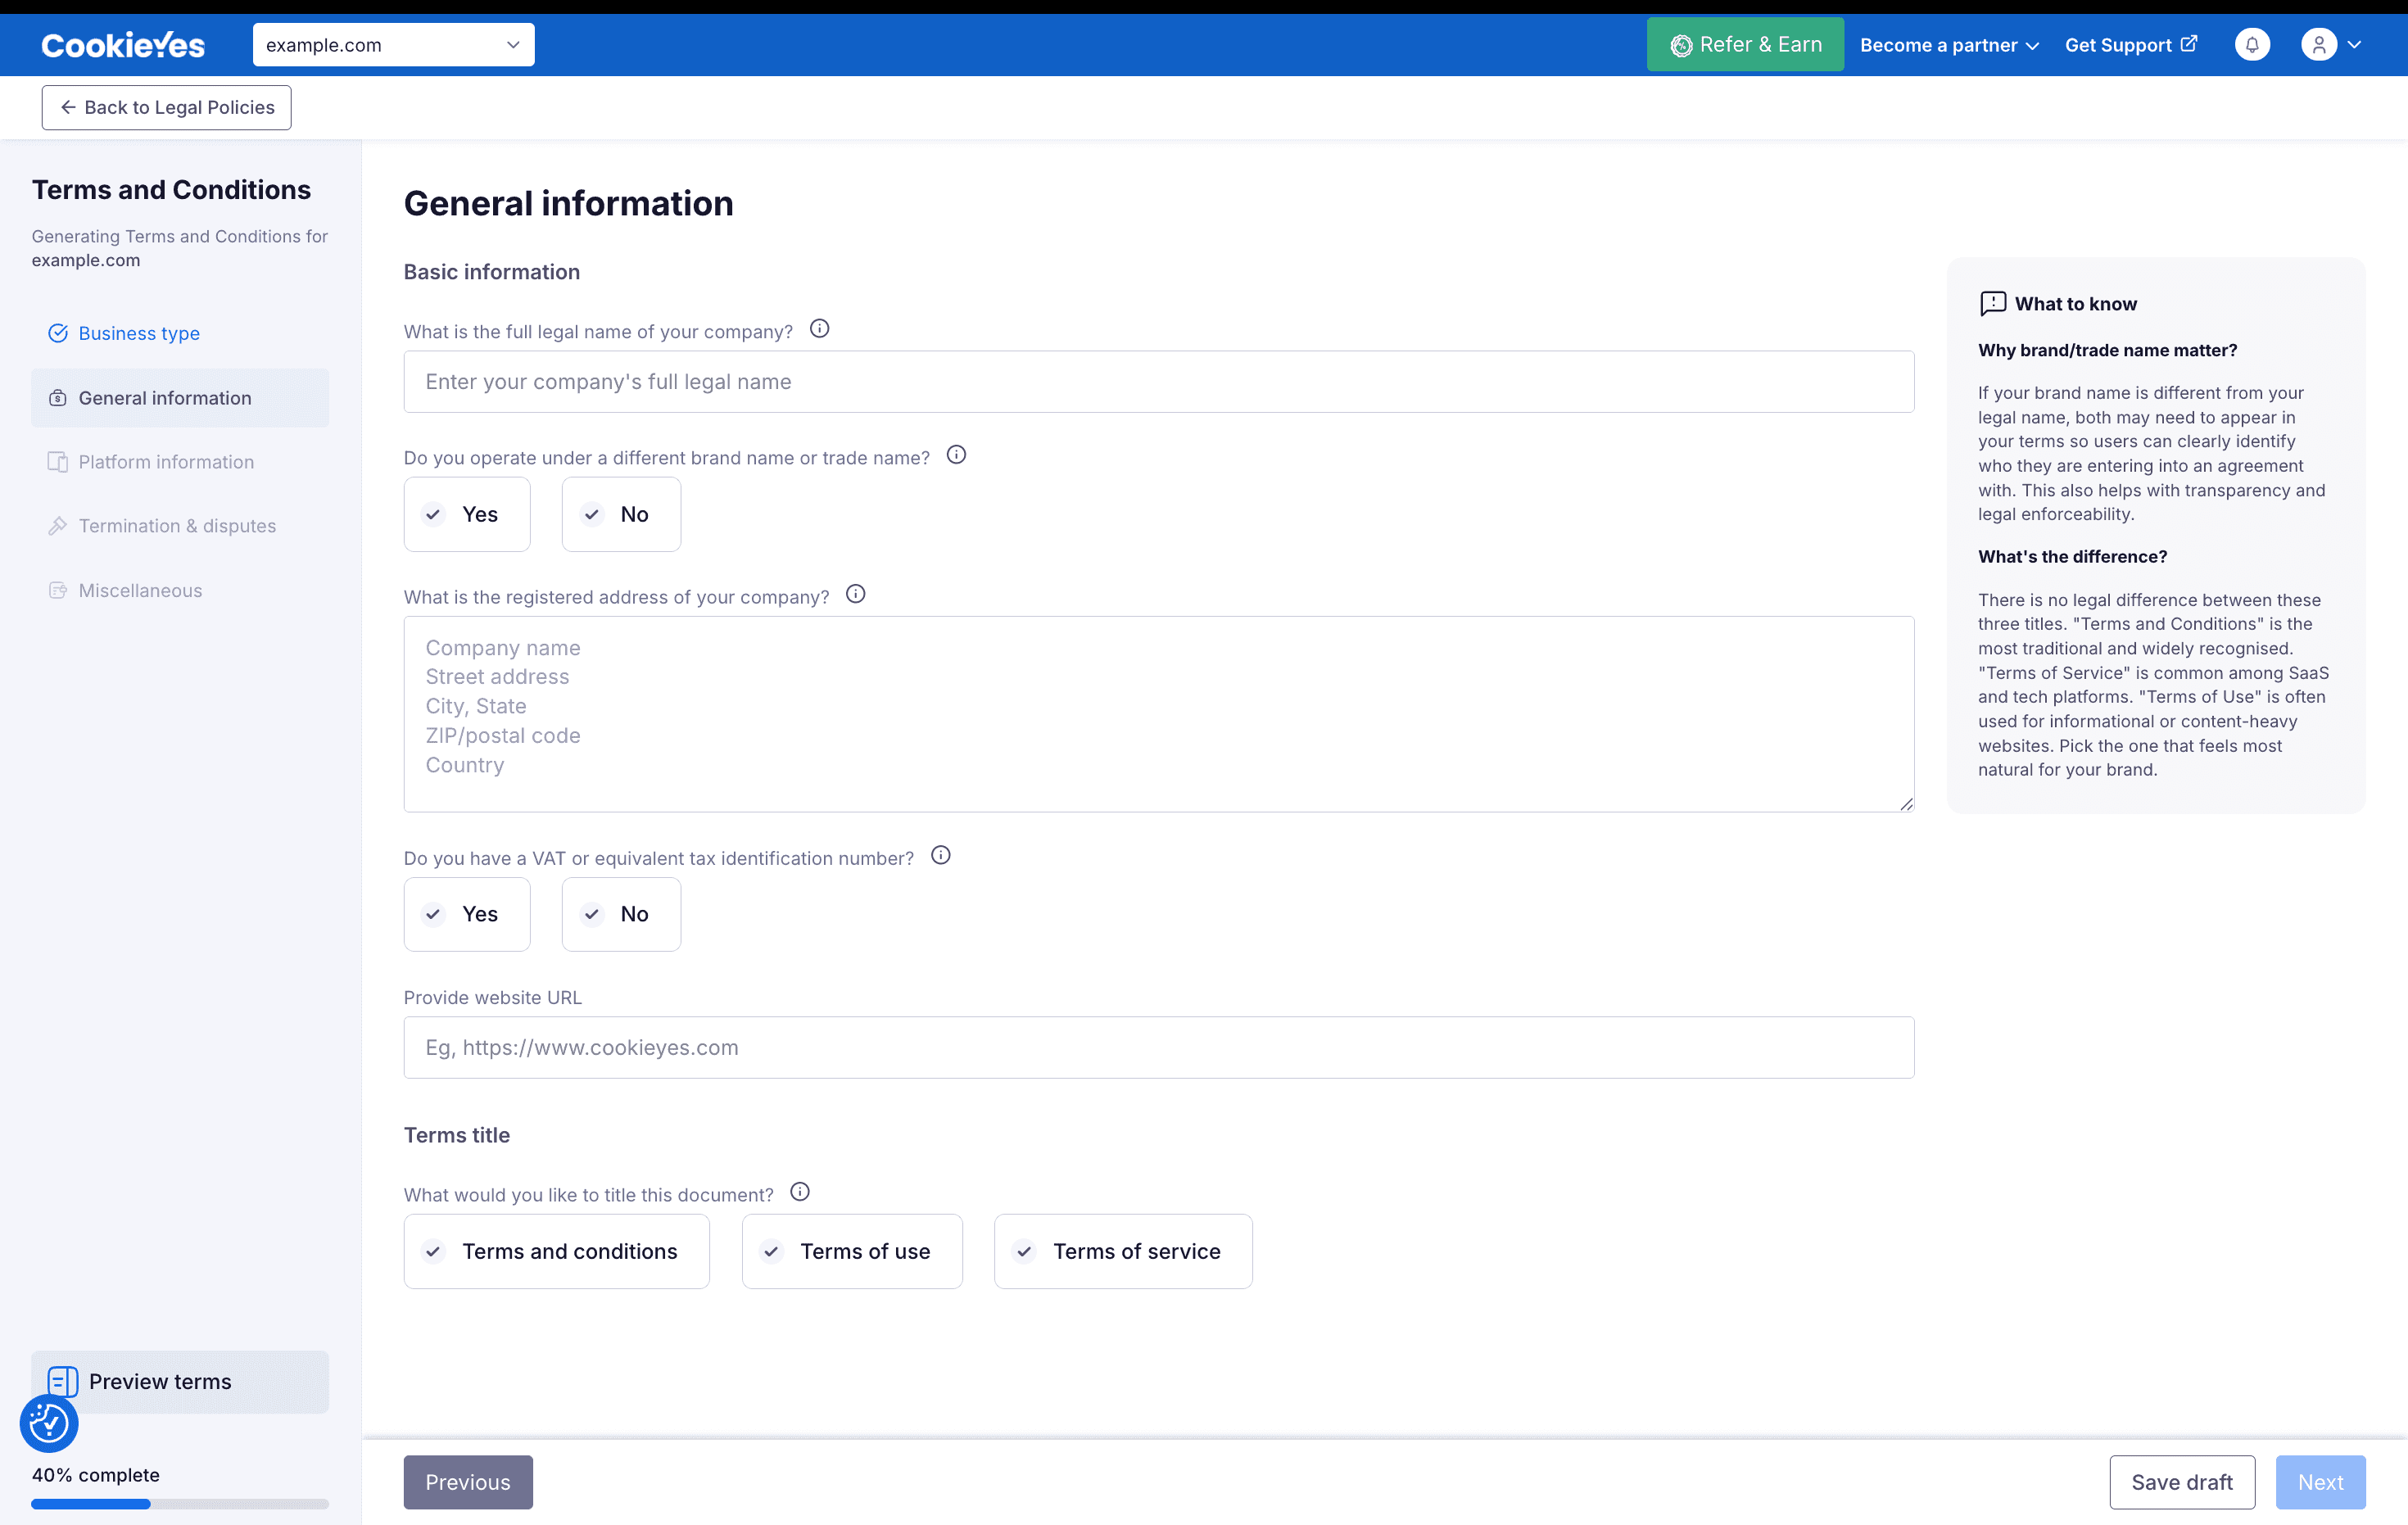
Provide your company's full legal name, along with any brand or trade name you operate under, your registered address, your VAT or equivalent tax identification number, and the URL of the website these terms apply to. Then select the title for the document.
The fields on this page depend on the business type you selected in Step 2.
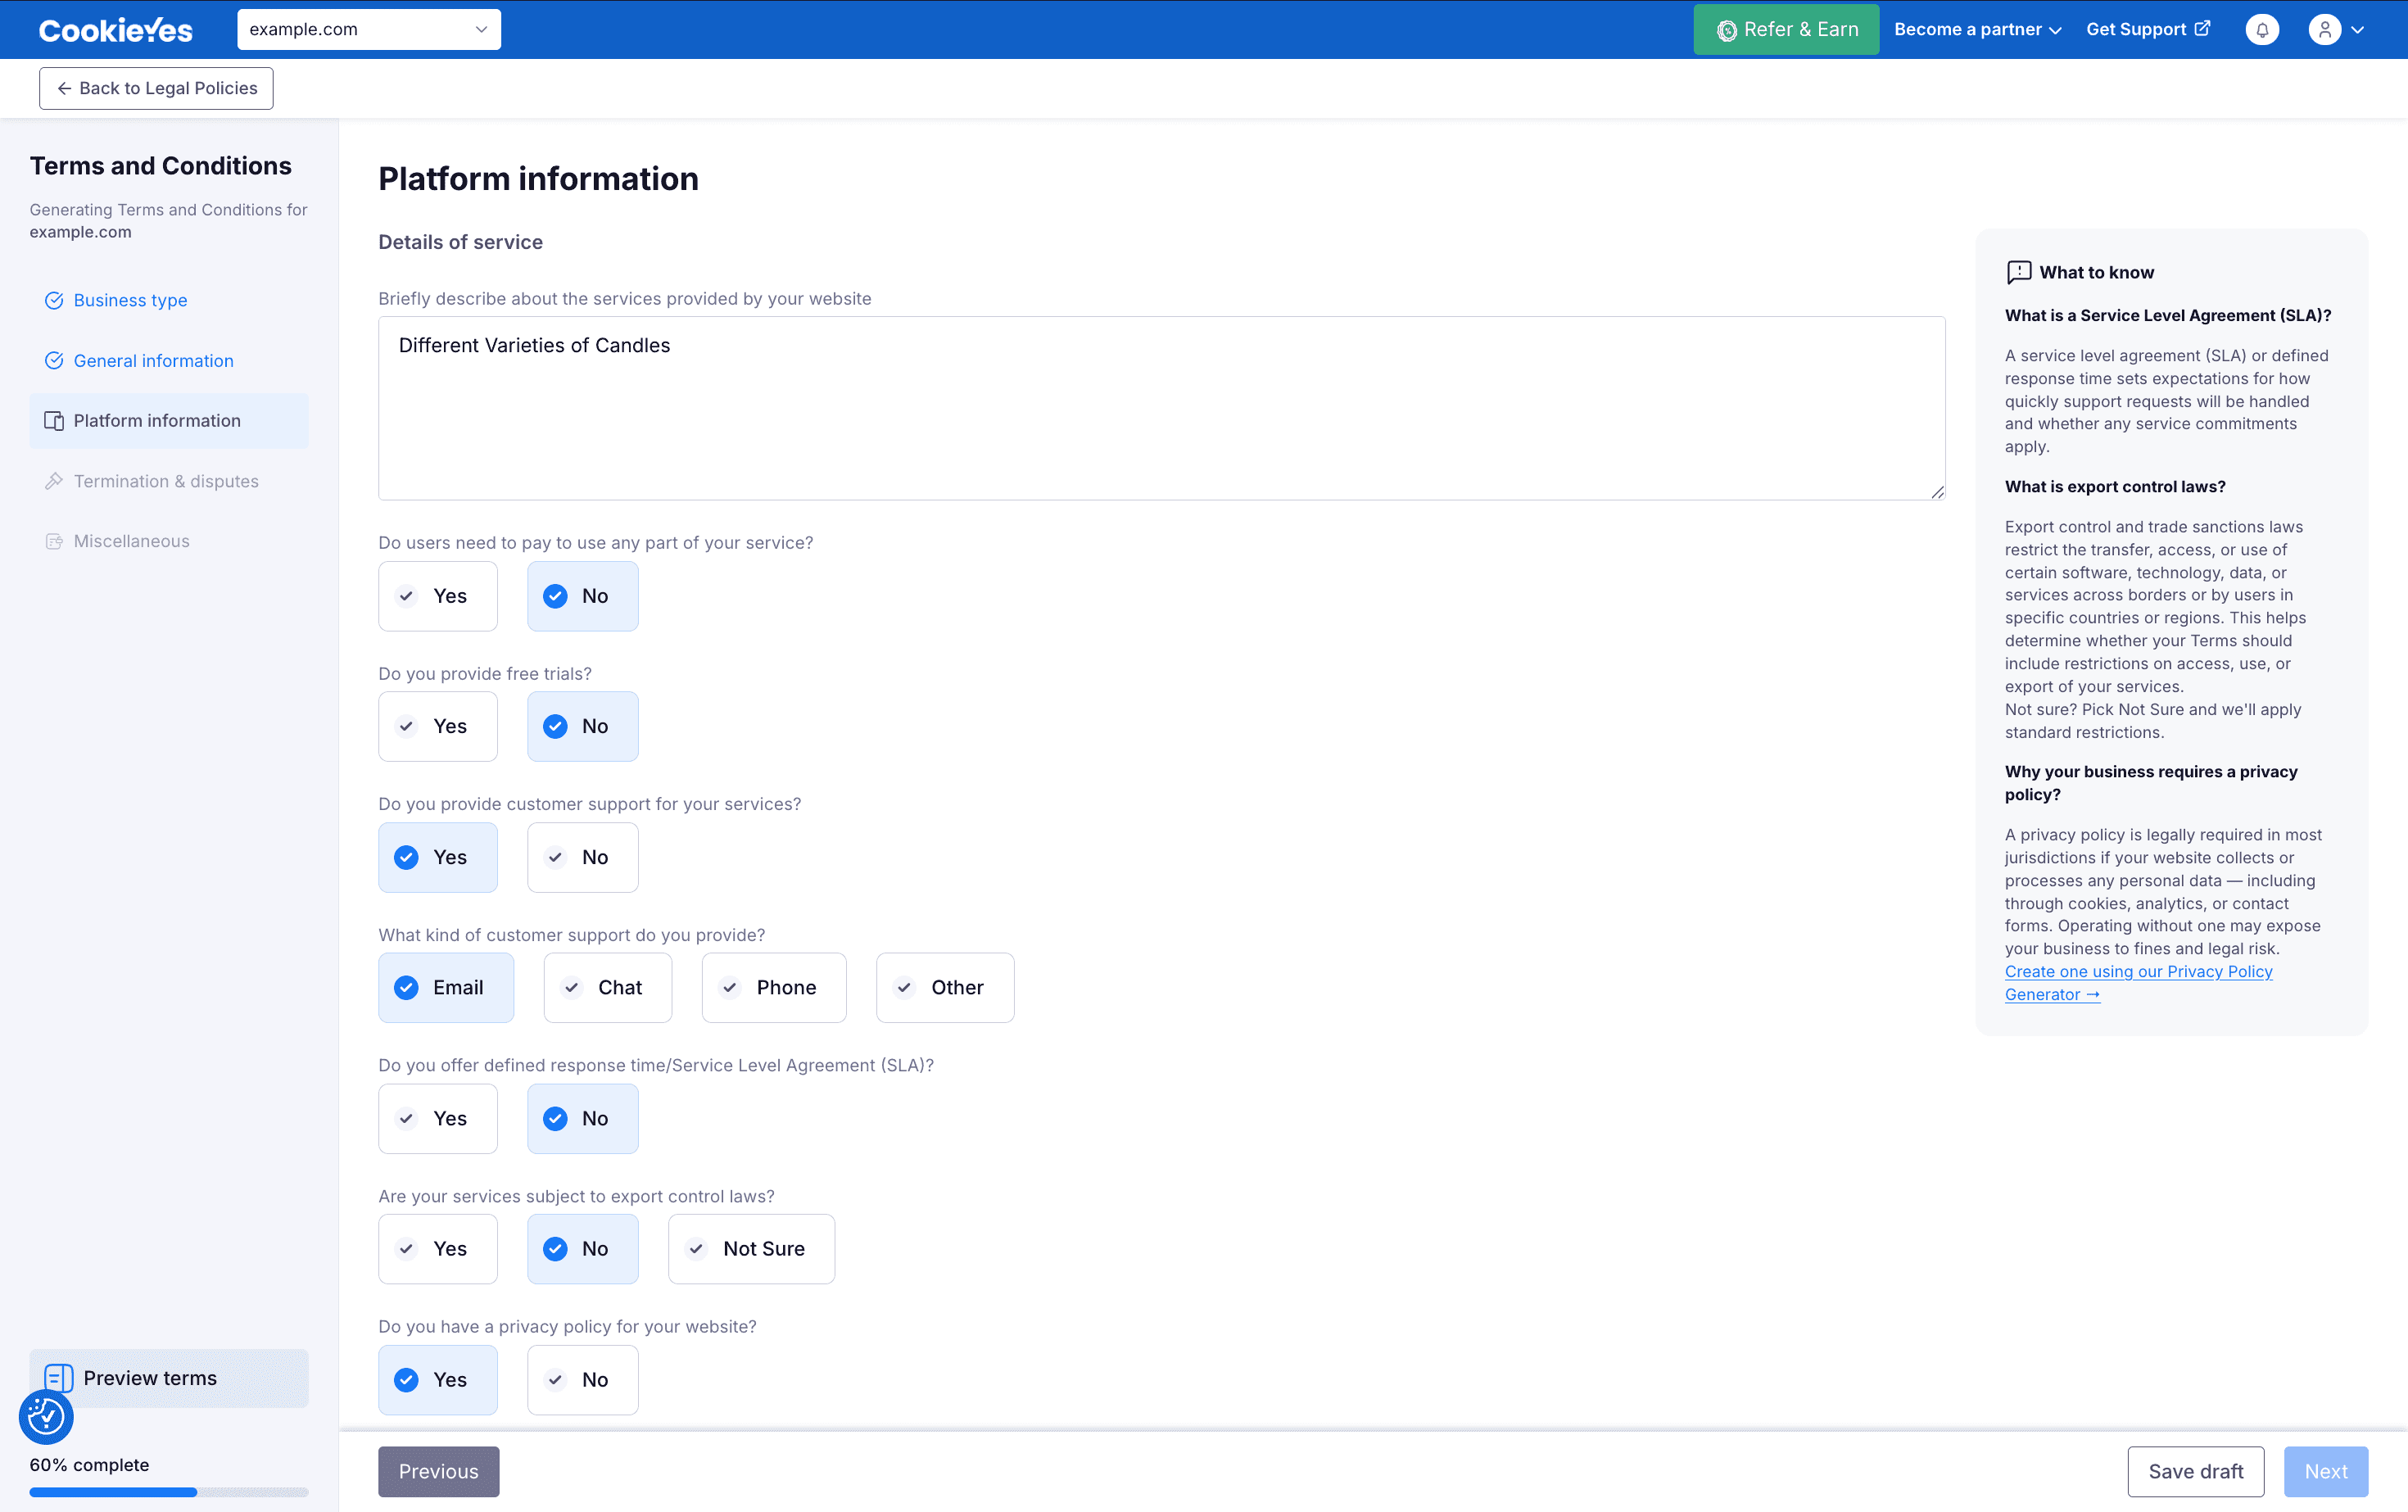
If you selected SaaS
Provide details of the services offered on your website, including whether any part of the service is paid, the pricing page URL, whether a free trial is available, the support channels you offer, whether a defined response time or SLA applies, whether the services are subject to export control laws, and the URL of your privacy policy.
If you selected E-commerce
Specify when customer orders are accepted, whether the prices shown on your website include taxes, and how payments are processed. Then indicate whether you have a shipping and delivery policy, and whether you maintain a separate returns, refunds, and cancellations policy.
If you selected Generic
This page has two parts: Details of service and User accounts.
Under Details of service, describe the services, products, or features your website offers, indicate whether any part of the service is paid, select the countries where you offer your services or products, and specify whether you allow bots, scrapers, or other automated access to your website.
Under User accounts, indicate whether users can create an account on your website, and whether they can link or sign in with their social media accounts.
Step 5: Basic terms
The fields on this page depend on the business type you selected in Step 2. The page is titled Basic terms information for SaaS and Basic terms for E-commerce and Generic.
If you selected SaaS
Choose how the maximum liability under the agreement is calculated: based on the amount paid by the user, a fixed amount, the higher of fees paid or a fixed amount, or no cap. If the cap is based on fees paid, select the period it applies over, which can be 3, 6, or 12 months, or a custom period. If a fixed amount applies, enter the maximum total liability amount.
If you selected E-commerce
Indicate whether you have a privacy policy for your website and, if so, provide the URL.
If you selected Generic
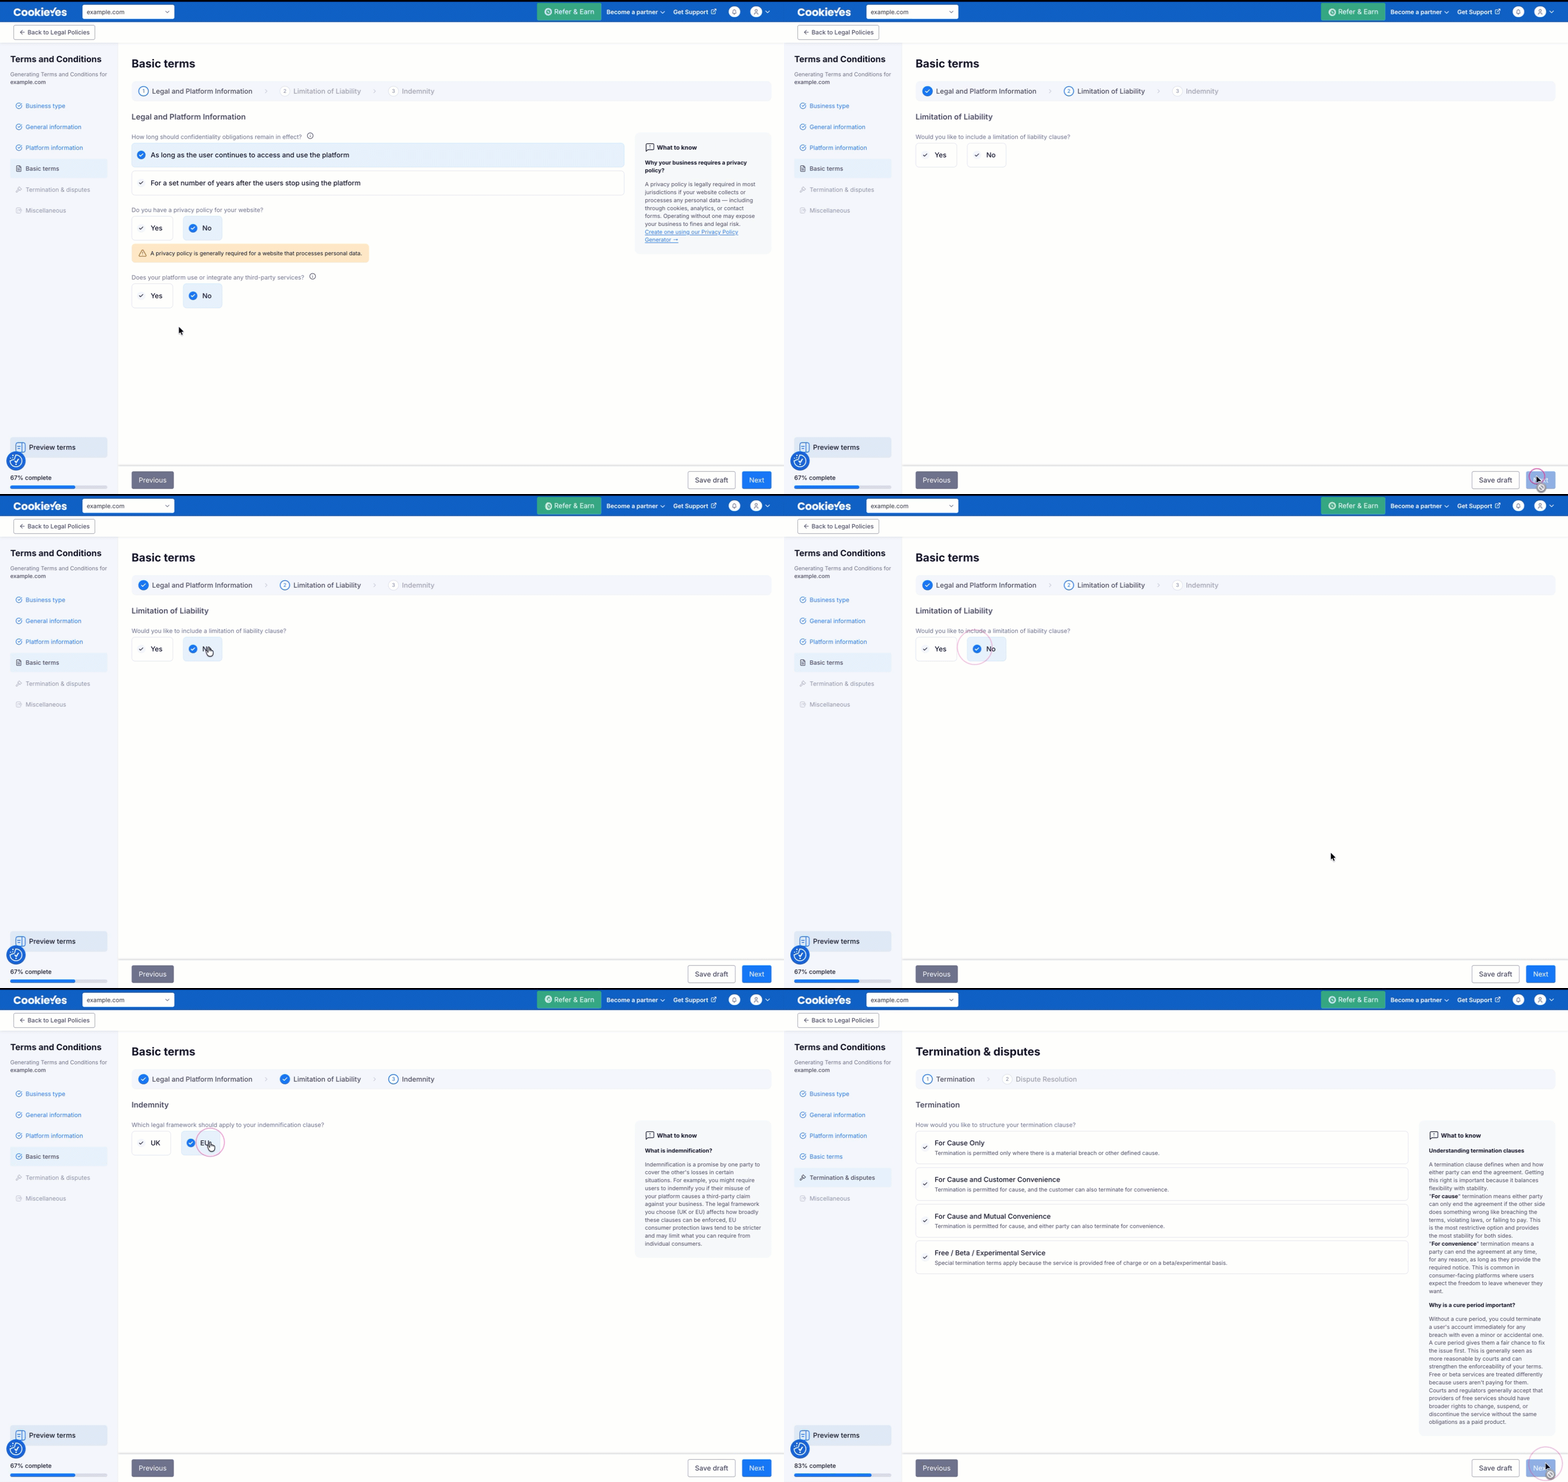
This page has three parts: Legal and Platform Information, Limitation of Liability, and Indemnity.
Under Legal and Platform Information, specify how long confidentiality obligations remain in effect, indicate whether you have a privacy policy for your website, and whether your platform uses or integrates any third-party services.
Under Limitation of Liability, indicate whether to include a limitation of liability clause and, if so, enter the maximum liability amount and the period the cap applies over.
Under Indemnity, select whether the UK or EU legal framework applies to your indemnification clause.
Step 6: Termination & disputes
If you selected SaaS or E-commerce
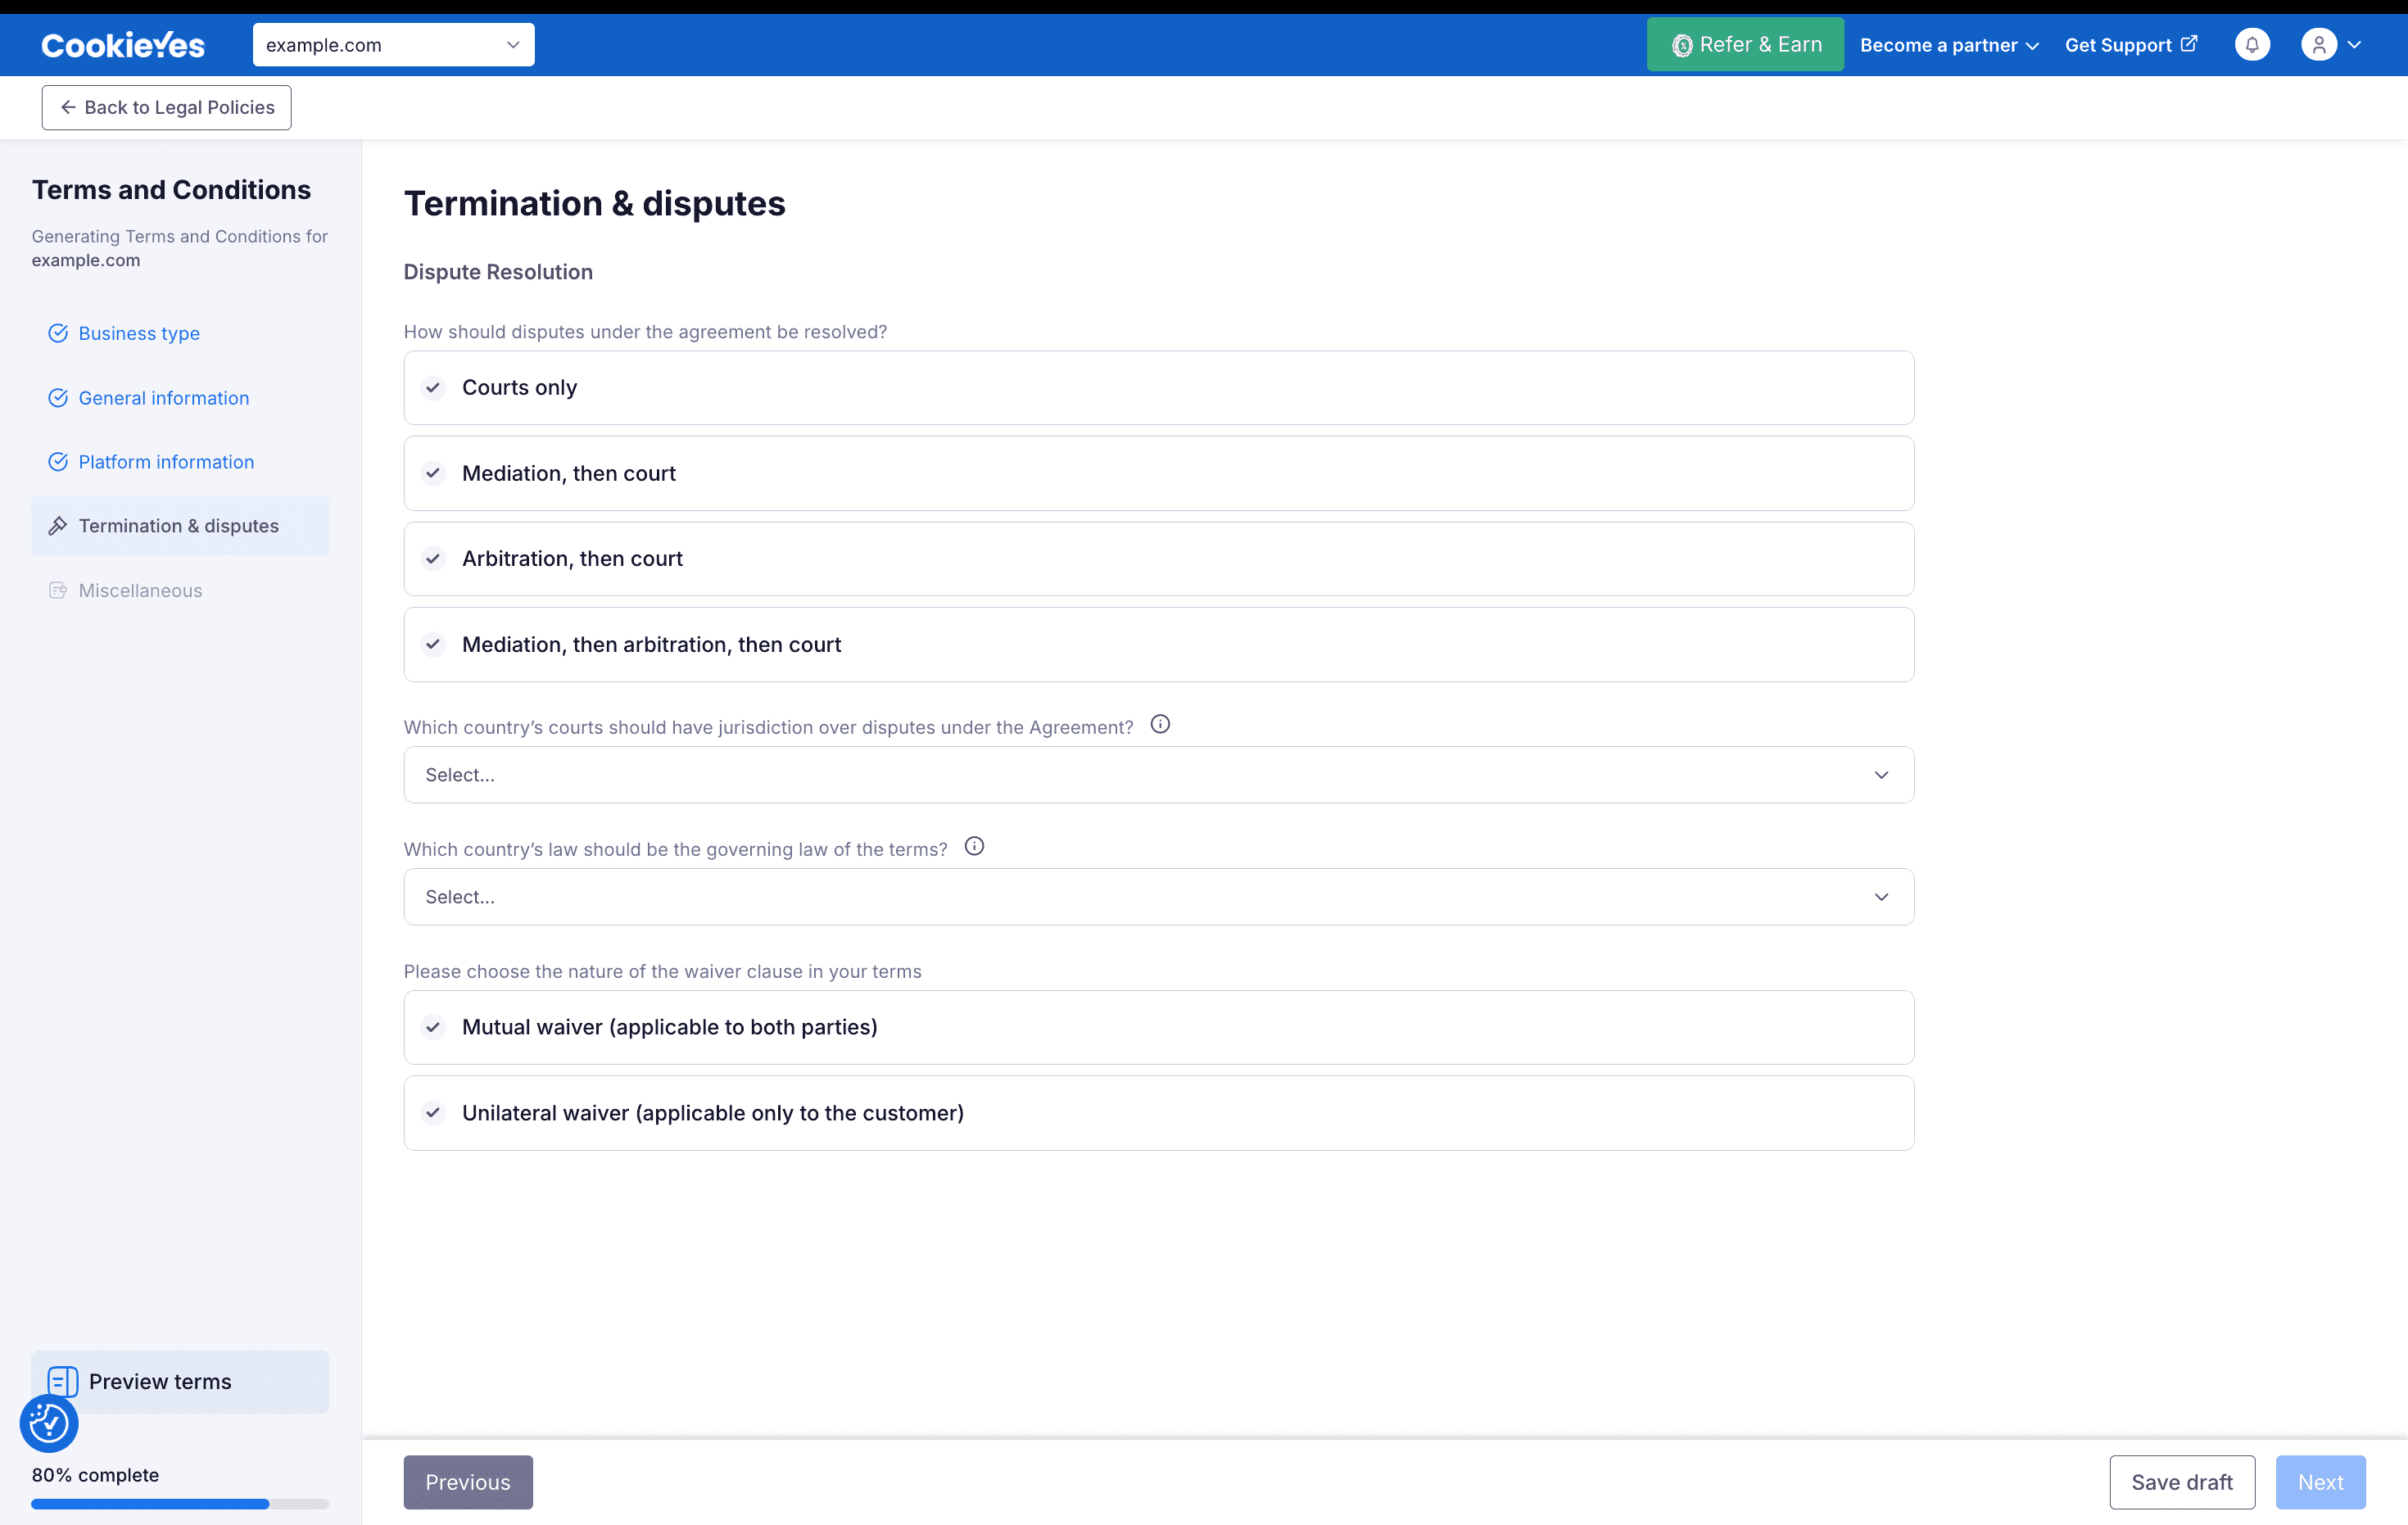
Specify the process for resolving disputes under the agreement, whether through the courts alone or through mediation or arbitration before proceeding to court. Nominate the jurisdiction whose courts will hear disputes and the governing law of the terms, selecting a state where the country is the United States. Finally, indicate whether the waiver clause applies mutually to both parties or only to the customer.
If you selected Generic
This page has two parts: Termination and Dispute Resolution.
Under Termination, choose how to structure your termination clause: for cause only, for cause with customer convenience, for cause with mutual convenience, or special terms for a free, beta, or experimental service.
Under Dispute Resolution, specify how disputes are resolved, whether through the courts alone or through mediation or arbitration before proceeding to court, then nominate the jurisdiction whose courts will hear disputes and the governing law of the terms.
Step 7: Miscellaneous
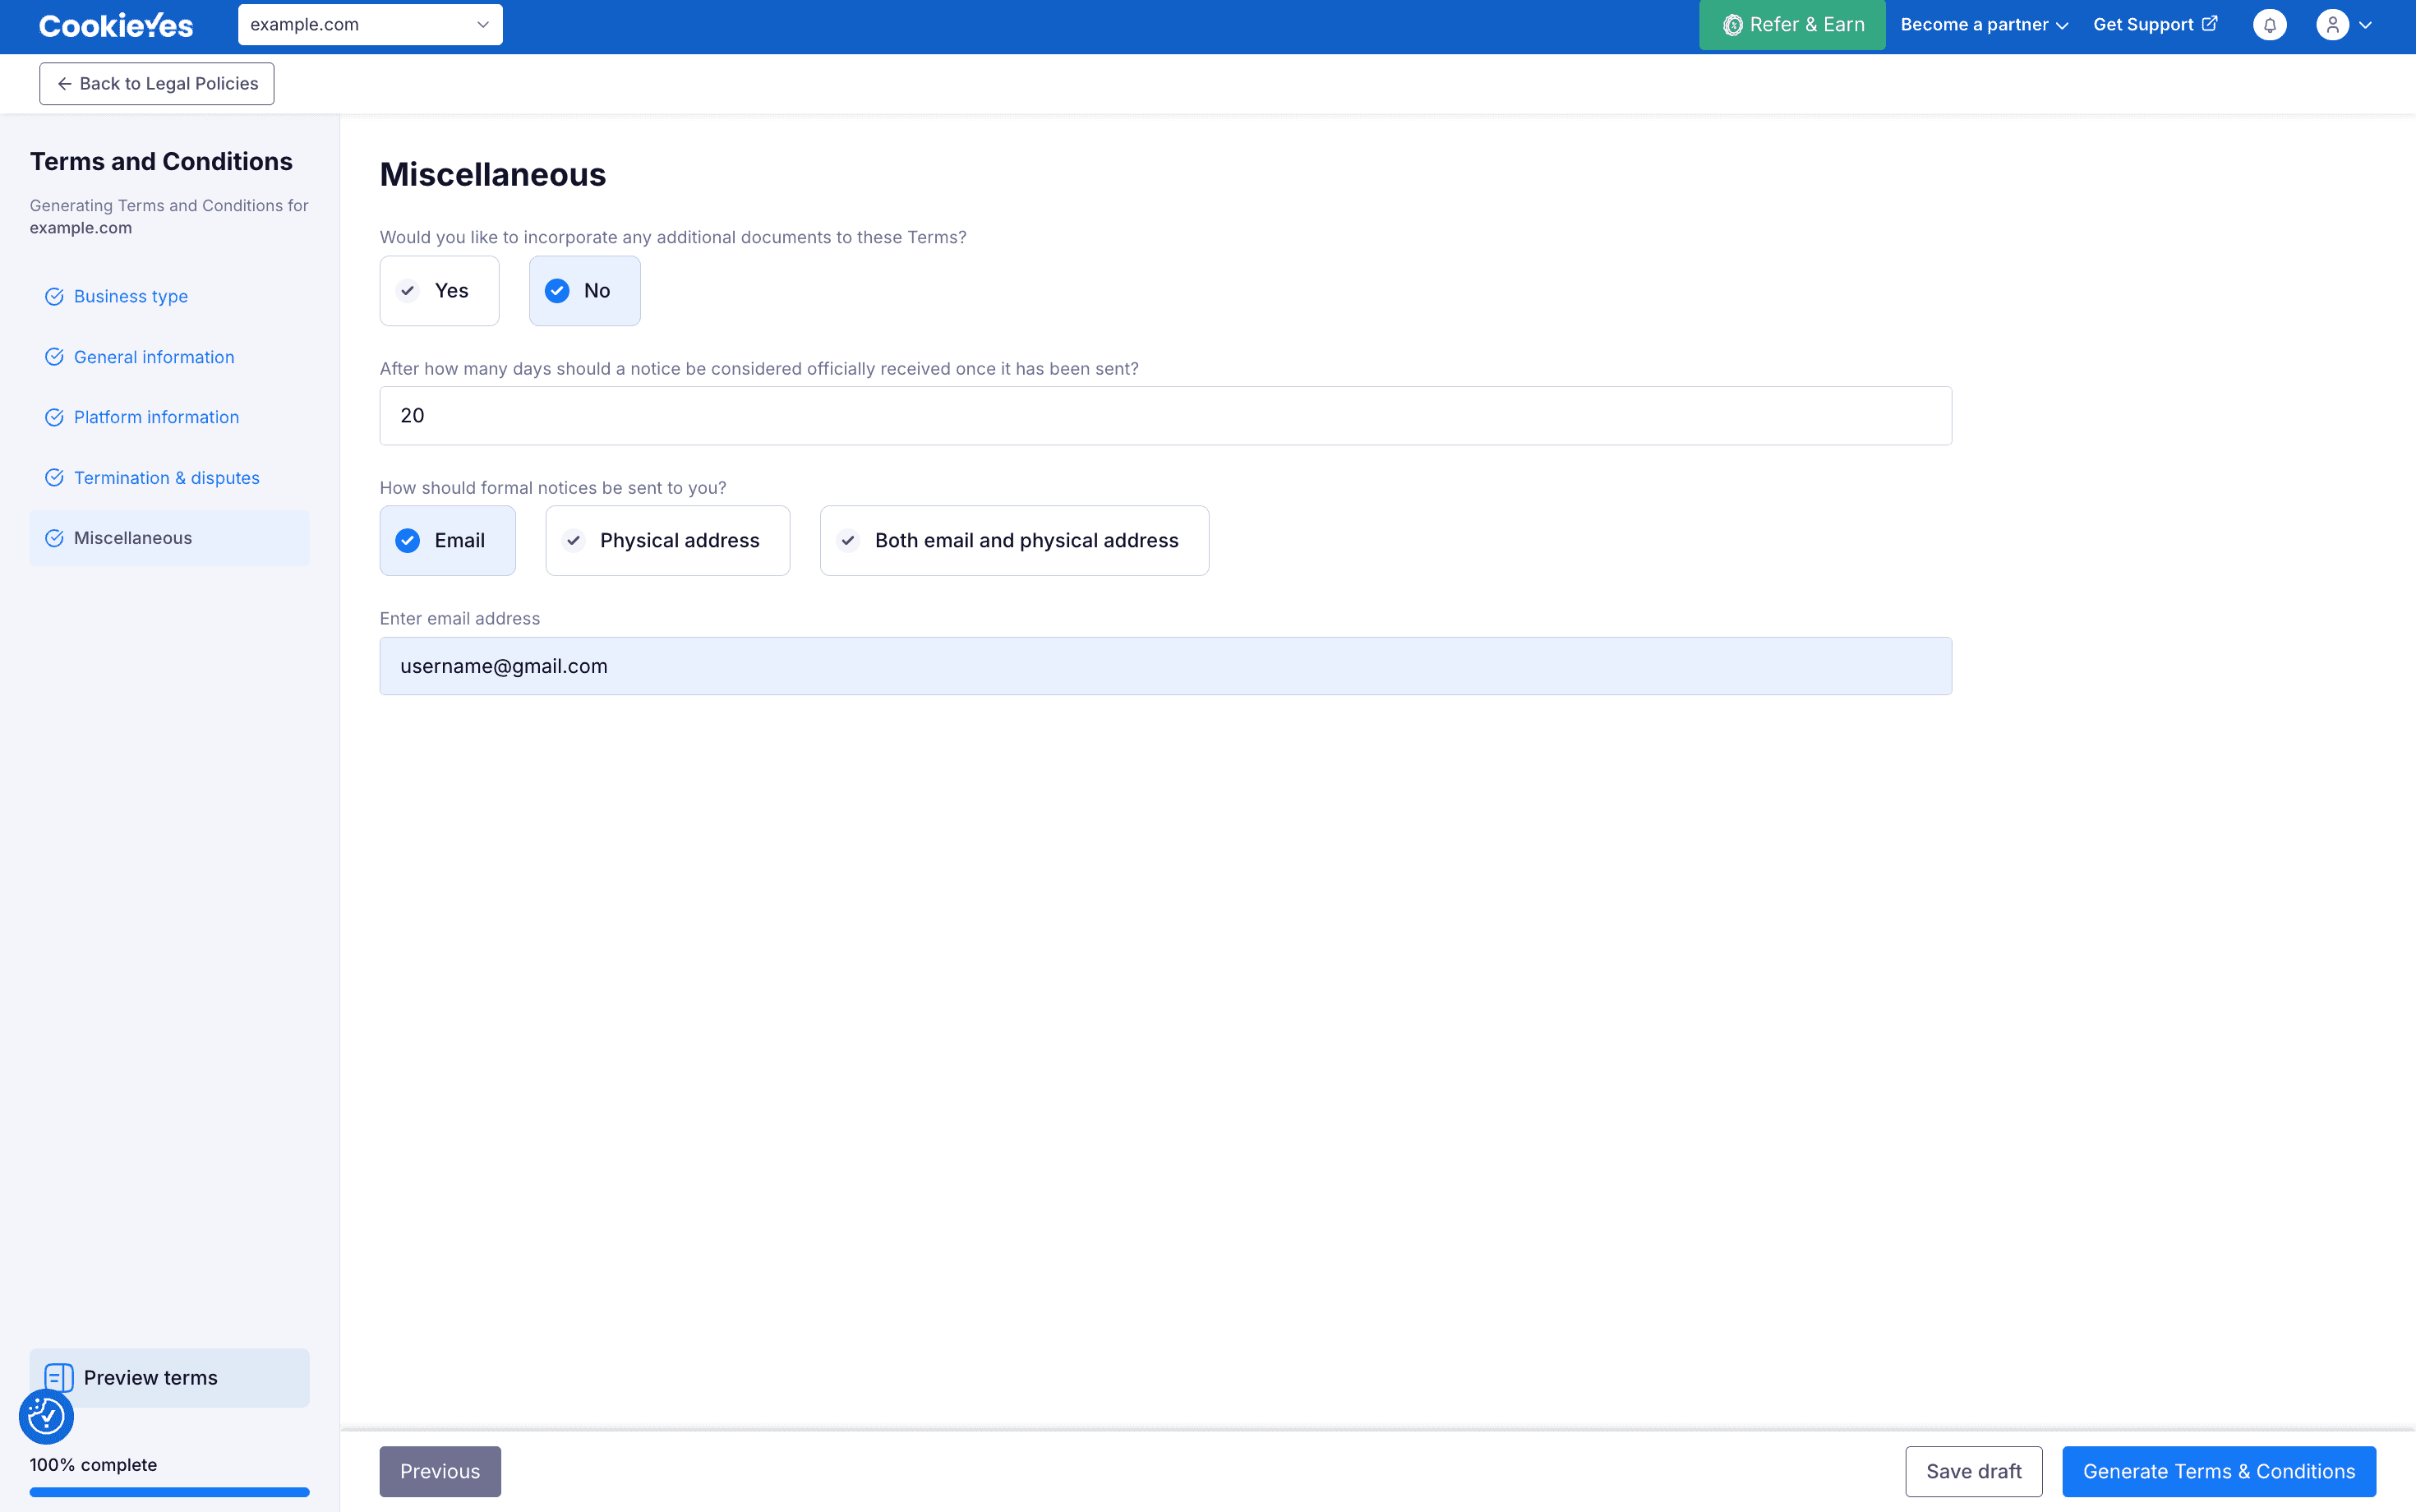
Indicate whether any additional documents should be incorporated into these terms and add them if so. Specify the number of days after which a notice is deemed received, select how formal notices should be delivered, and provide the corresponding contact details.
Click Generate Terms & Conditions to generate the terms and conditions for your website.
Add terms and conditions to WordPress
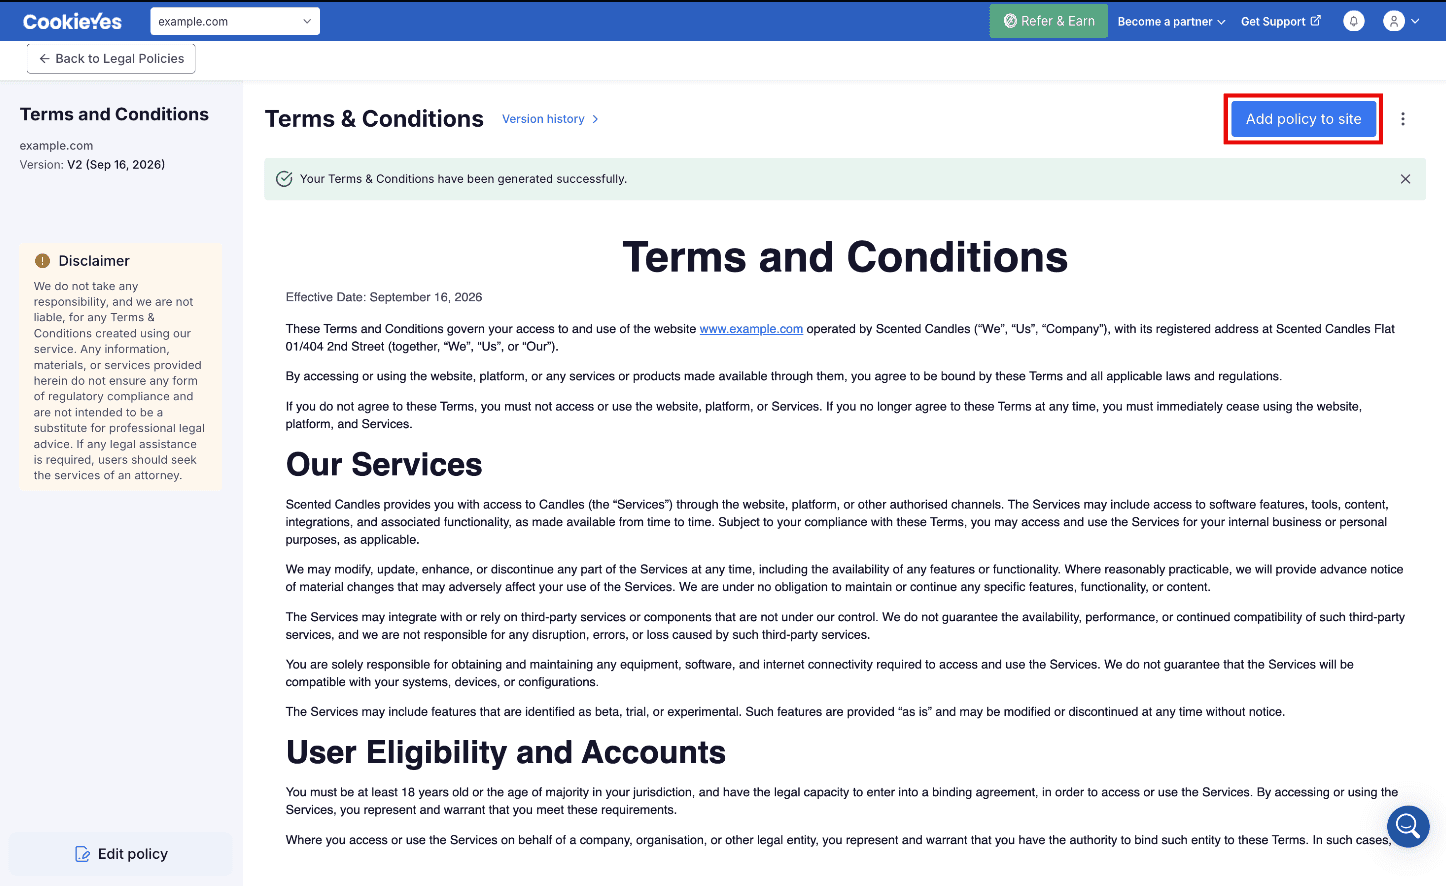
After generating your terms and conditions, review the preview. When ready, click Add policy to site to add the terms and conditions to your website.
Follow the steps below to add your policy.
Step 1: Choose your policy installation method
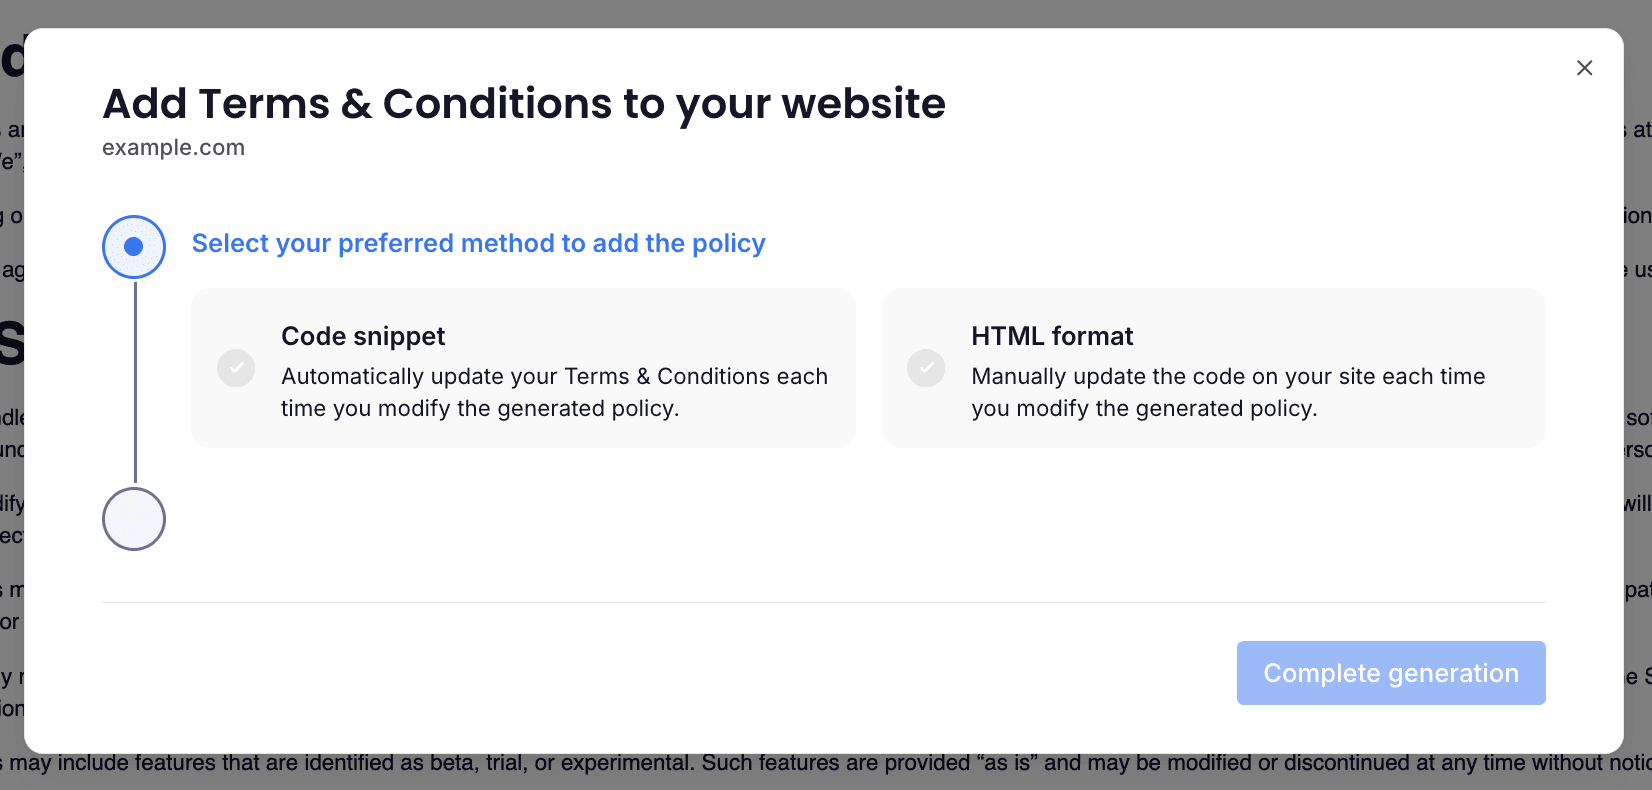
- In the modal that appears, choose your preferred method for adding the terms and conditions to your WordPress website.
- Option A: Code snippet — keeps your terms and conditions automatically updated.
- Option B: HTML format — requires manual updates whenever the policy changes.
- Click Copy code.
Tip
Use the Send code to a teammate option if someone else manages your website content.
Step 2: Create a policy page in WordPress
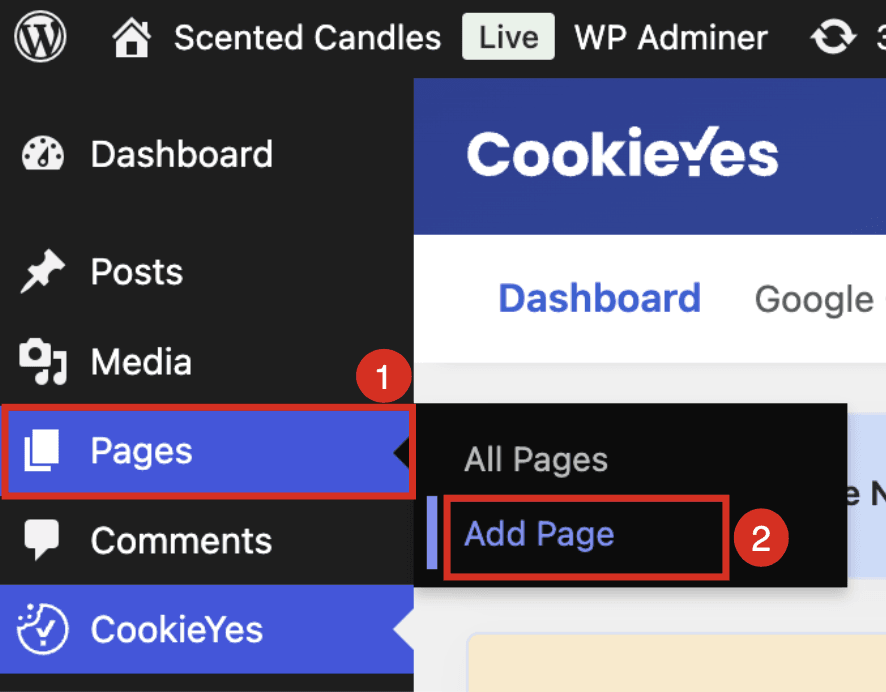
- Log in to your WordPress account and navigate to your site's Dashboard.
- In the left-hand menu, click Pages > Add Page.
Step 3: Embed the policy code
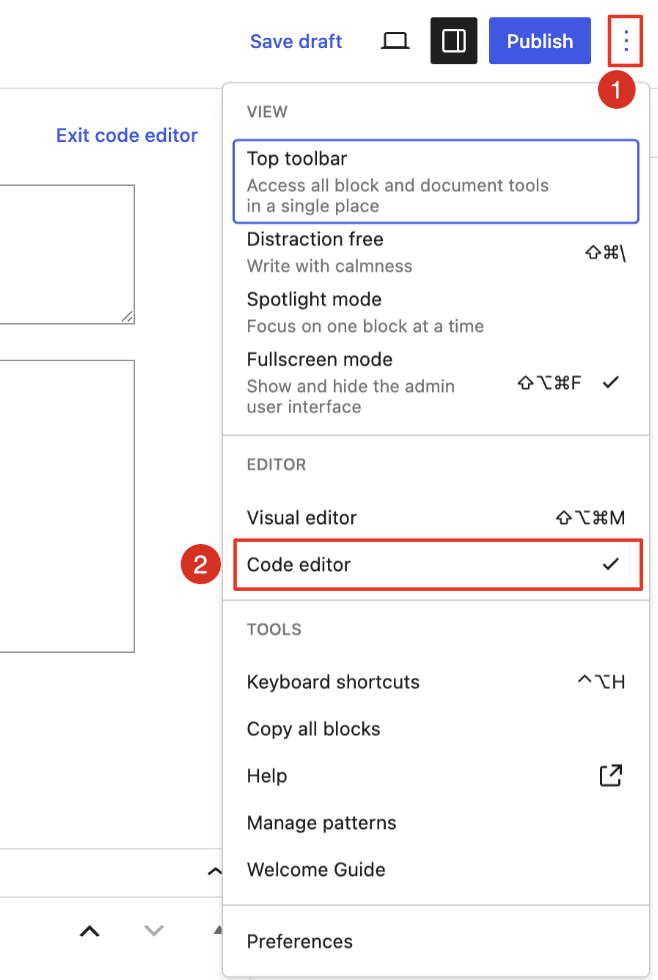
- From the options, click Code editor.
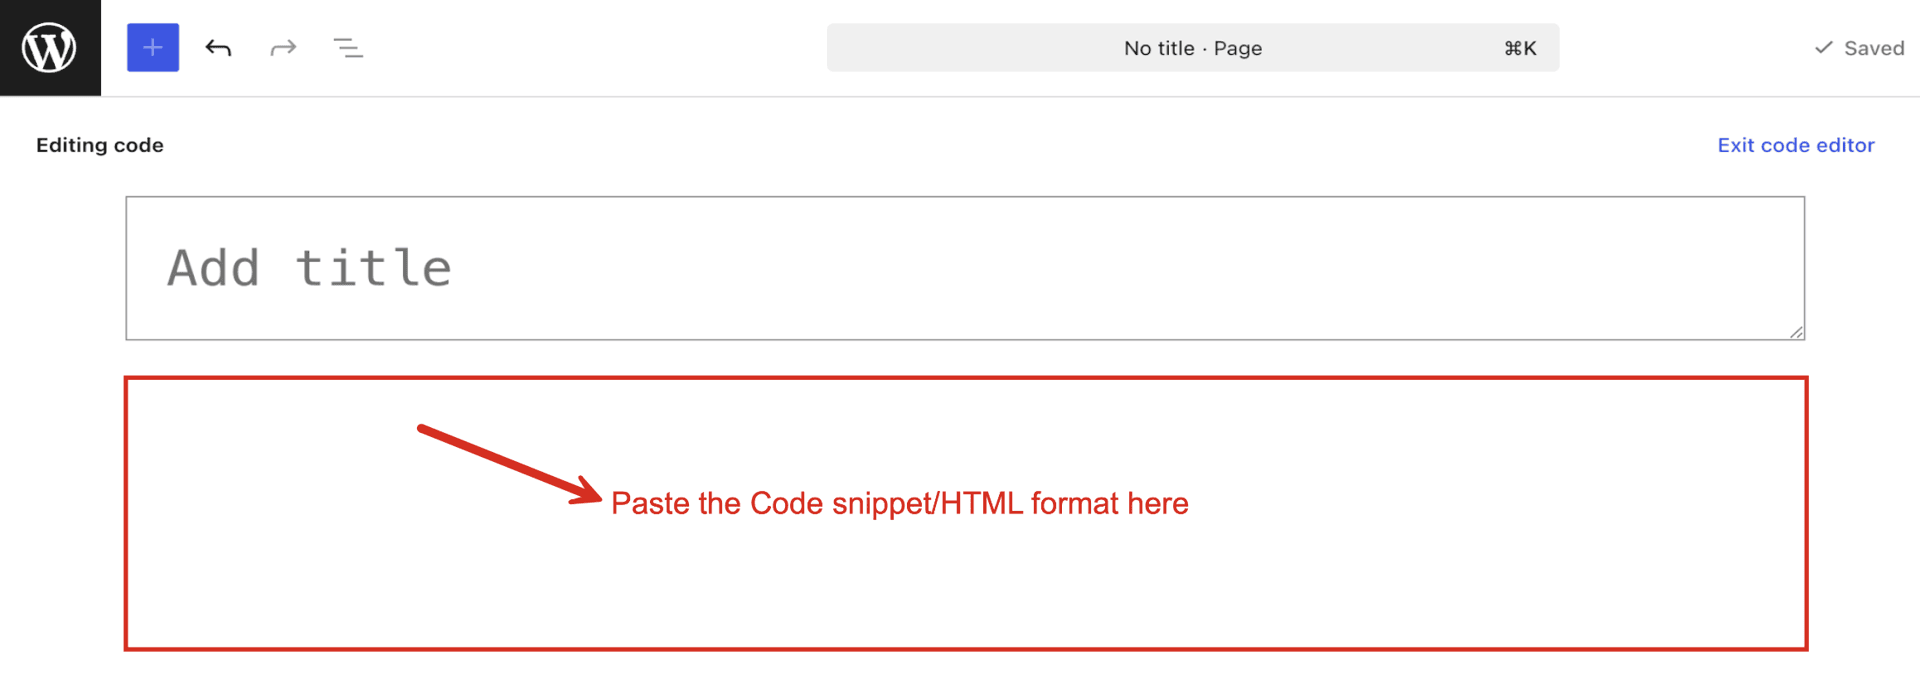
- Paste the code copied from CookieYes into the page on your WordPress website where you want the terms and conditions to display.
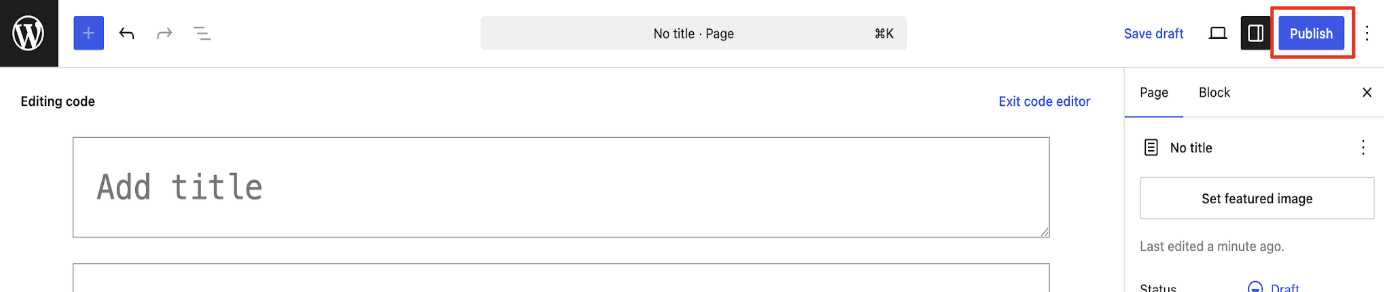
- Click Save draft.

- Click Publish to publish your changes.
Step 4: Complete generation
Return to CookieYes and click Complete generation. In the popup that opens, click Yes, I have installed.
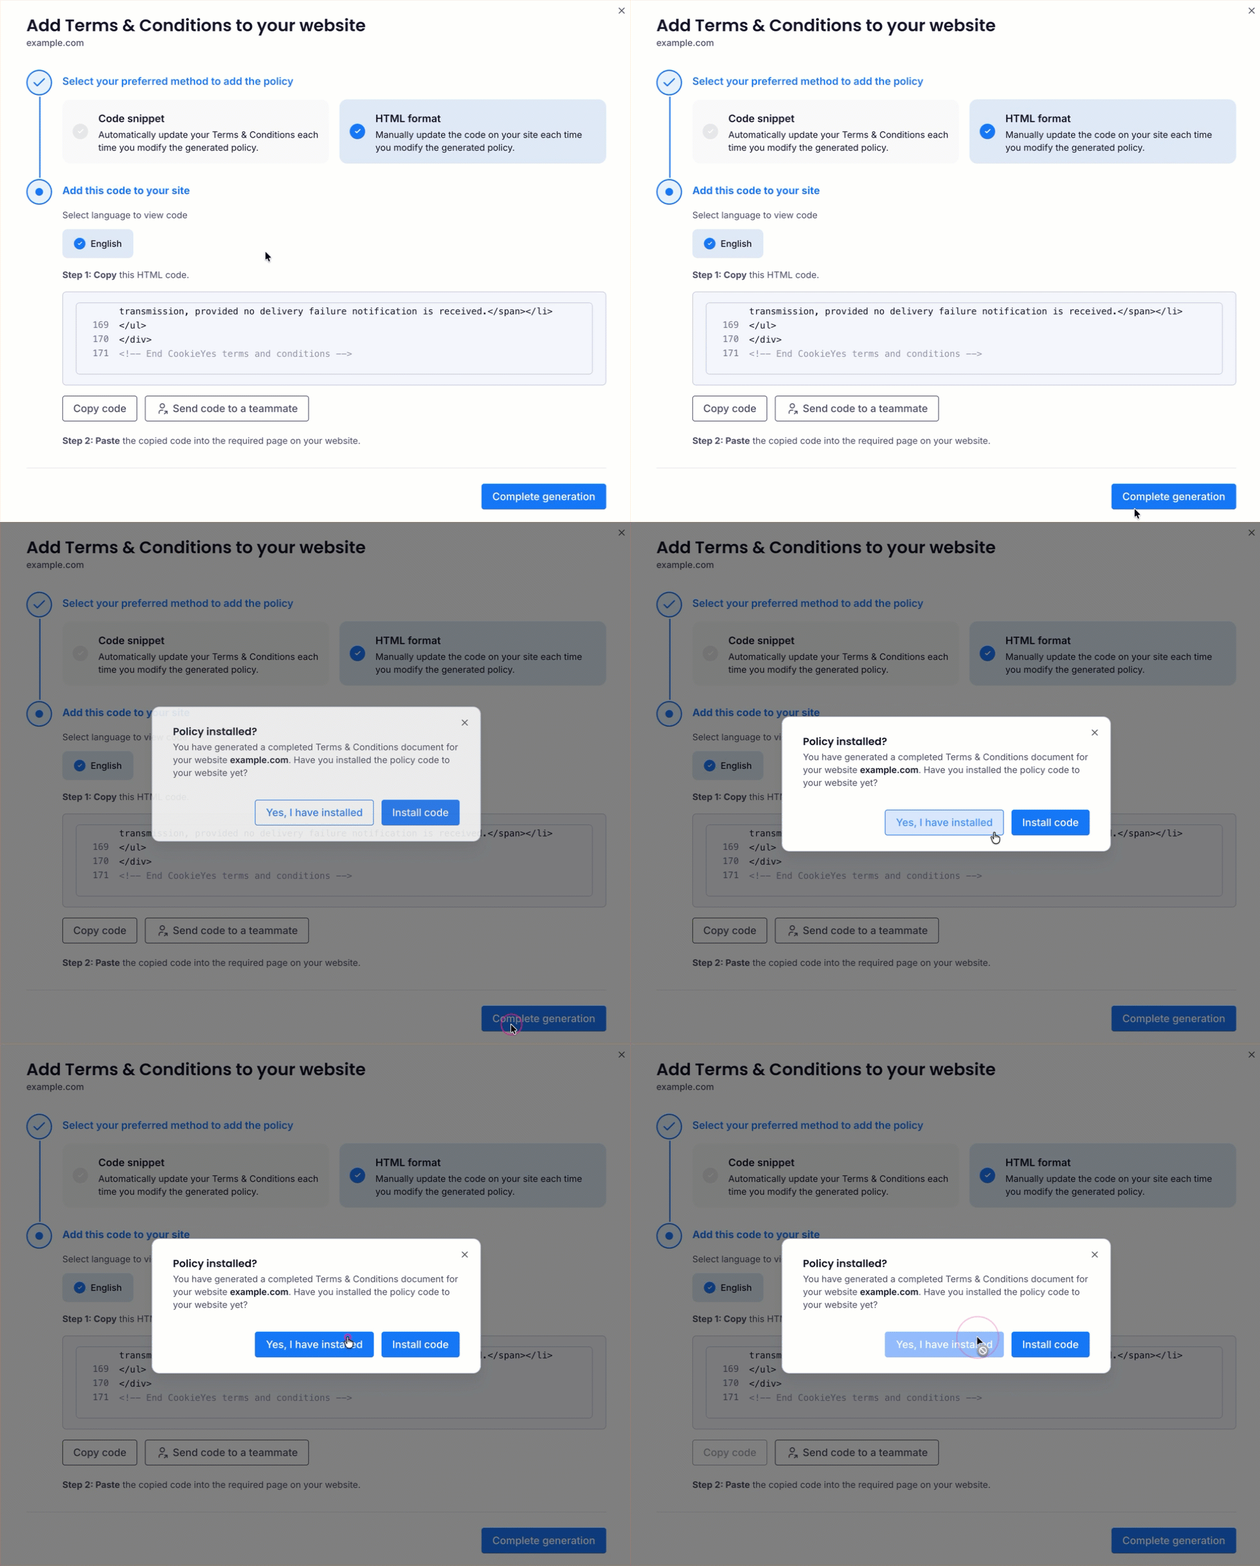
Now, your terms and conditions page will be live on your WordPress site.
Conclusion
By following this guide, you have generated a terms and conditions page in CookieYes and published it on your WordPress site. Your users can now see the rules governing their use of your website and the services offered through it, covering areas such as pricing, liability, and dispute resolution. If you added the page using the code snippet, changes you make in CookieYes appear on your site automatically. If you used the HTML format, copy and replace the code in WordPress each time you update your policy.