How to Add Custom CSS to Your Cookie Consent Banner
Last updated on June 2, 2025
On this page
Ensure you have upgraded your CookieYes account to a Premium plan (Basic, Pro, or Ultimate) to take advantage of the custom CSS feature.
Adding custom CSS
By adding custom CSS in CookieYes, you could transform the default appearance and behavior of your website’s cookie consent banner. This will make your cookie banner match the overall outlook of your website.
Here’s how to add custom CSS in CookieYes:
Step 1: Sign in to your CookieYes account; or sign up here.
Step 2: Go to Cookie Banner in the left panel.
Step 3: Click Custom CSS to expand.
Step 4: Enter the custom CSS inside the code box as shown below. Click Publish Changes to save your settings.
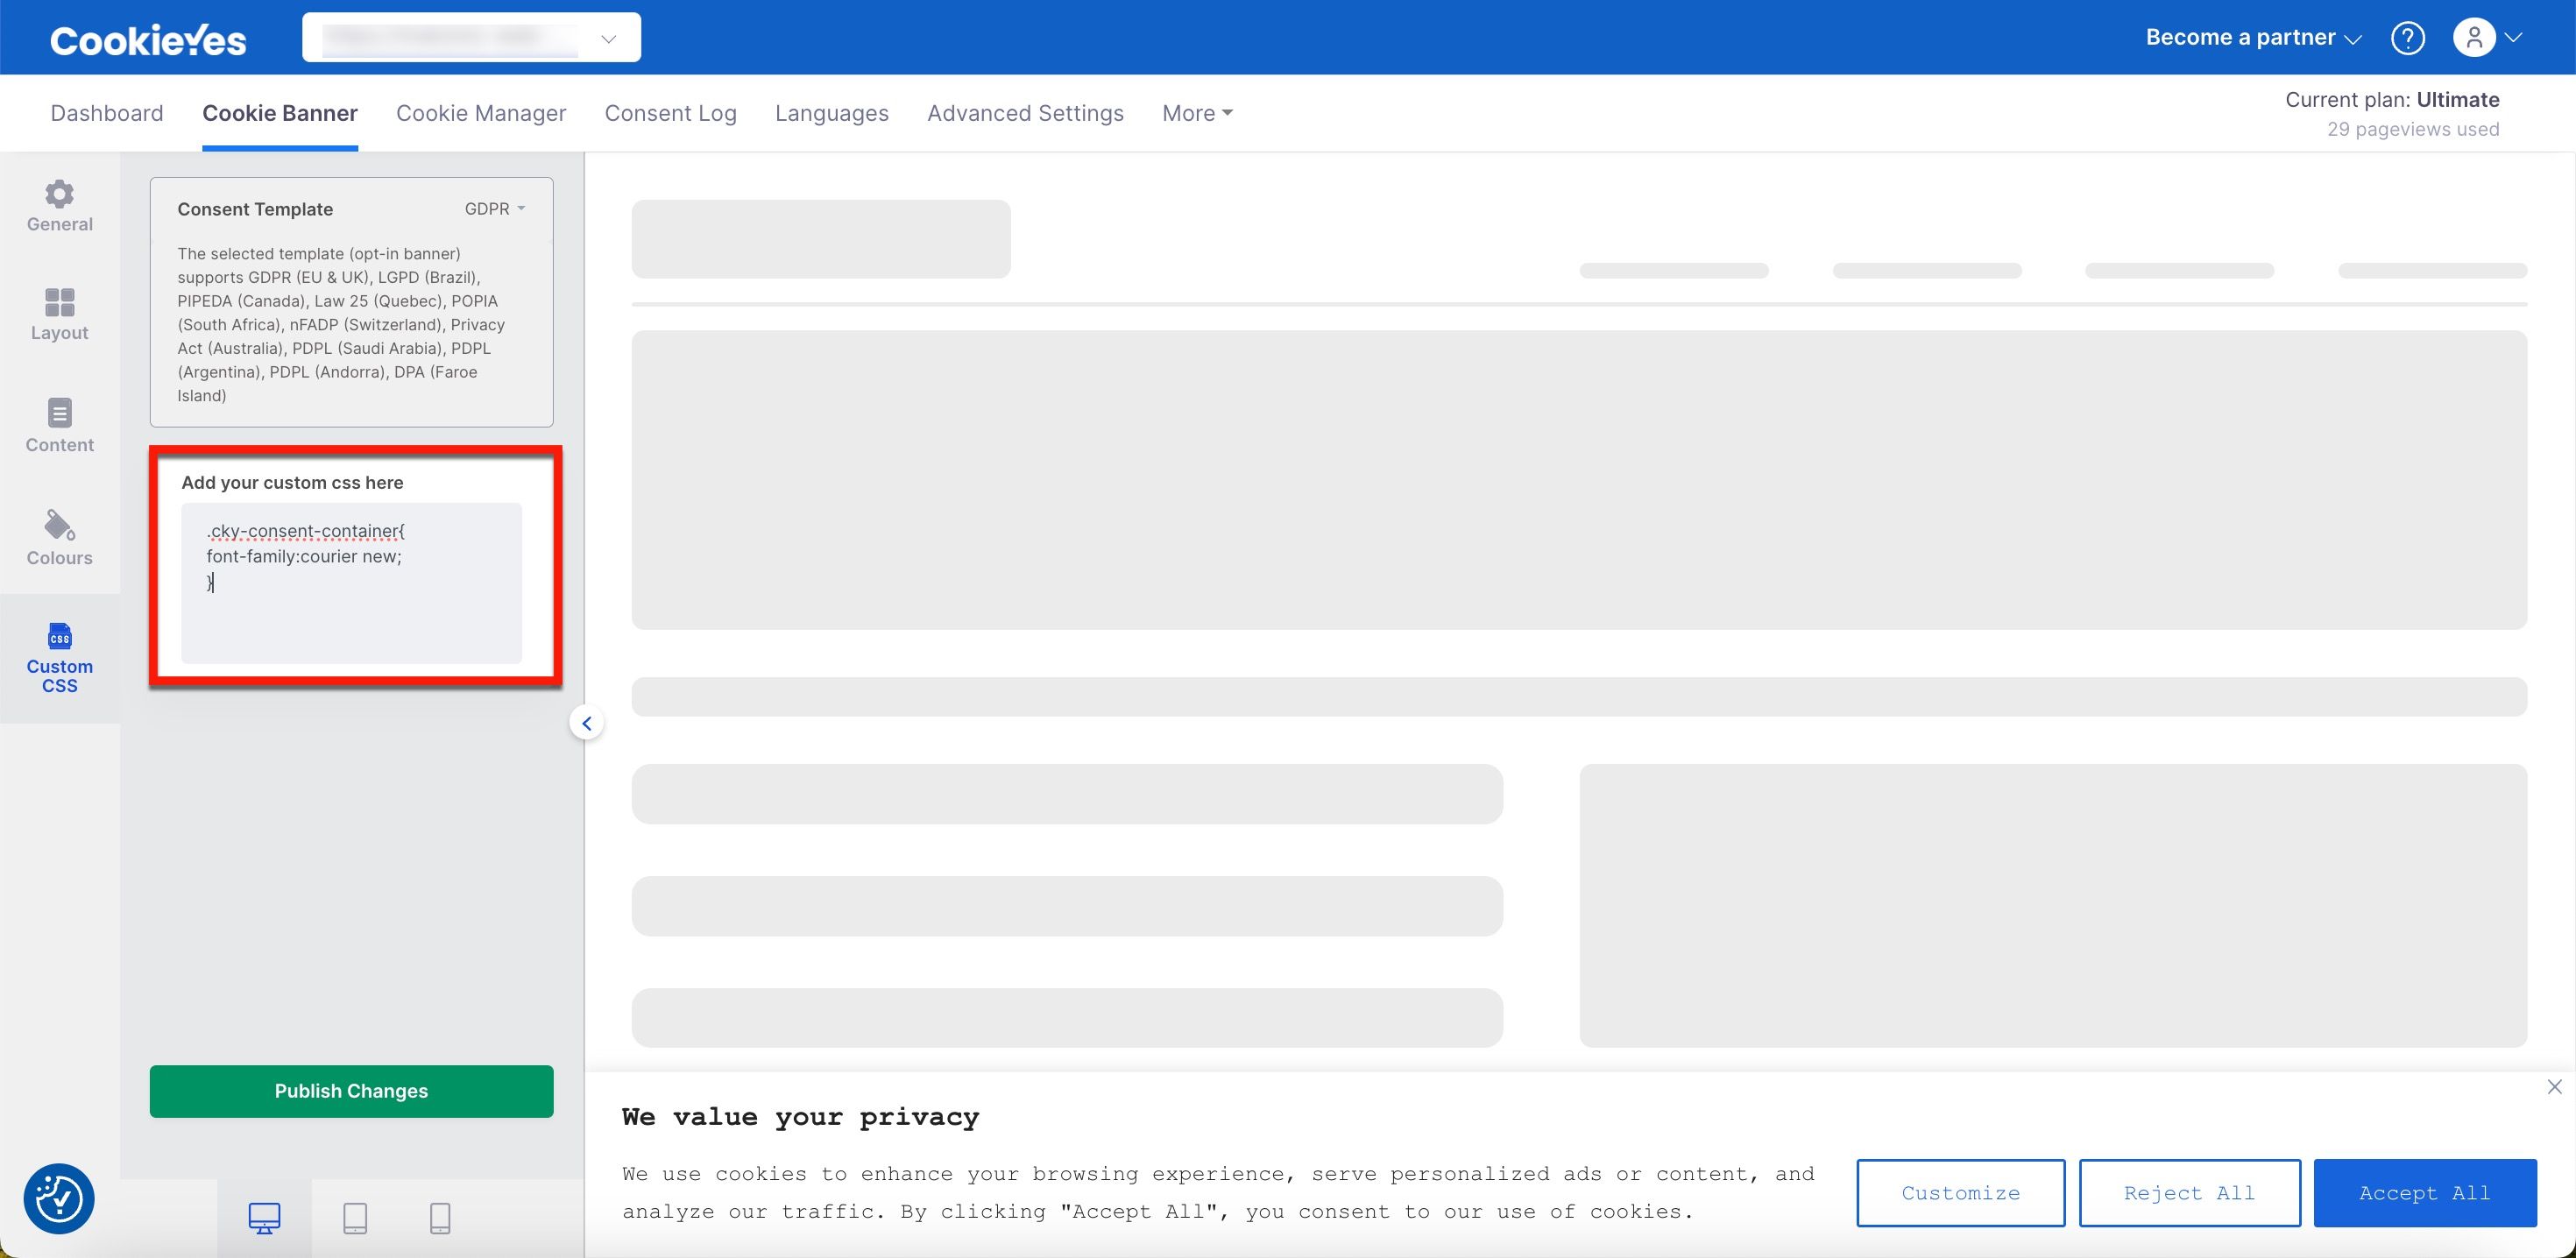
To view the customized consent banner on your website, make sure you’ve copied the CookieYes script and pasted it between the <head> and </head> tags of your website’s source code — check out the setup guide for detailed help.
Now, reload your website to see the changes you have made.
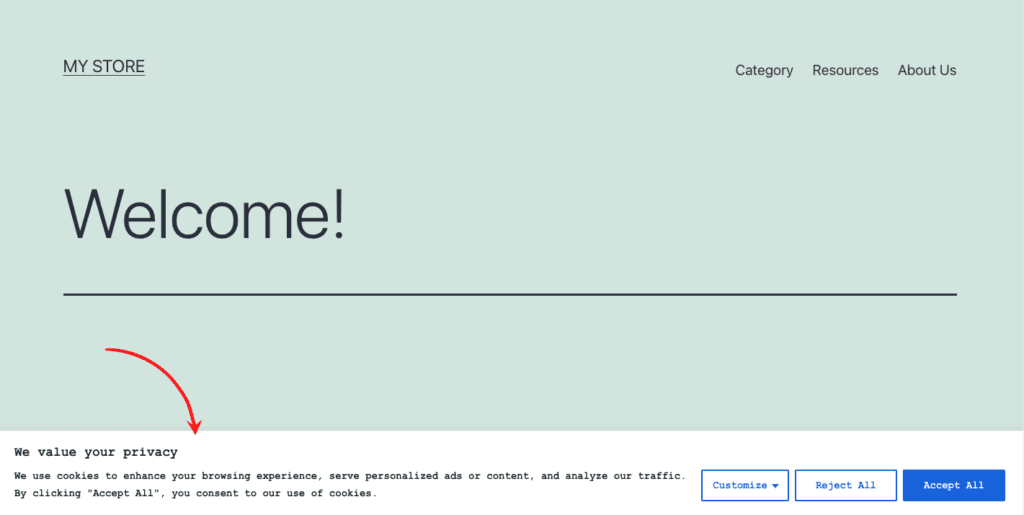
Cookie consent banner set by CookieYes — before adding custom CSS
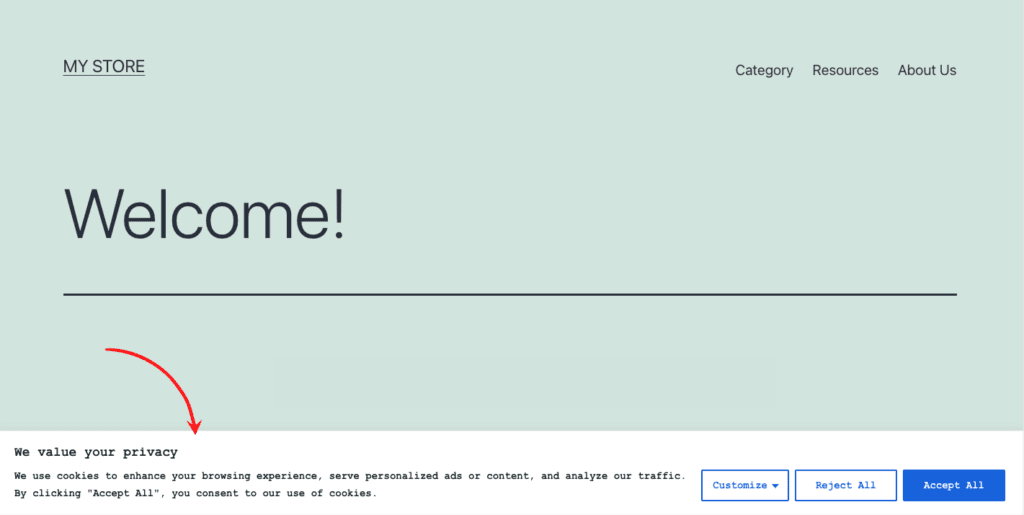
Cookie consent banner set by CookieYes — after changing the font type and size of the banner content using custom CSS