Scan Your Website
Last updated on June 2, 2025
On this page
Unlimited number of scans are available for users on the Basic, Pro, and Ultimate plans. Free users have access to up to 5 scans per month.
Scan Type
| Scan Type | Description |
|---|---|
| Manual Scan | A user-initiated scan that scans the entire website or a set of pages (URL) requested by the user. |
| Schedule Scan | Automatically scans the website based on the schedule configured by the user. |
Once the scanning is completed, the existing cookie list (cookies discovered in the previous scan) will be replaced with the cookies discovered in the most recent scan. So make sure you don’t exclude any pages that set cookies.
Manual Scan
| Options | Description |
|---|---|
| Full Scan | Scan the entire website or by including/excluding page(s) of the website as requested by the user. Include URL- Scan the website with the URL(s) of a specific page(s) to ensure that our scanner gets them. Exclude URL- Scan the website without scanning the URL(s) of a specific page(s). |
| Custom Scan | Scans only the specified page(s). |
Scan behind login
CookieYes can scan cookies behind login. This feature is available to Ultimate plan users on request. Reach out to [email protected] to access this feature.
To perform a Full Scan, follow the procedure:
- Head over to Dashboard > Cookie Manager.
- Click the Scan now button.
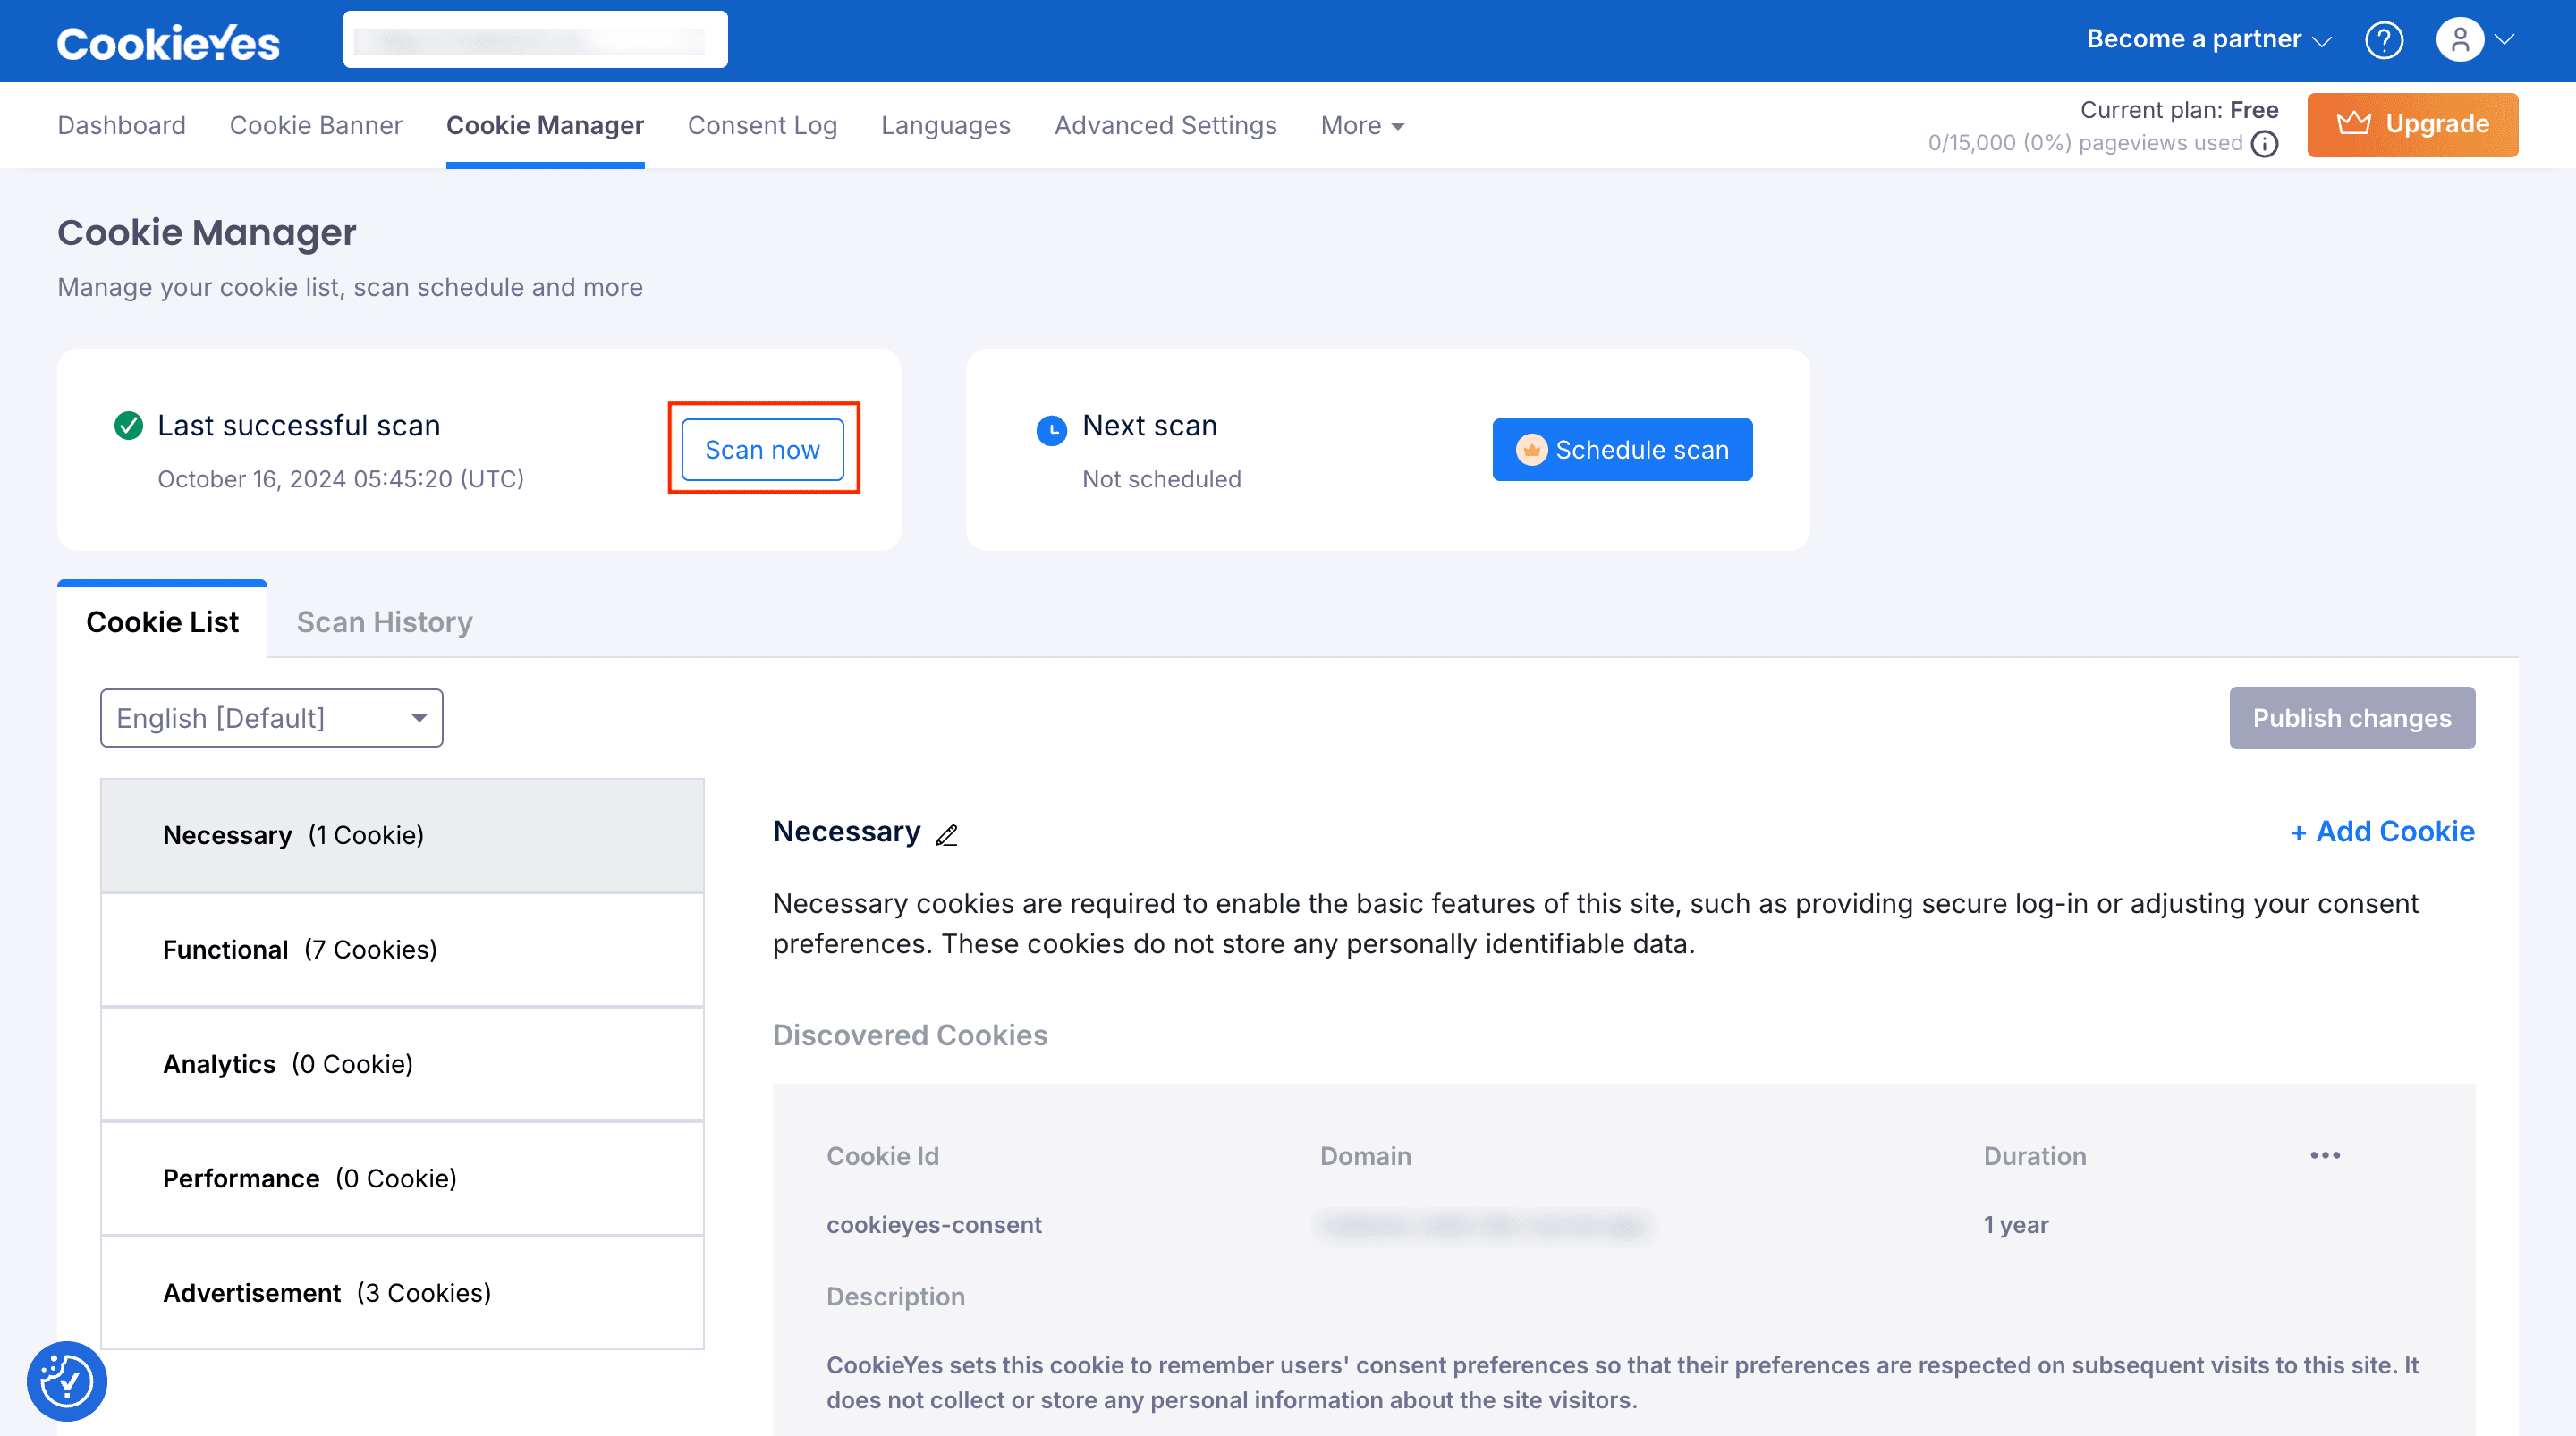
The Scan modal appears. - Choose the Full Scan option.

- To include/exclude page(s) in full scan, click Show advanced options.
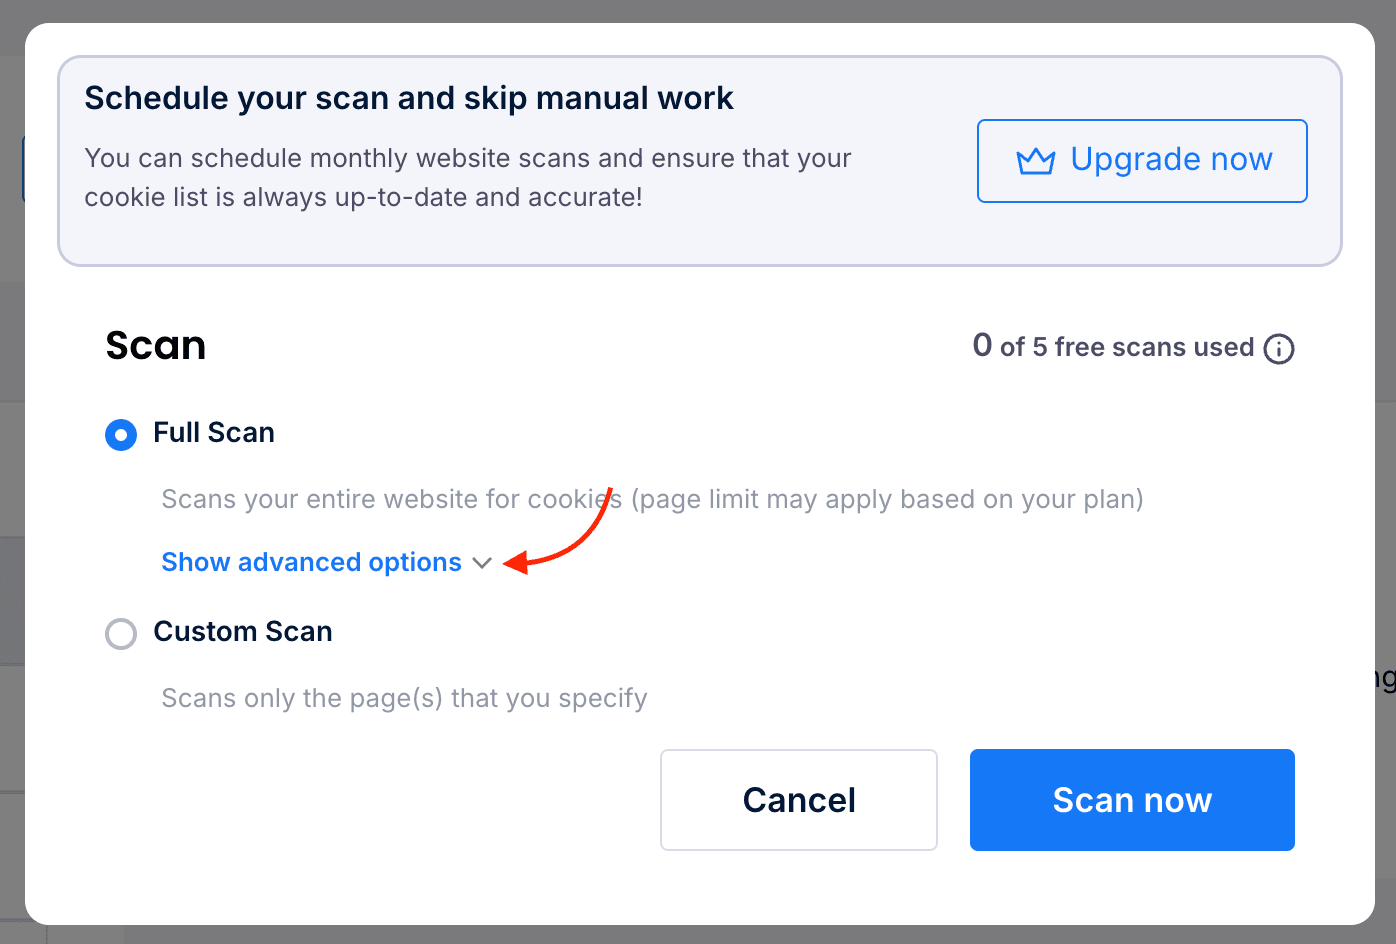
- Enter the URL(s) in the corresponding fields.

- When you add a subdomain in the exclude URL field, include “protocol” before the URL.
- If you want all the pages under the subdomain to get excluded during the scan, add “*” at the end of the URL.
For example, if you want to exclude the subdomain “example.com” and all the pages under this subdomain, add the URL in this format:” https://example.com* “.
- Finally, click the Scan Now button.
To perform a Custom Scan, follow the procedure:
- Head Over to Dashboard > Cookie Manager.
- Click the Scan now button.
The Scan modal appears. - Choose the Custom Scan option.
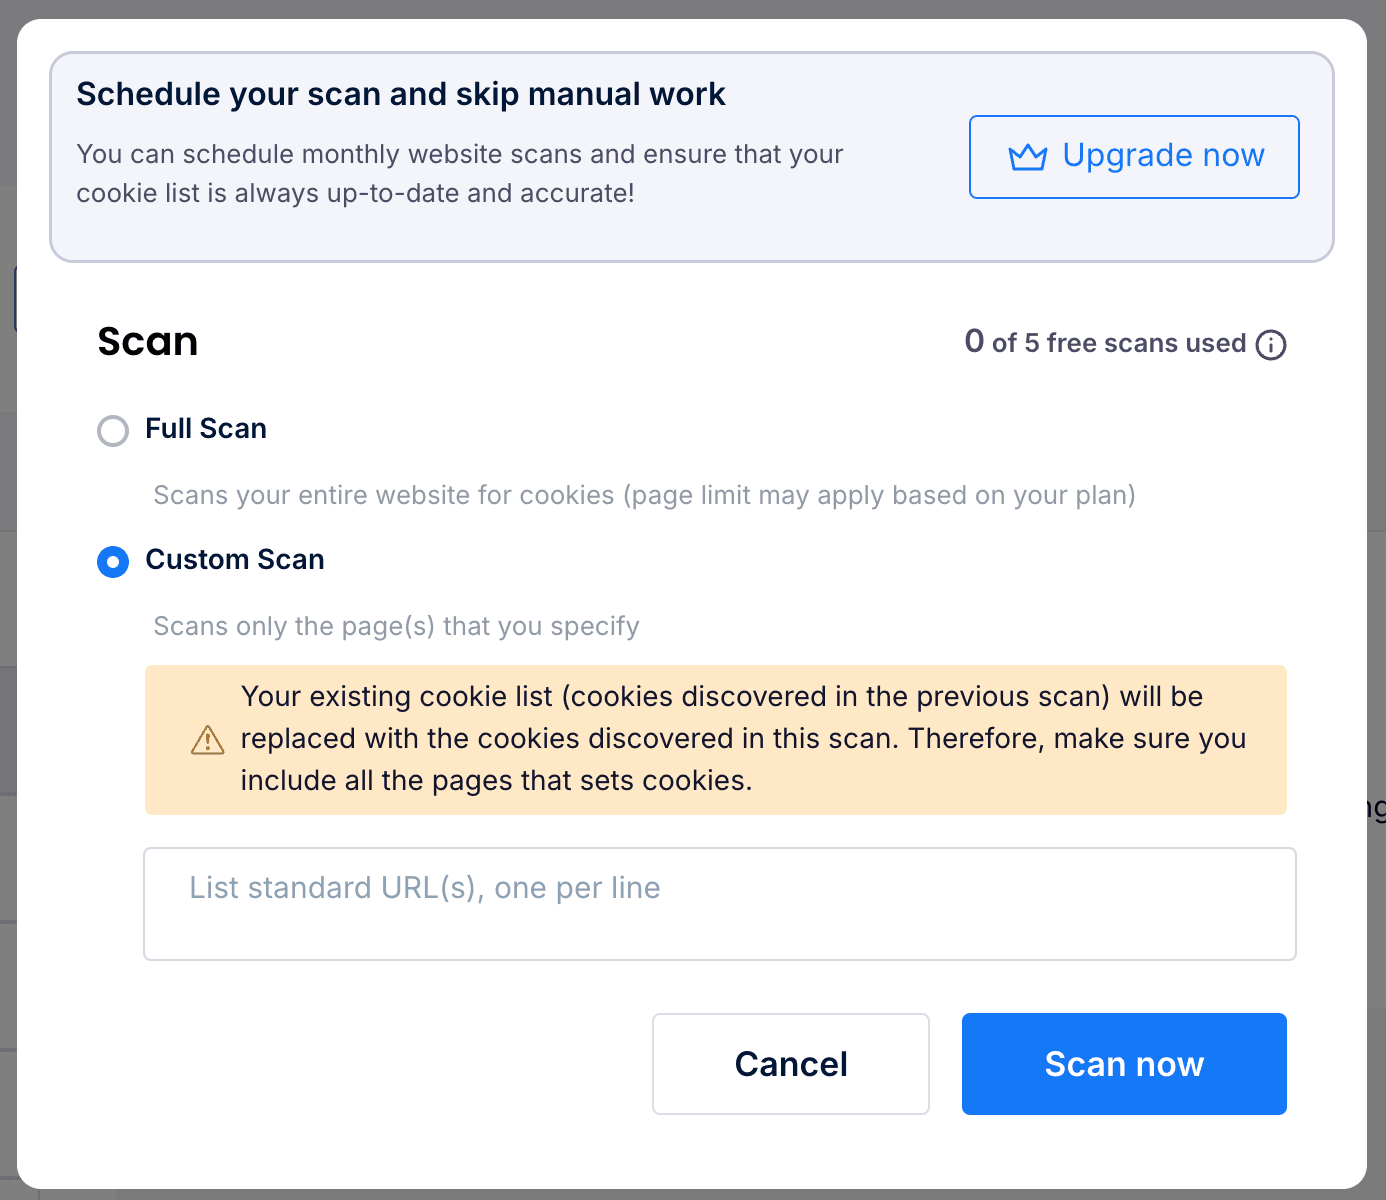
- Enter the specific URL(s) of the page(s) to be scanned.
- Click the Scan Now button.
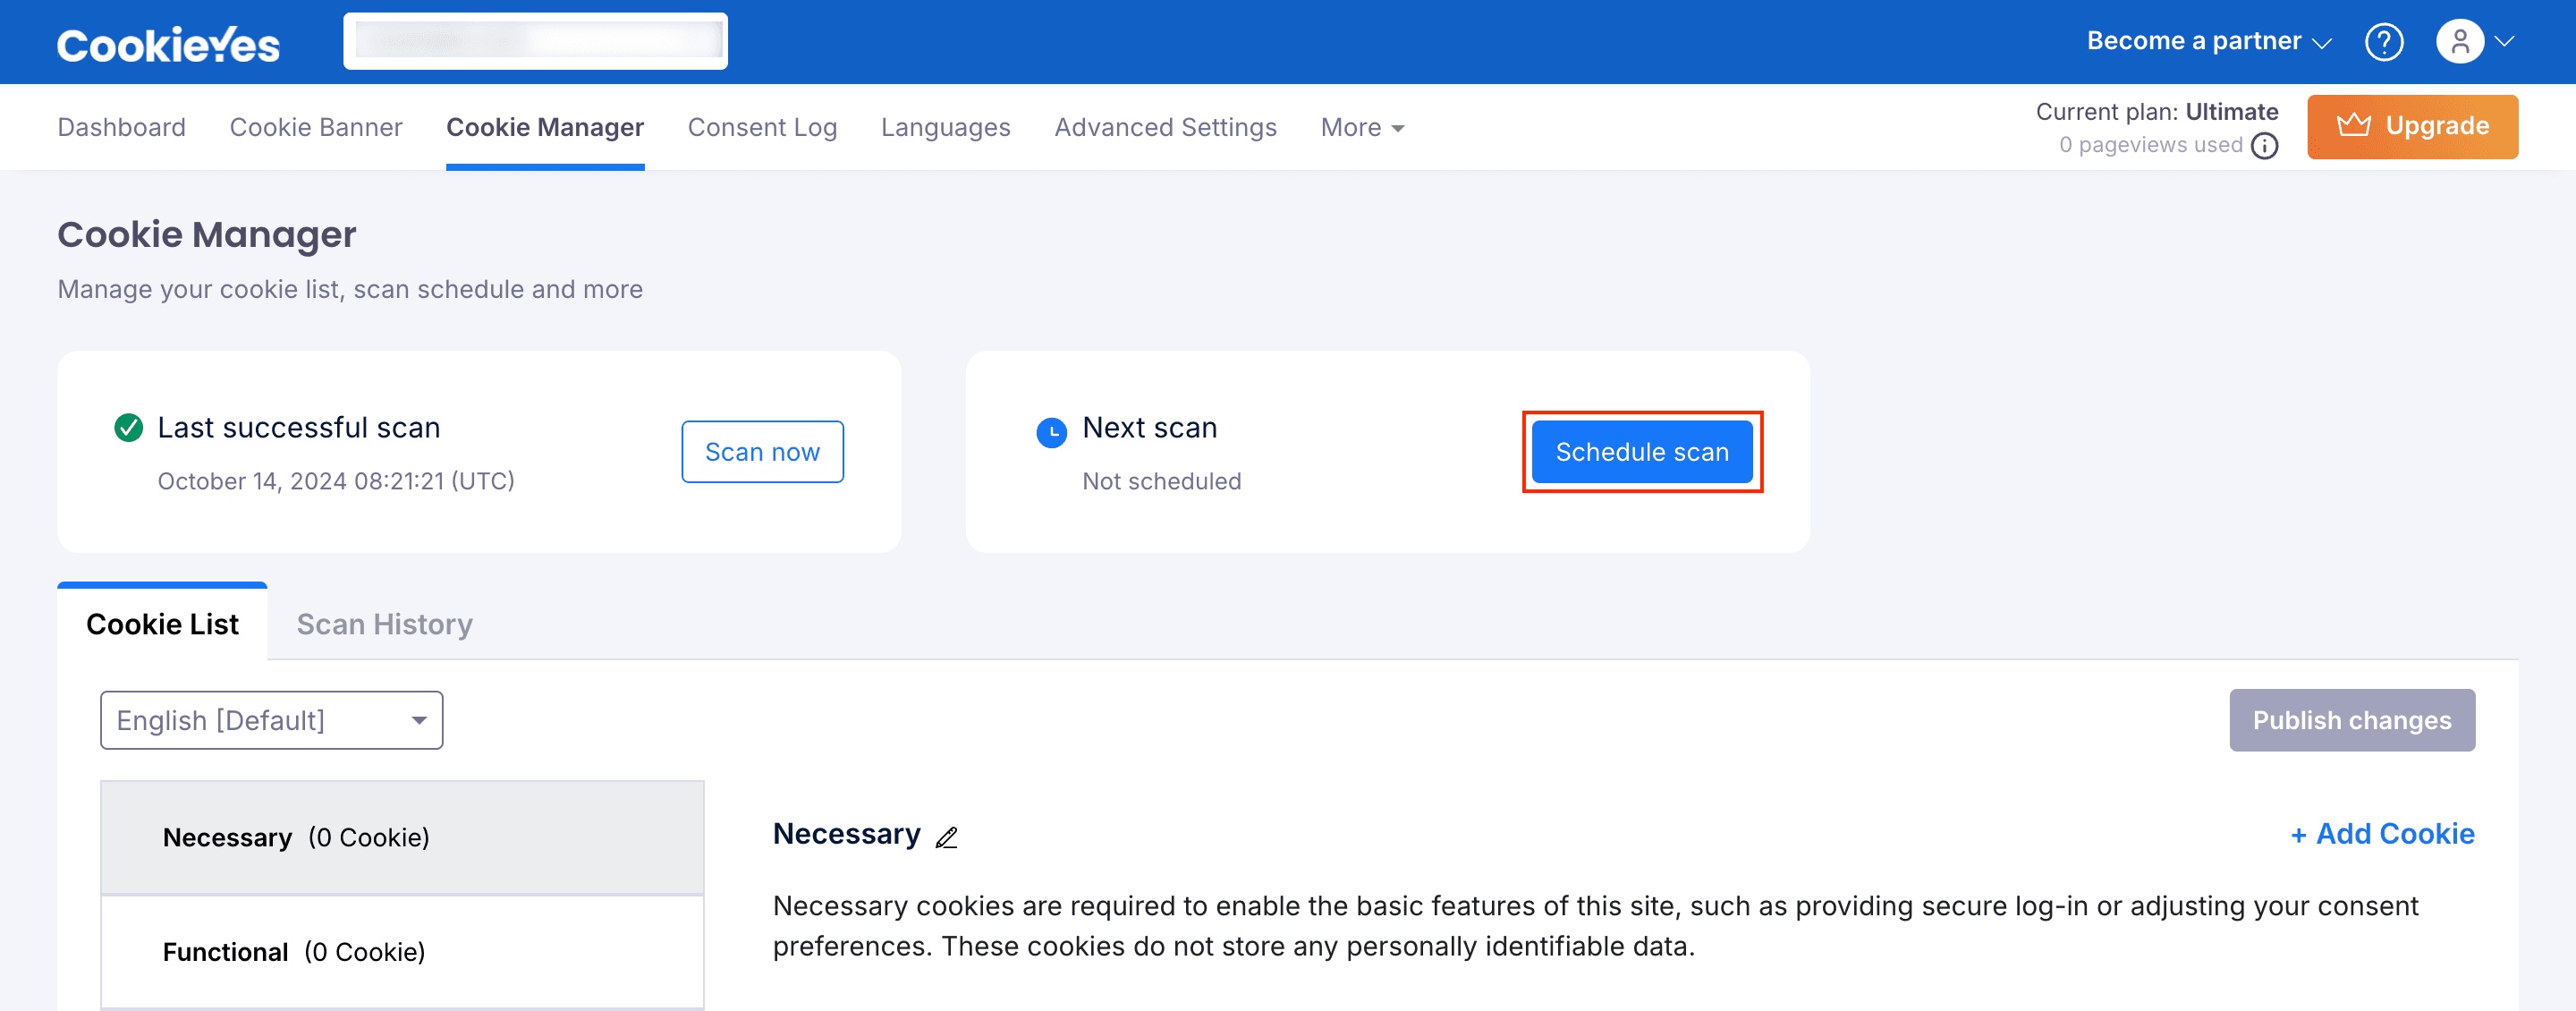
Schedule Scan
| Options | Description |
|---|---|
| Only Once | Scan the website only once at a pre-defined date and time. |
| Monthly | Scans the specified website monthly on a pre-defined day and time. |
| Weekly | Scans the specified website weekly on a pre-defined day and time. |
The Schedule Scan feature is available on the Pro and Ultimate plan.
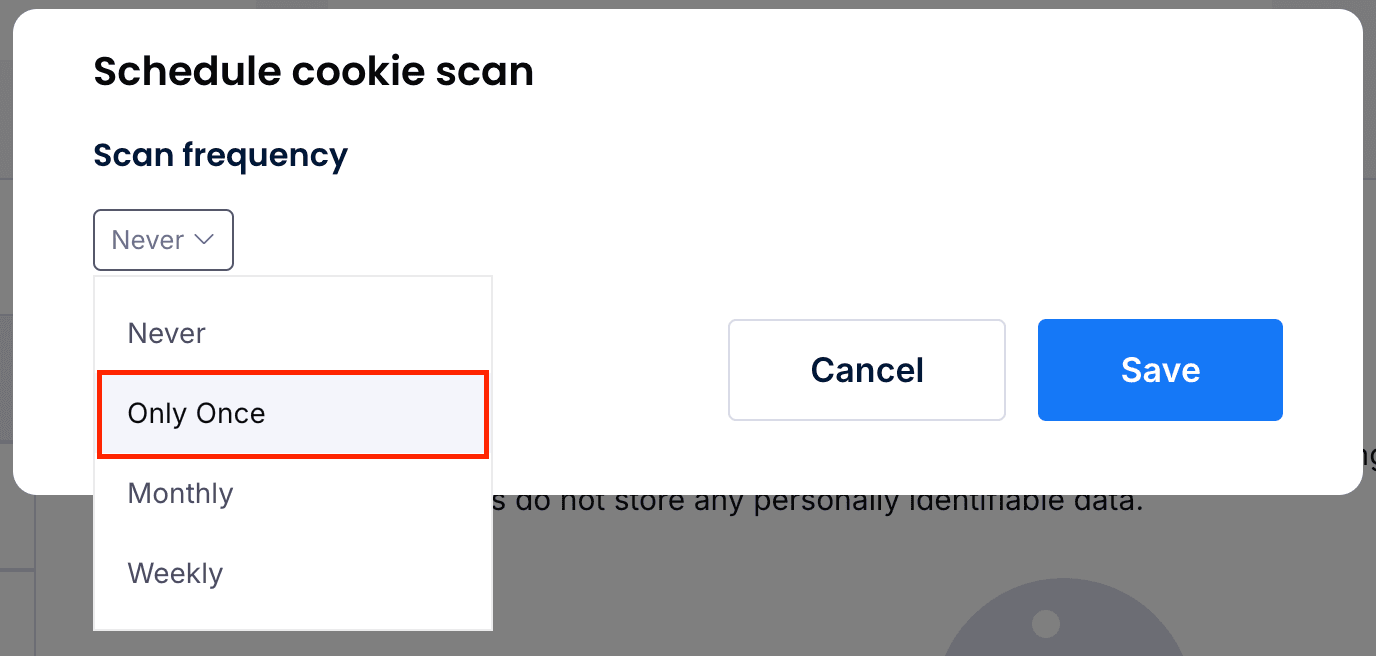
To add a scheduled cookie scan Only Once, follow the procedure
- Navigate to Dashboard > Cookie Manager > Schedule Scan.
- Select Only Once from the drop-down menu.
- Enter a date in mm/dd/yyyy format, time in HH: MM format and select AM or PM.
- Choose the Scan option and enter the URL if needed.
- Click the Save button.

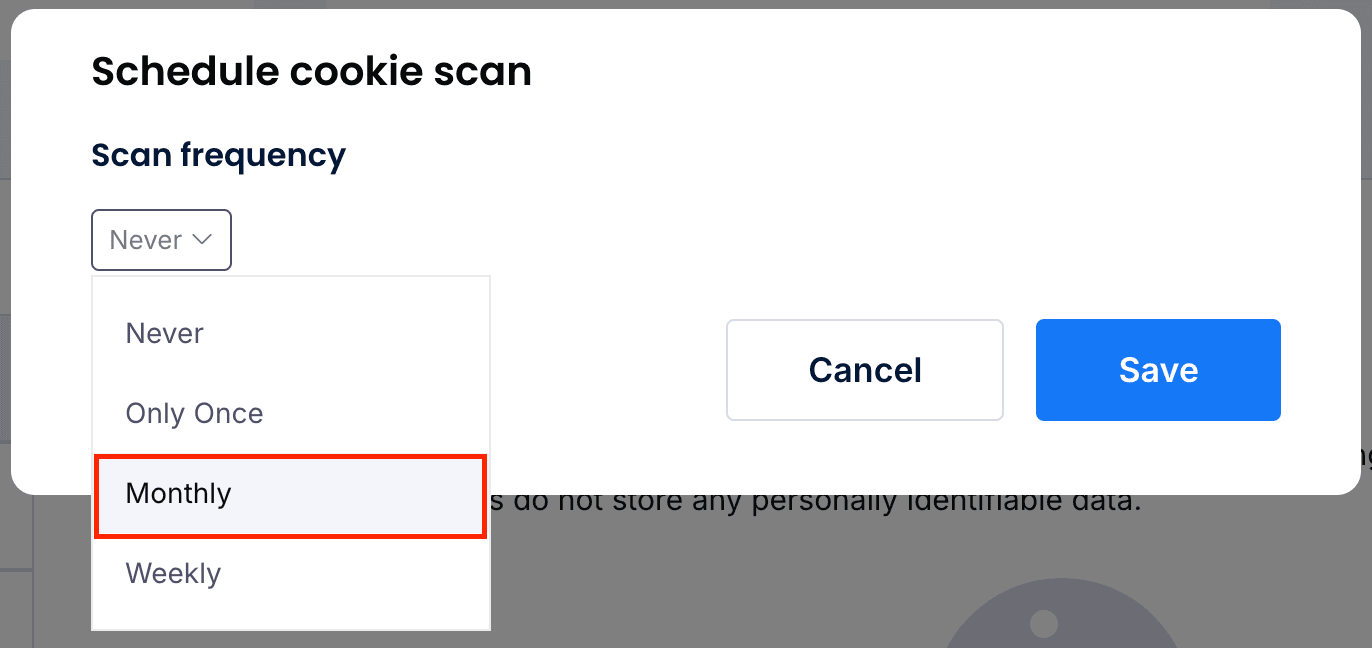
To add monthly scheduled cookie scan, follow the procedure:
- Navigate to Cookie Manager > Schedule Scan.
- Select Monthly from the drop-down menu.
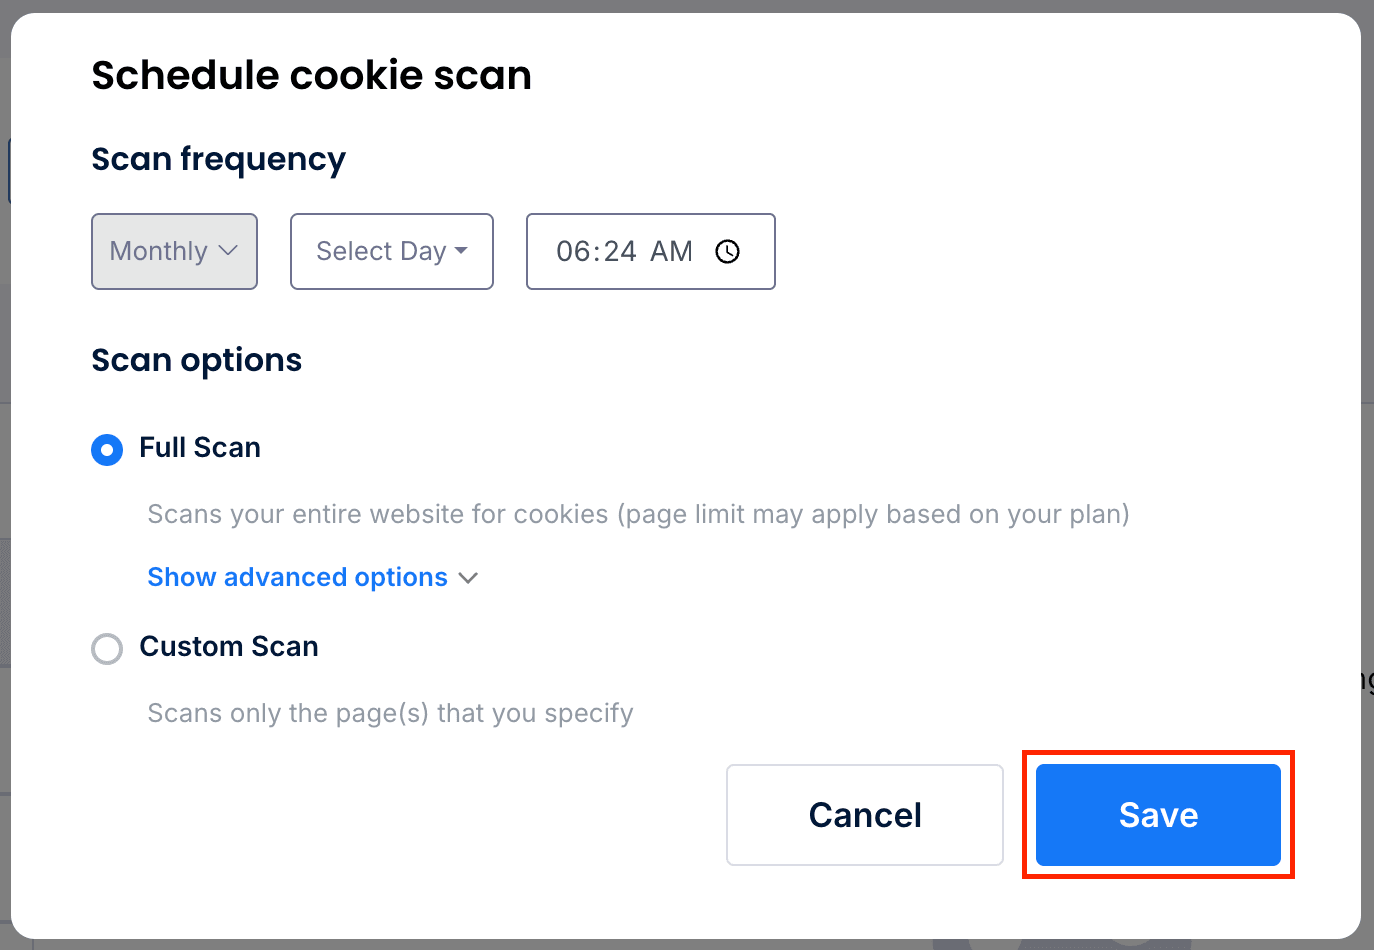
- Select a start day from the drop-down menu, enter the start time in HH: MM format and select AM or PM.
- Choose the Scan option and enter the URL if needed.
- Click the Save button.
To weekly schedule cookie scan:
Only Ultimate users can schedule weekly scans.
- Navigate to Cookie Manager > Schedule Scan.
- Select Weekly from the drop-down menu.
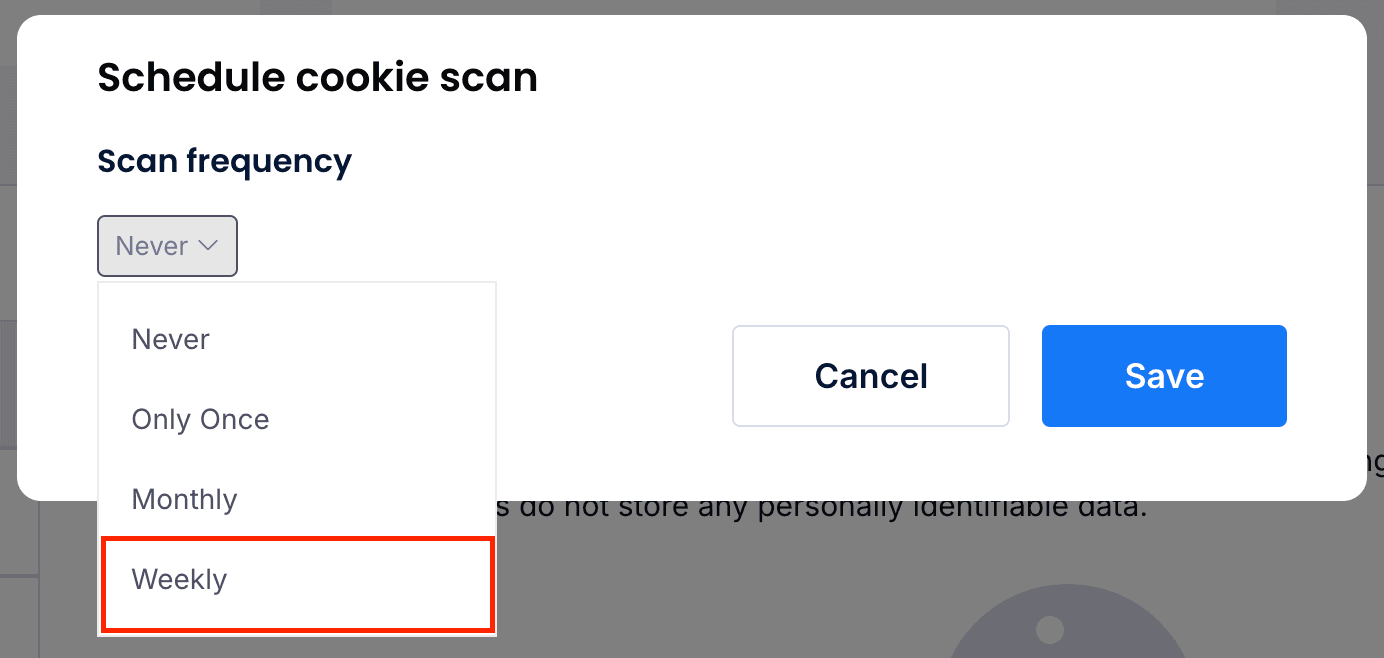
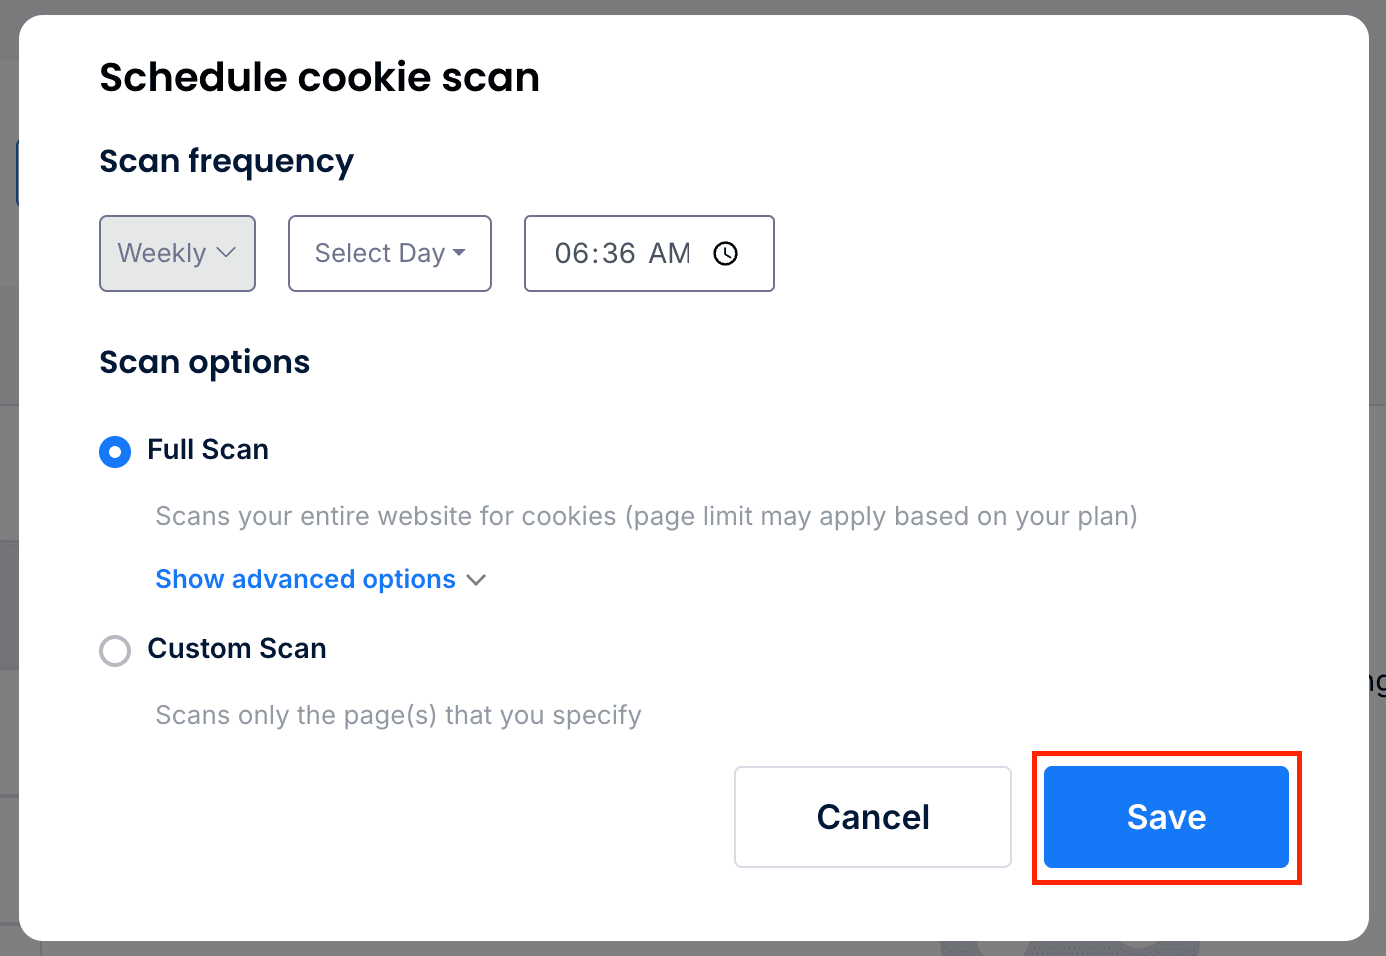
- Select a start day from the drop-down menu, enter the start time in HH: MM format and select AM or PM.
- Choose the Scan option and enter the URL if needed.
- Click the Save button.
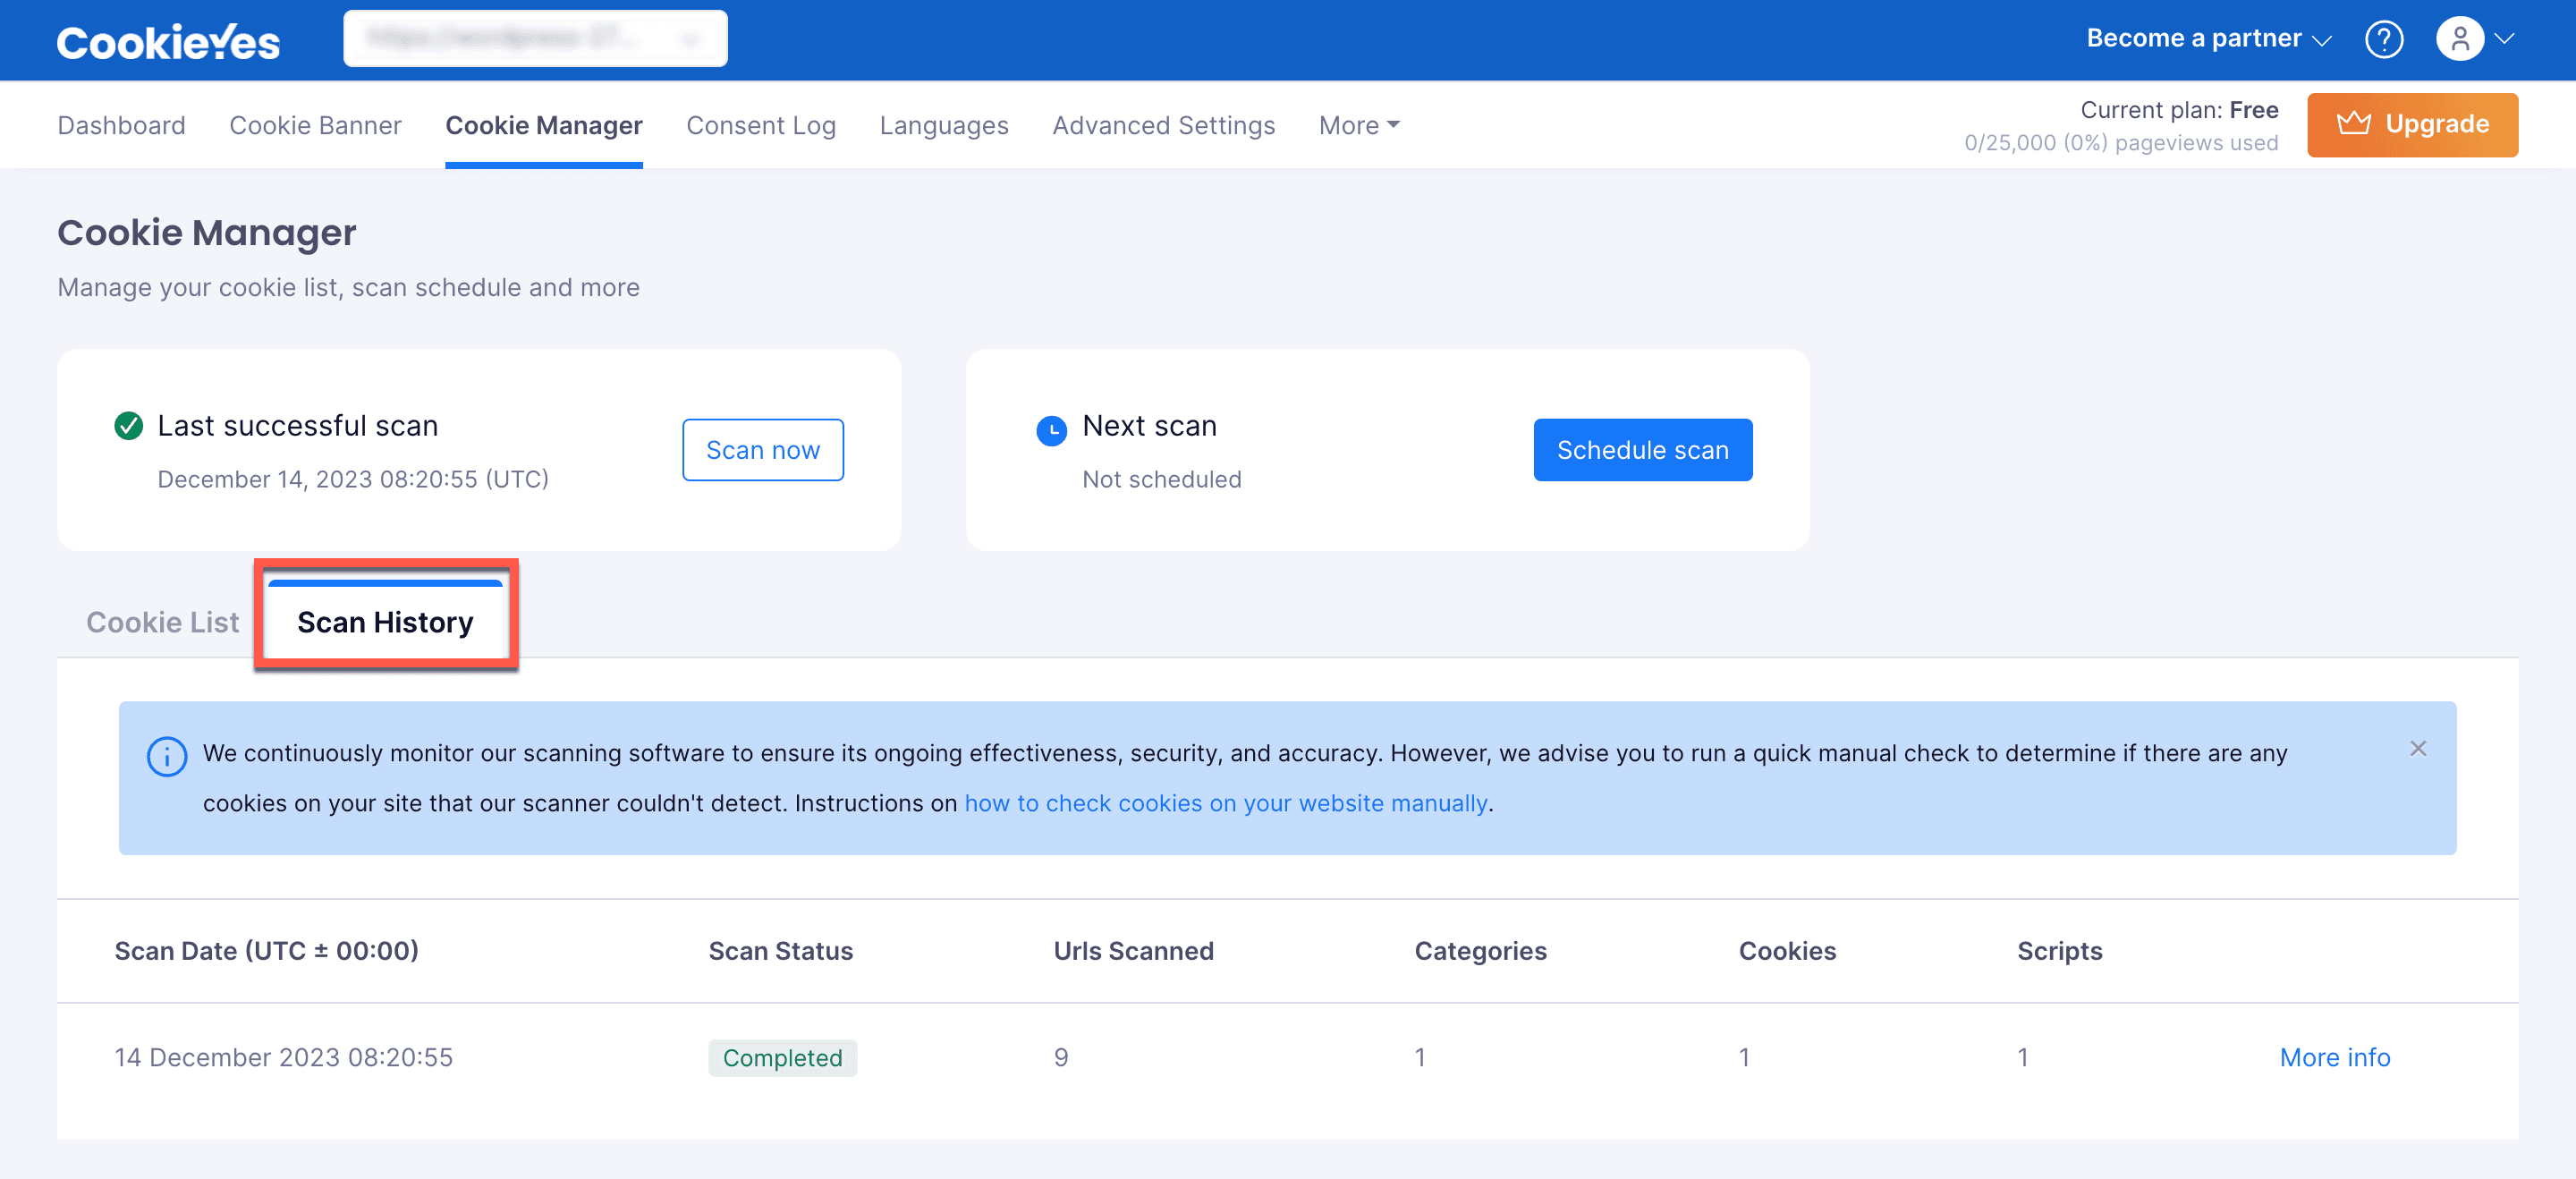
Scan Result
Whenever a scan is complete, the cookie banner will automatically update with the list of cookies found in the most recent scan. You can also see the scan result from the Scan History. For this, navigate to CookieYes Dashboard > Cookie Manager > Scan History.