How to Install and Setup GDPR Cookie Consent Plugin
Last updated on June 2, 2025
On this page
Overview
Compatibility
The plugin requires a minimum of WordPress version 5 or above.
Get Started
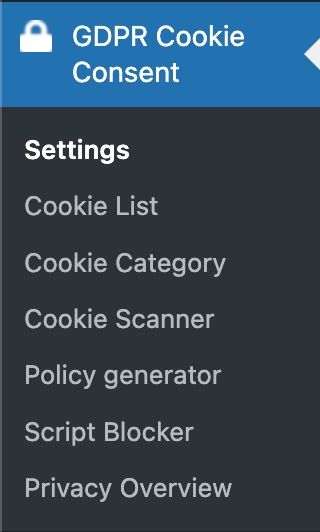

Setup And Customisation
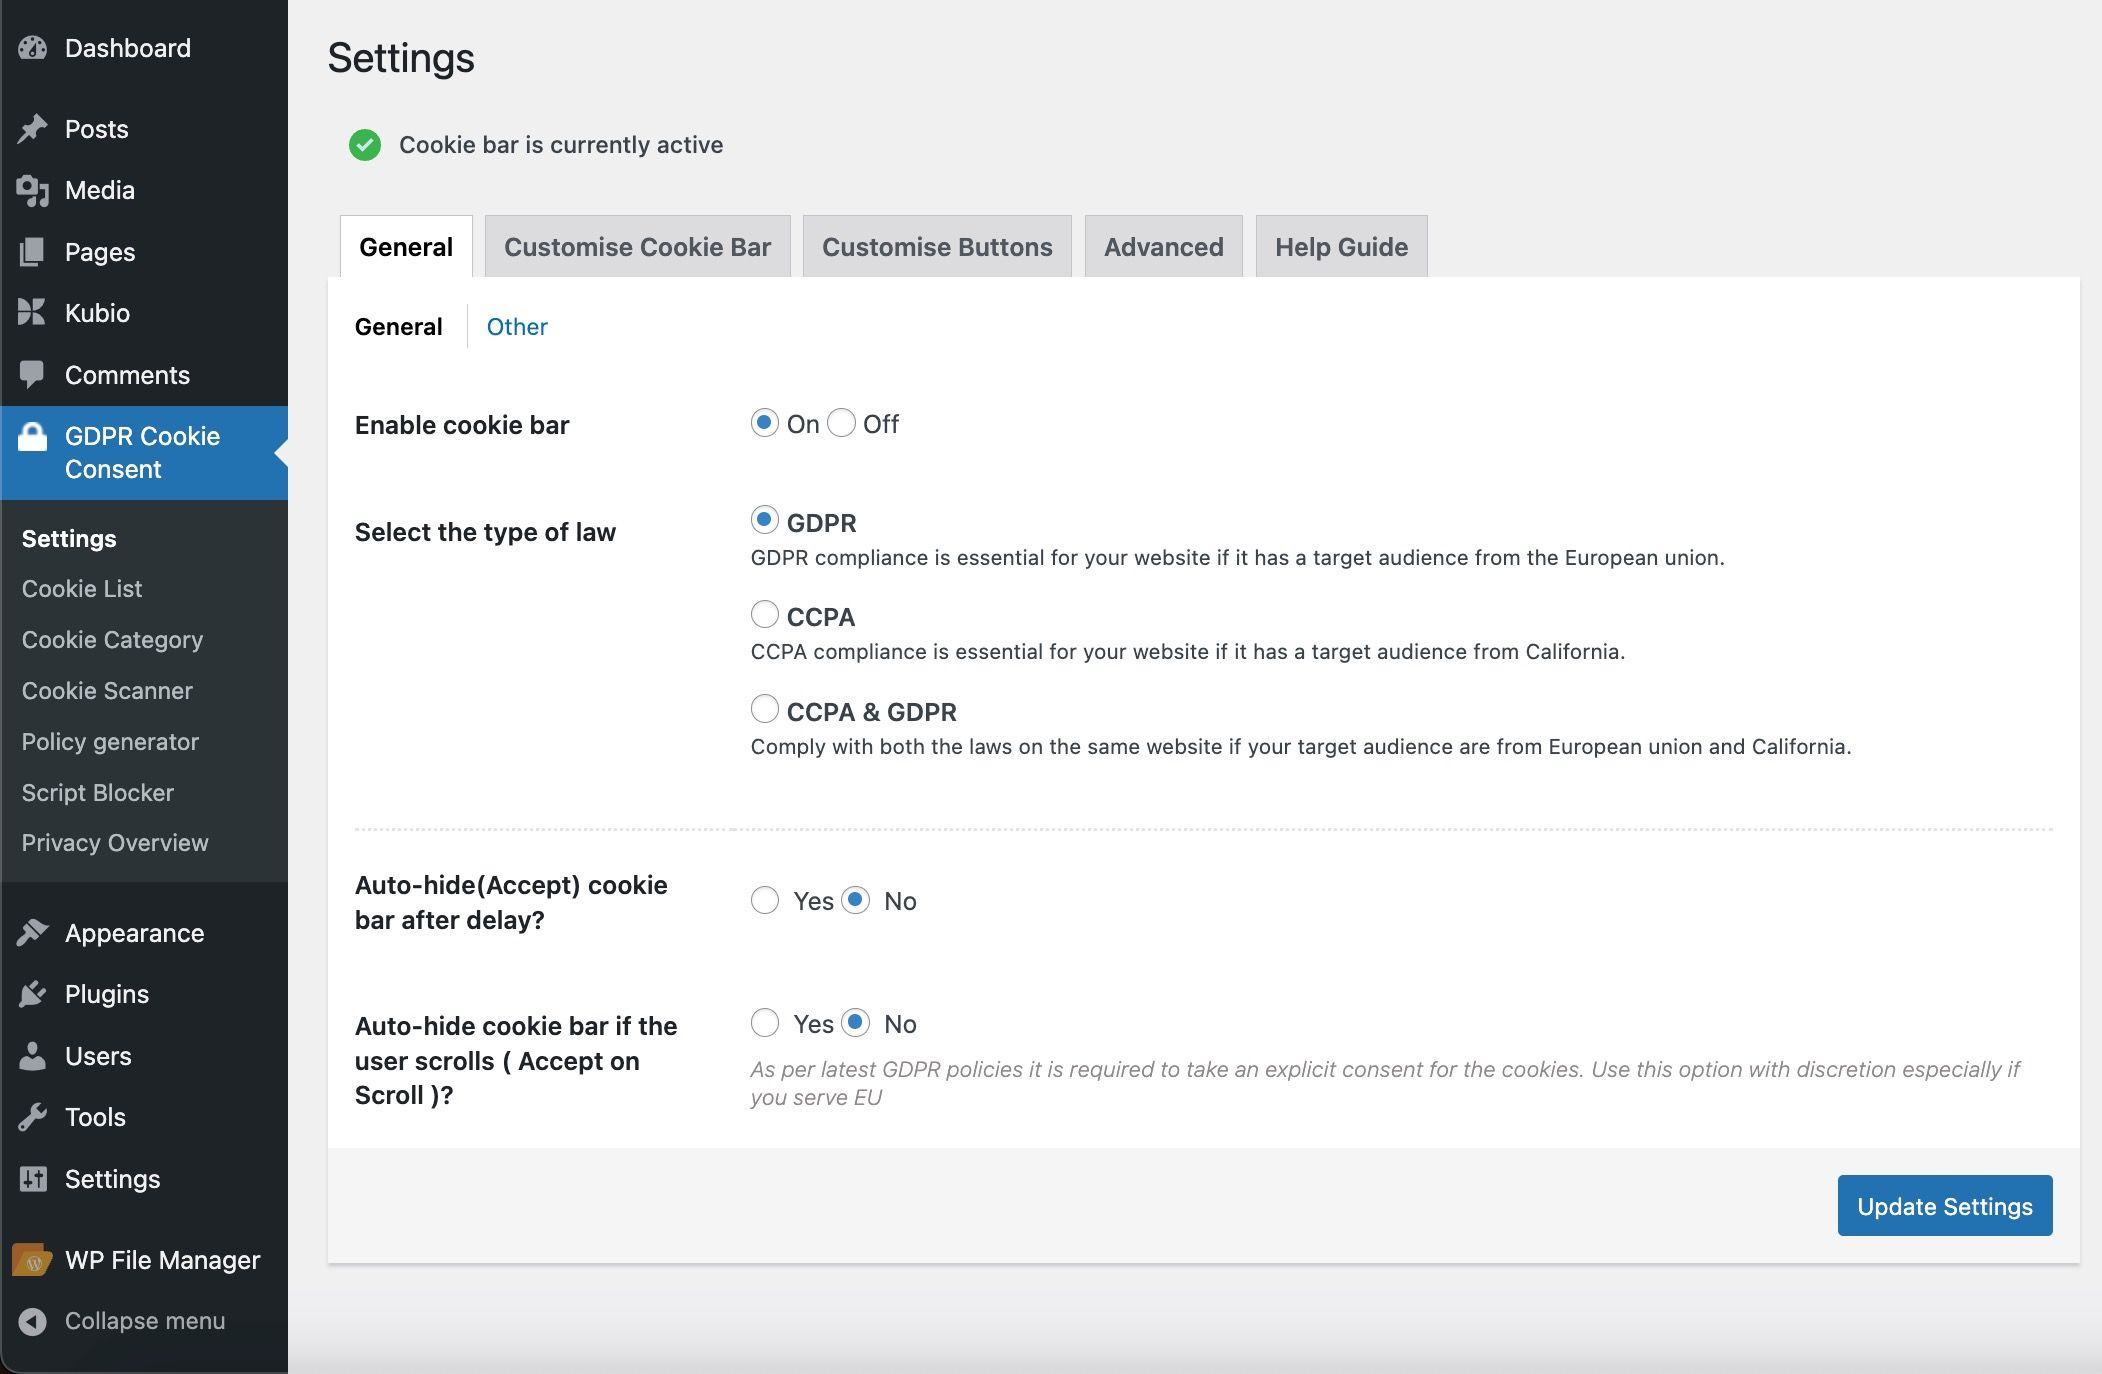
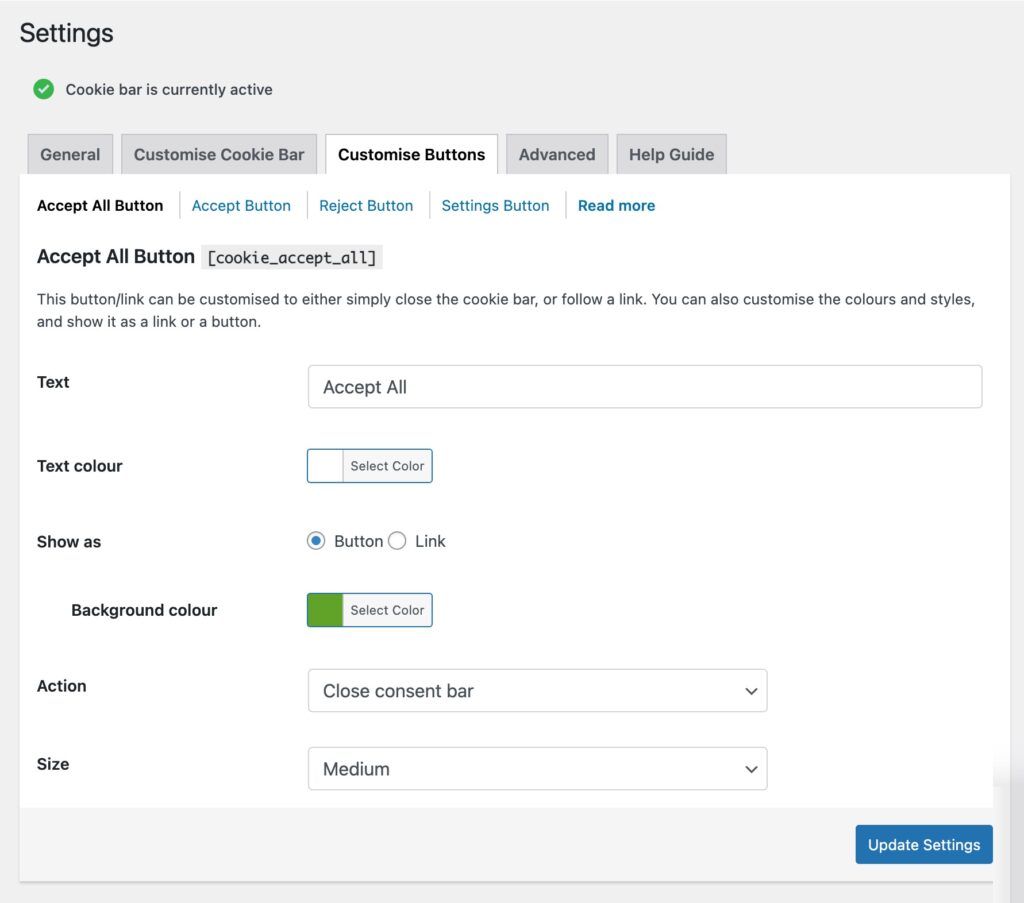
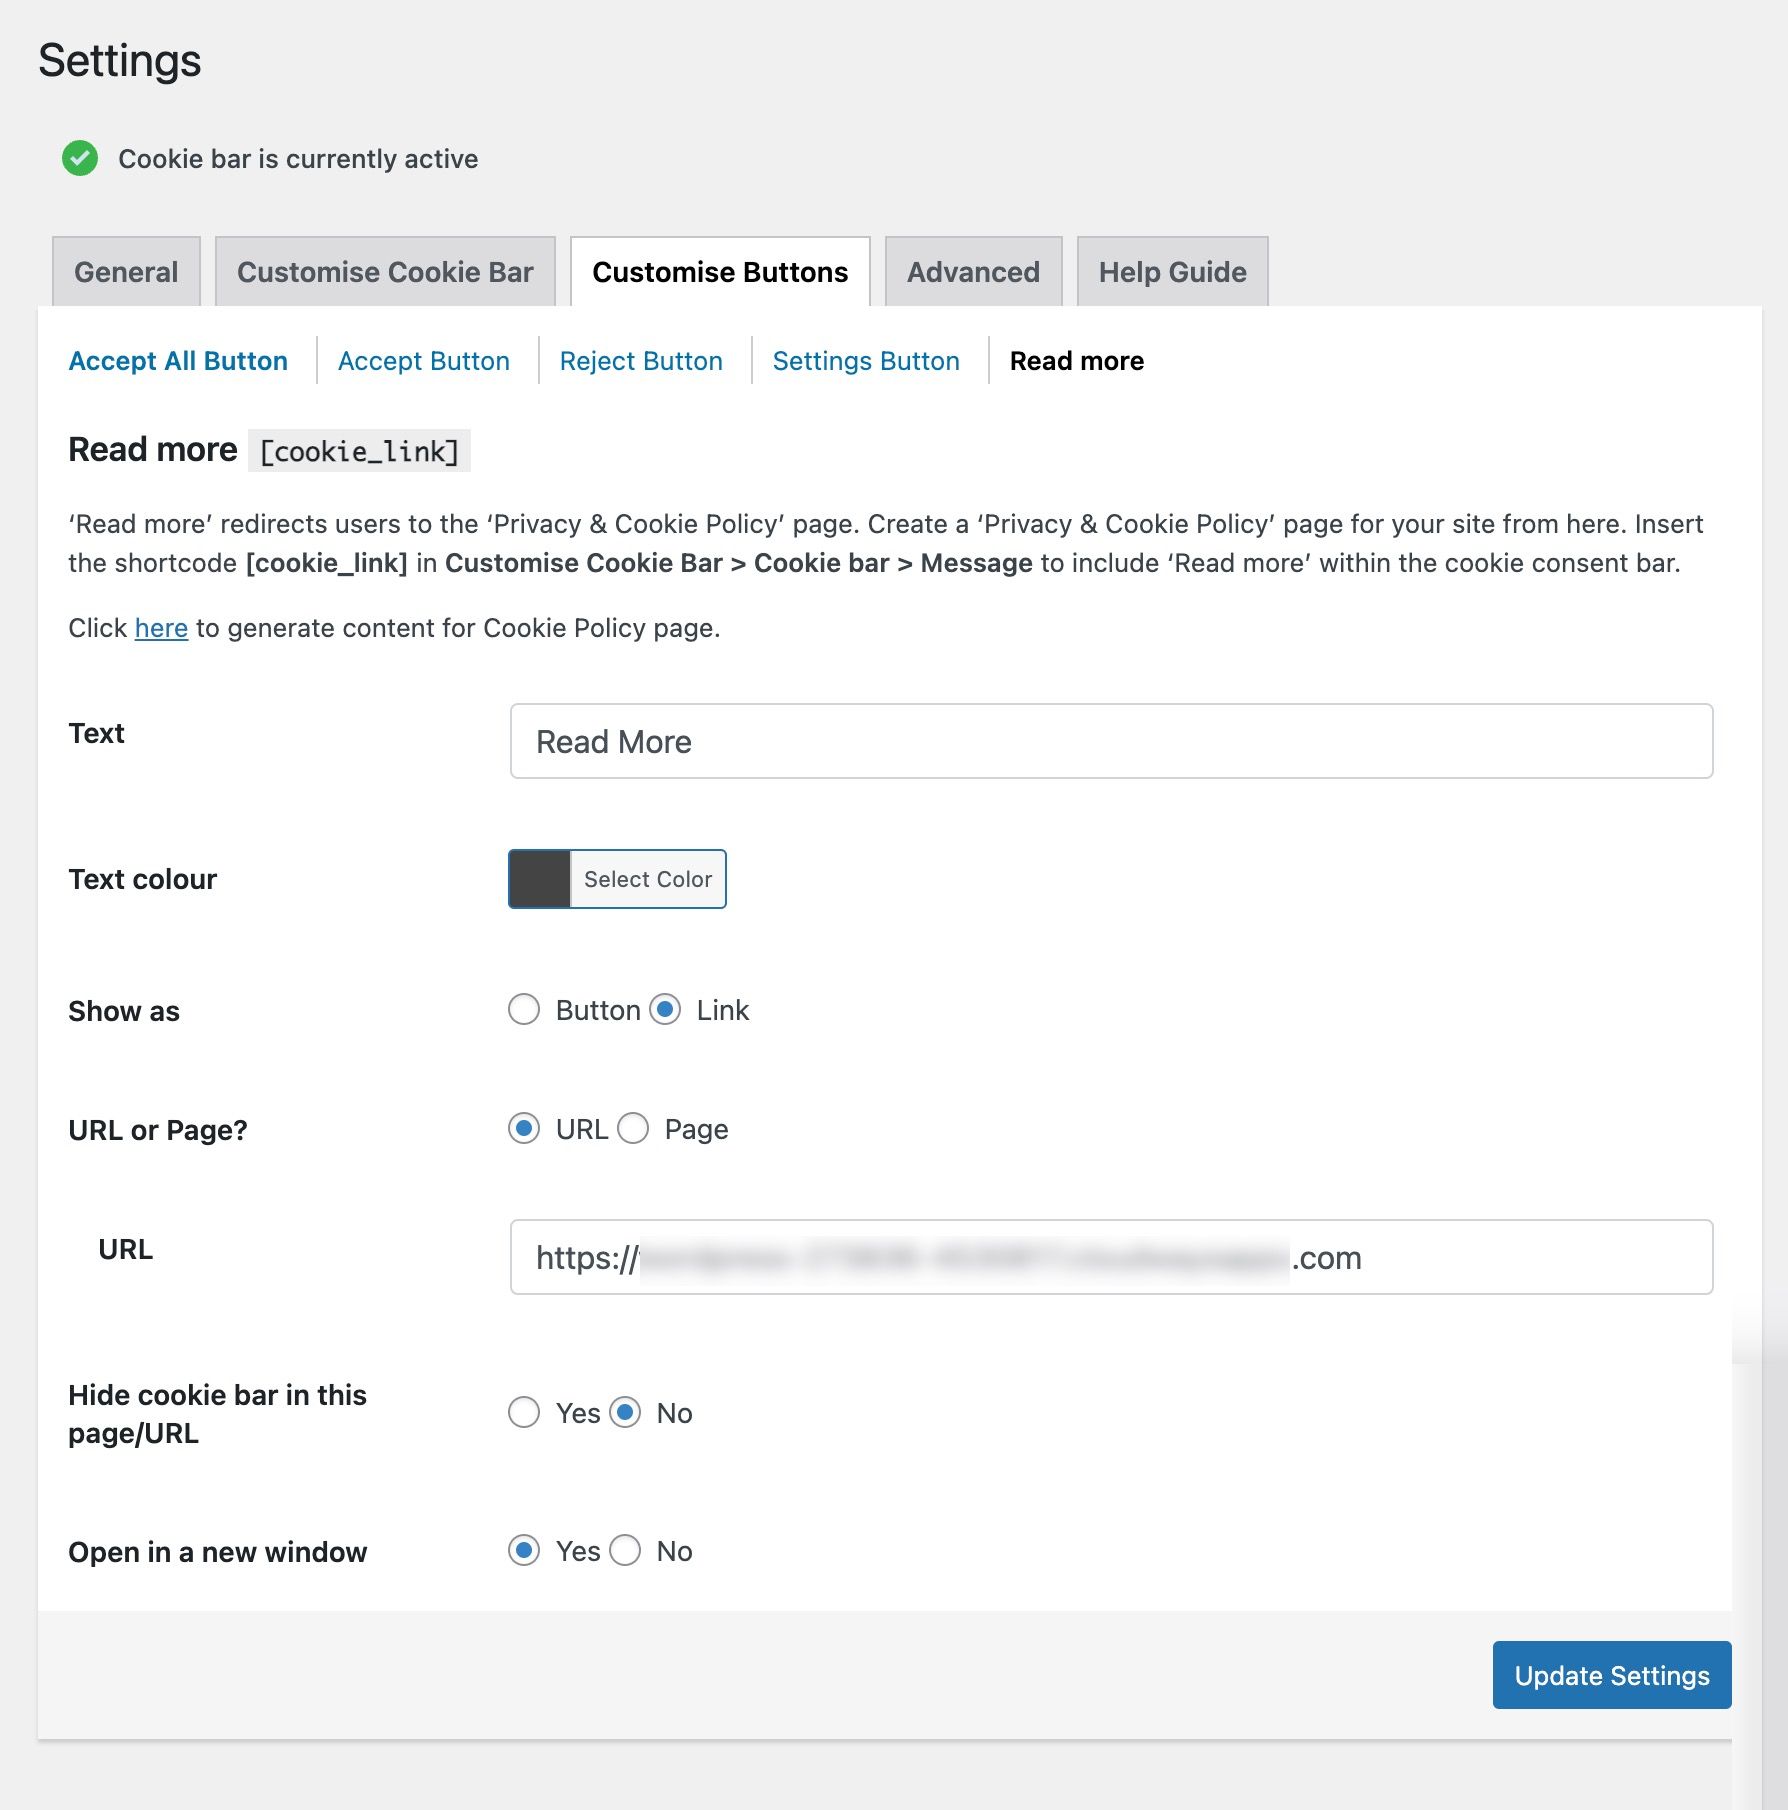
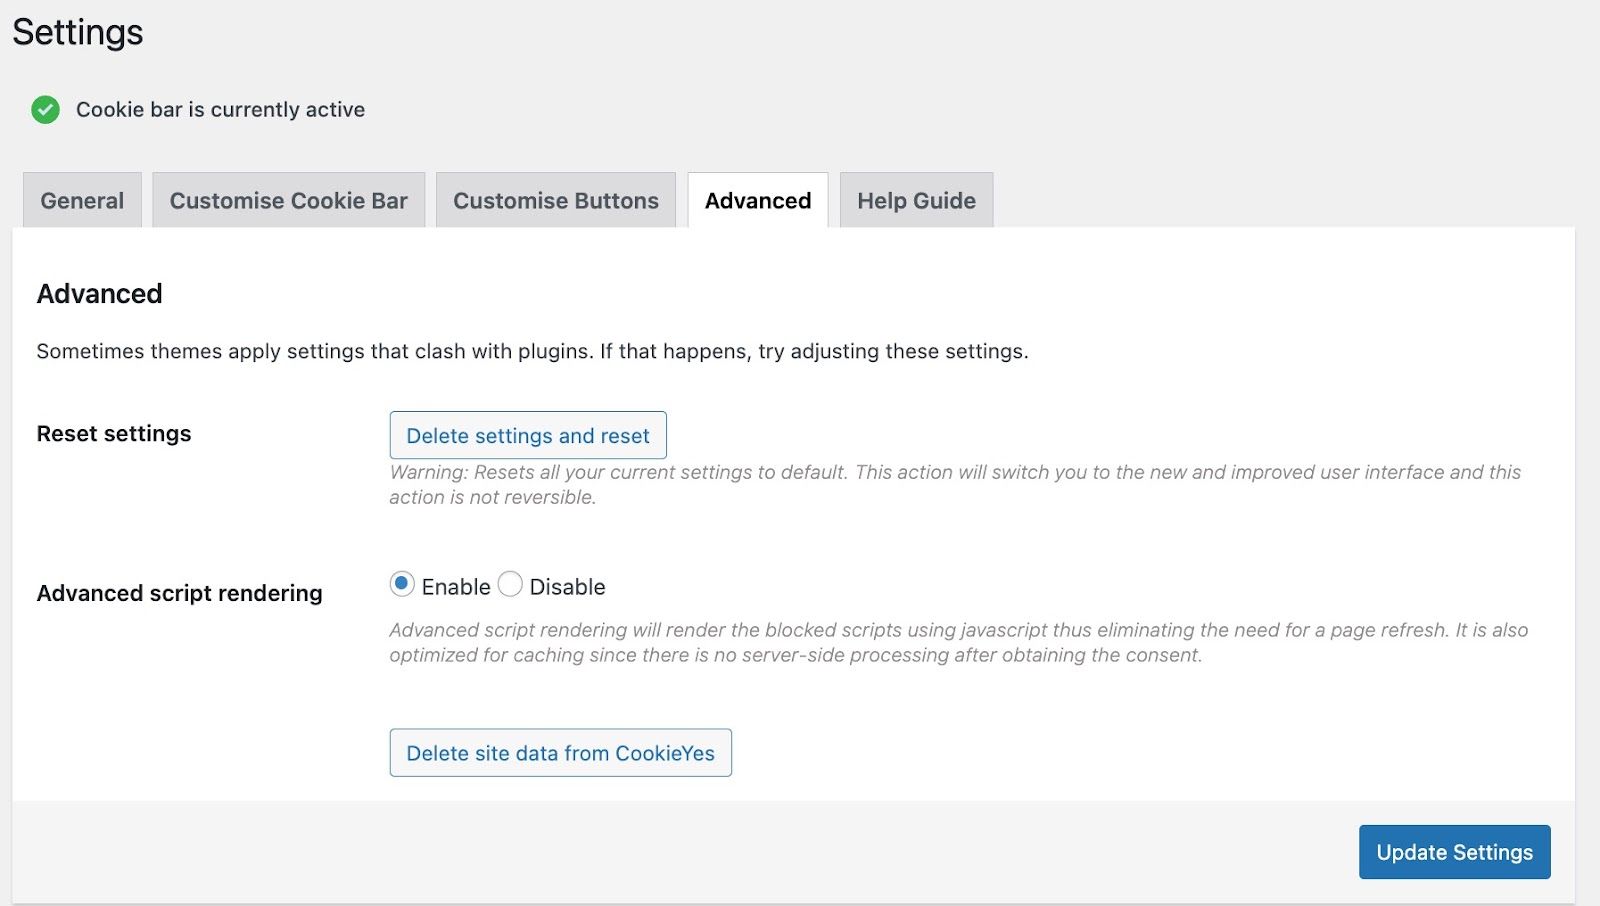
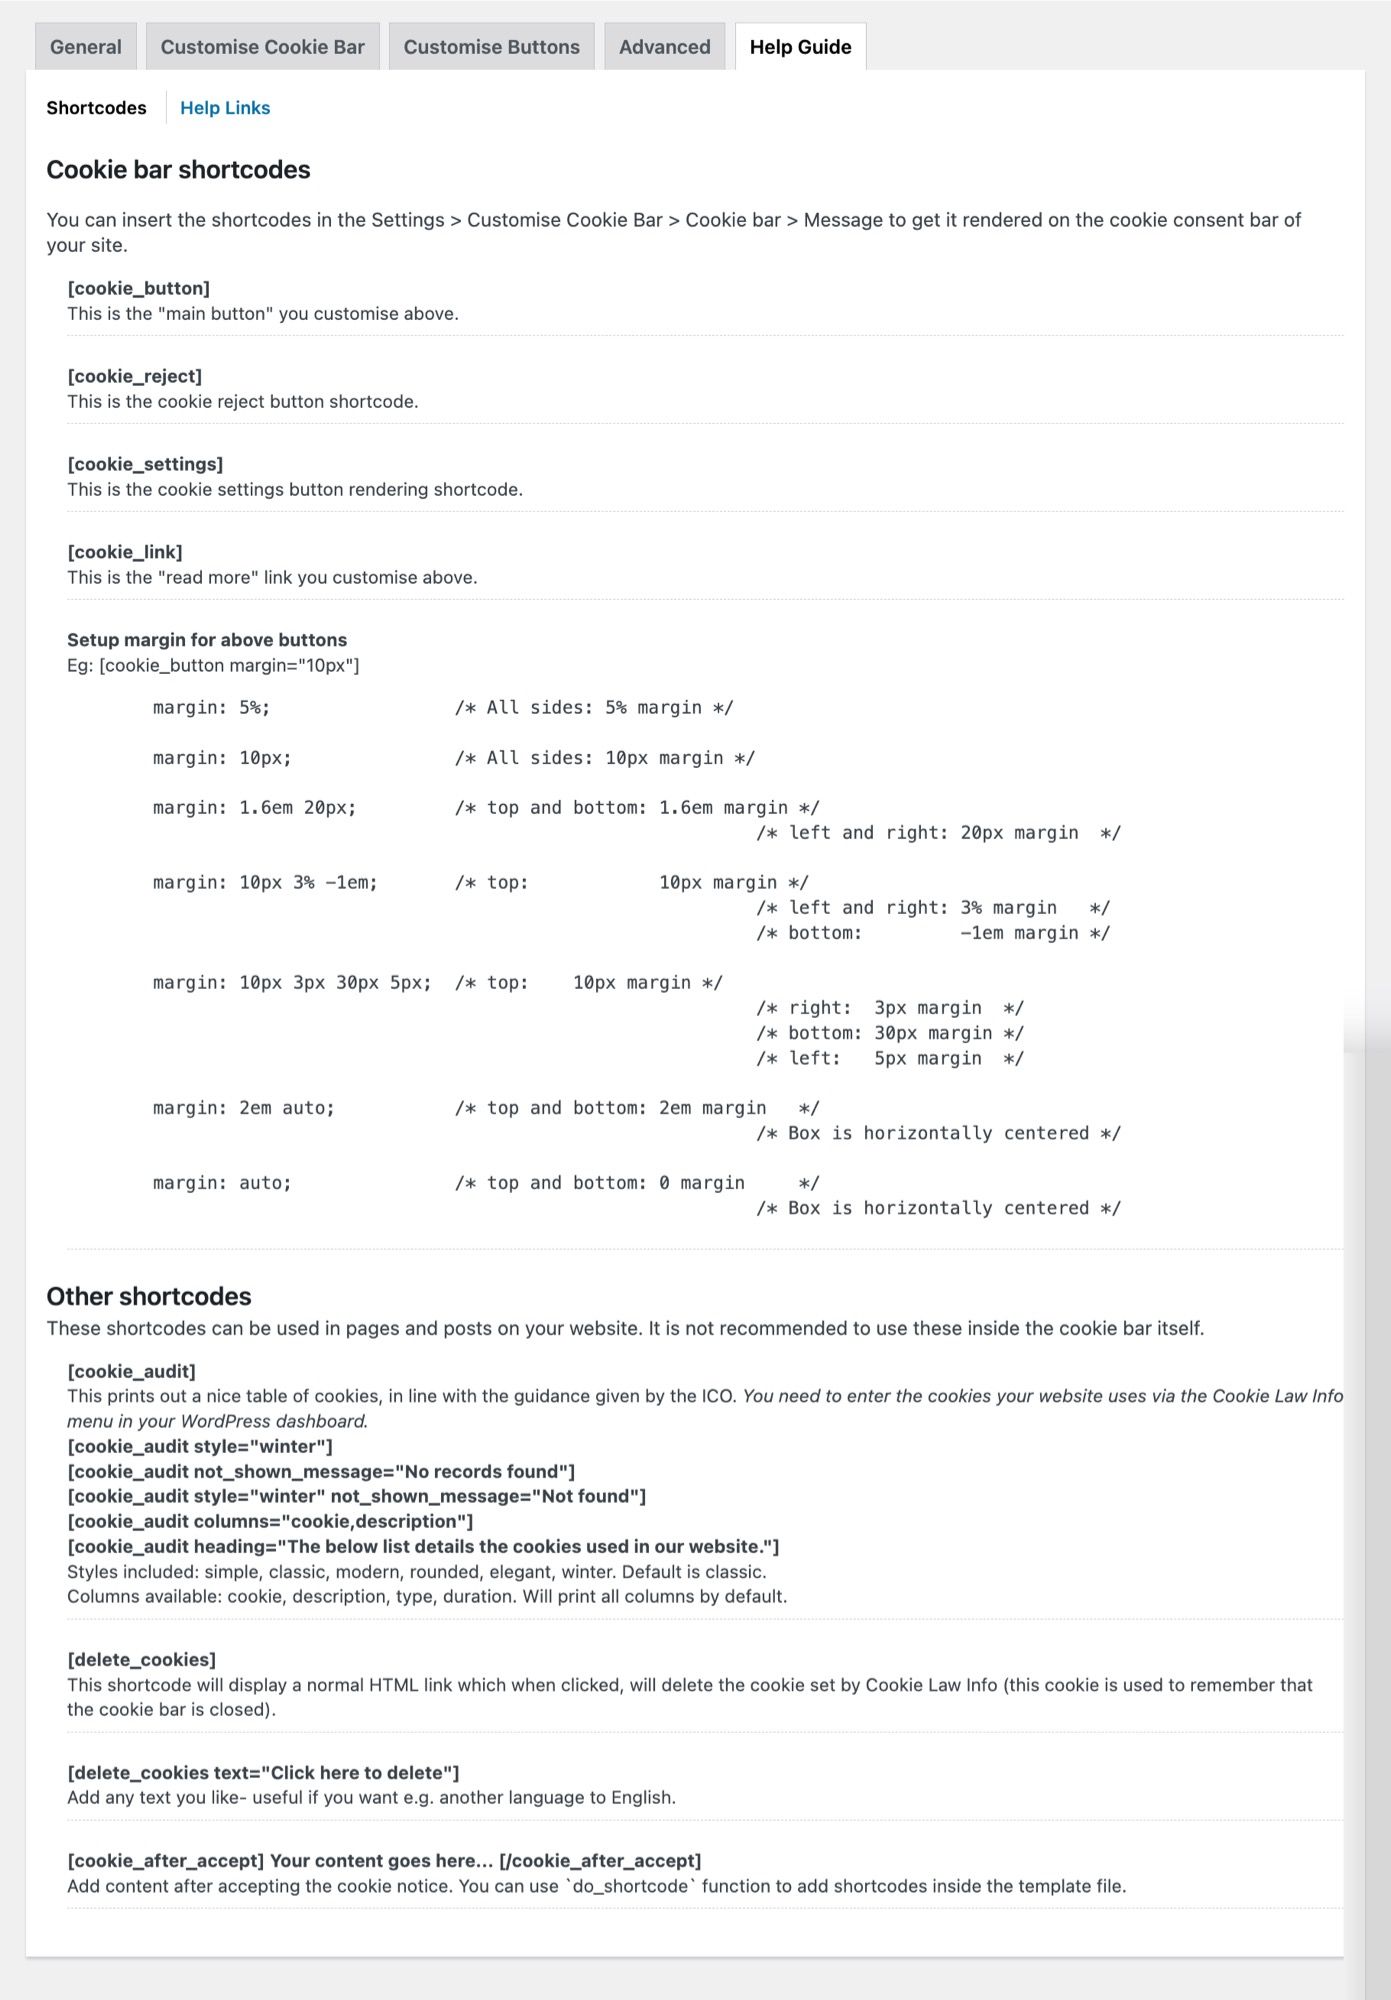
Settings






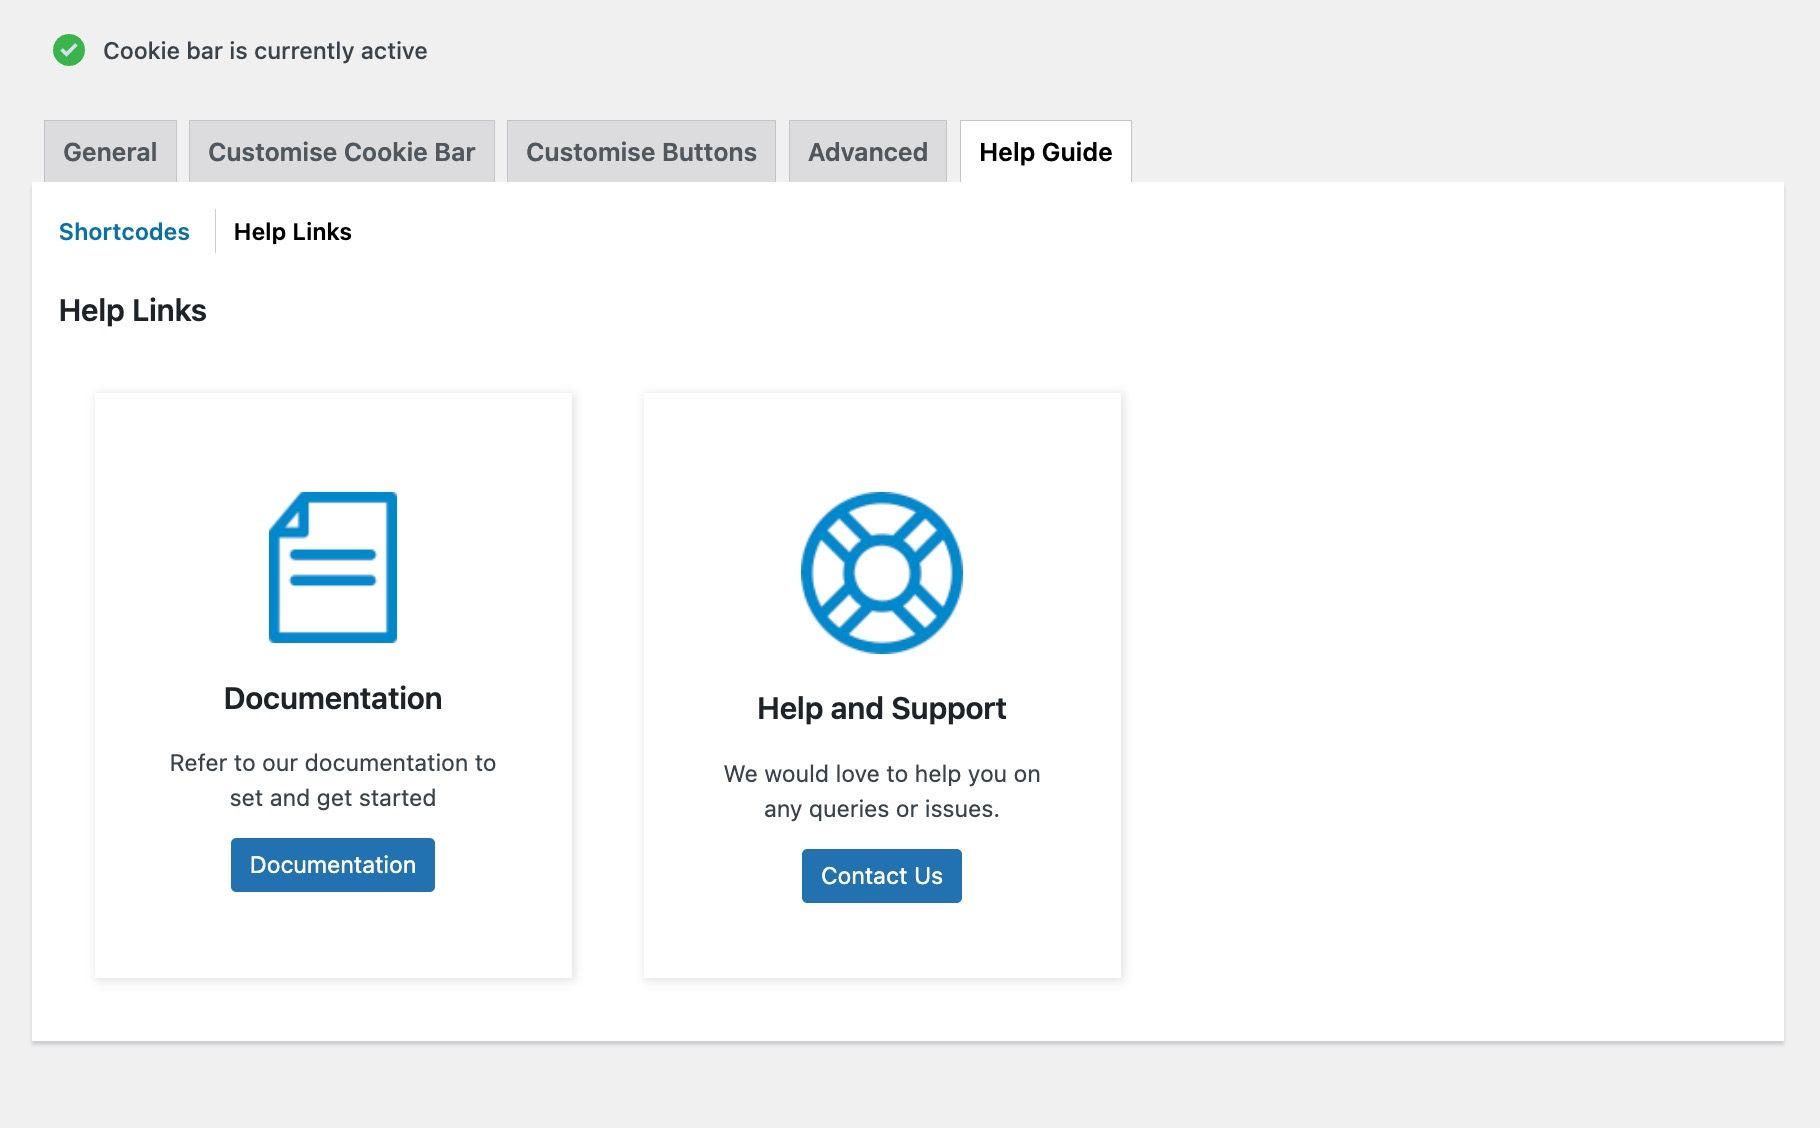
Cookie List
- Navigate to GDPR Cookie Consent > Cookie List.
- Click the Add New button.
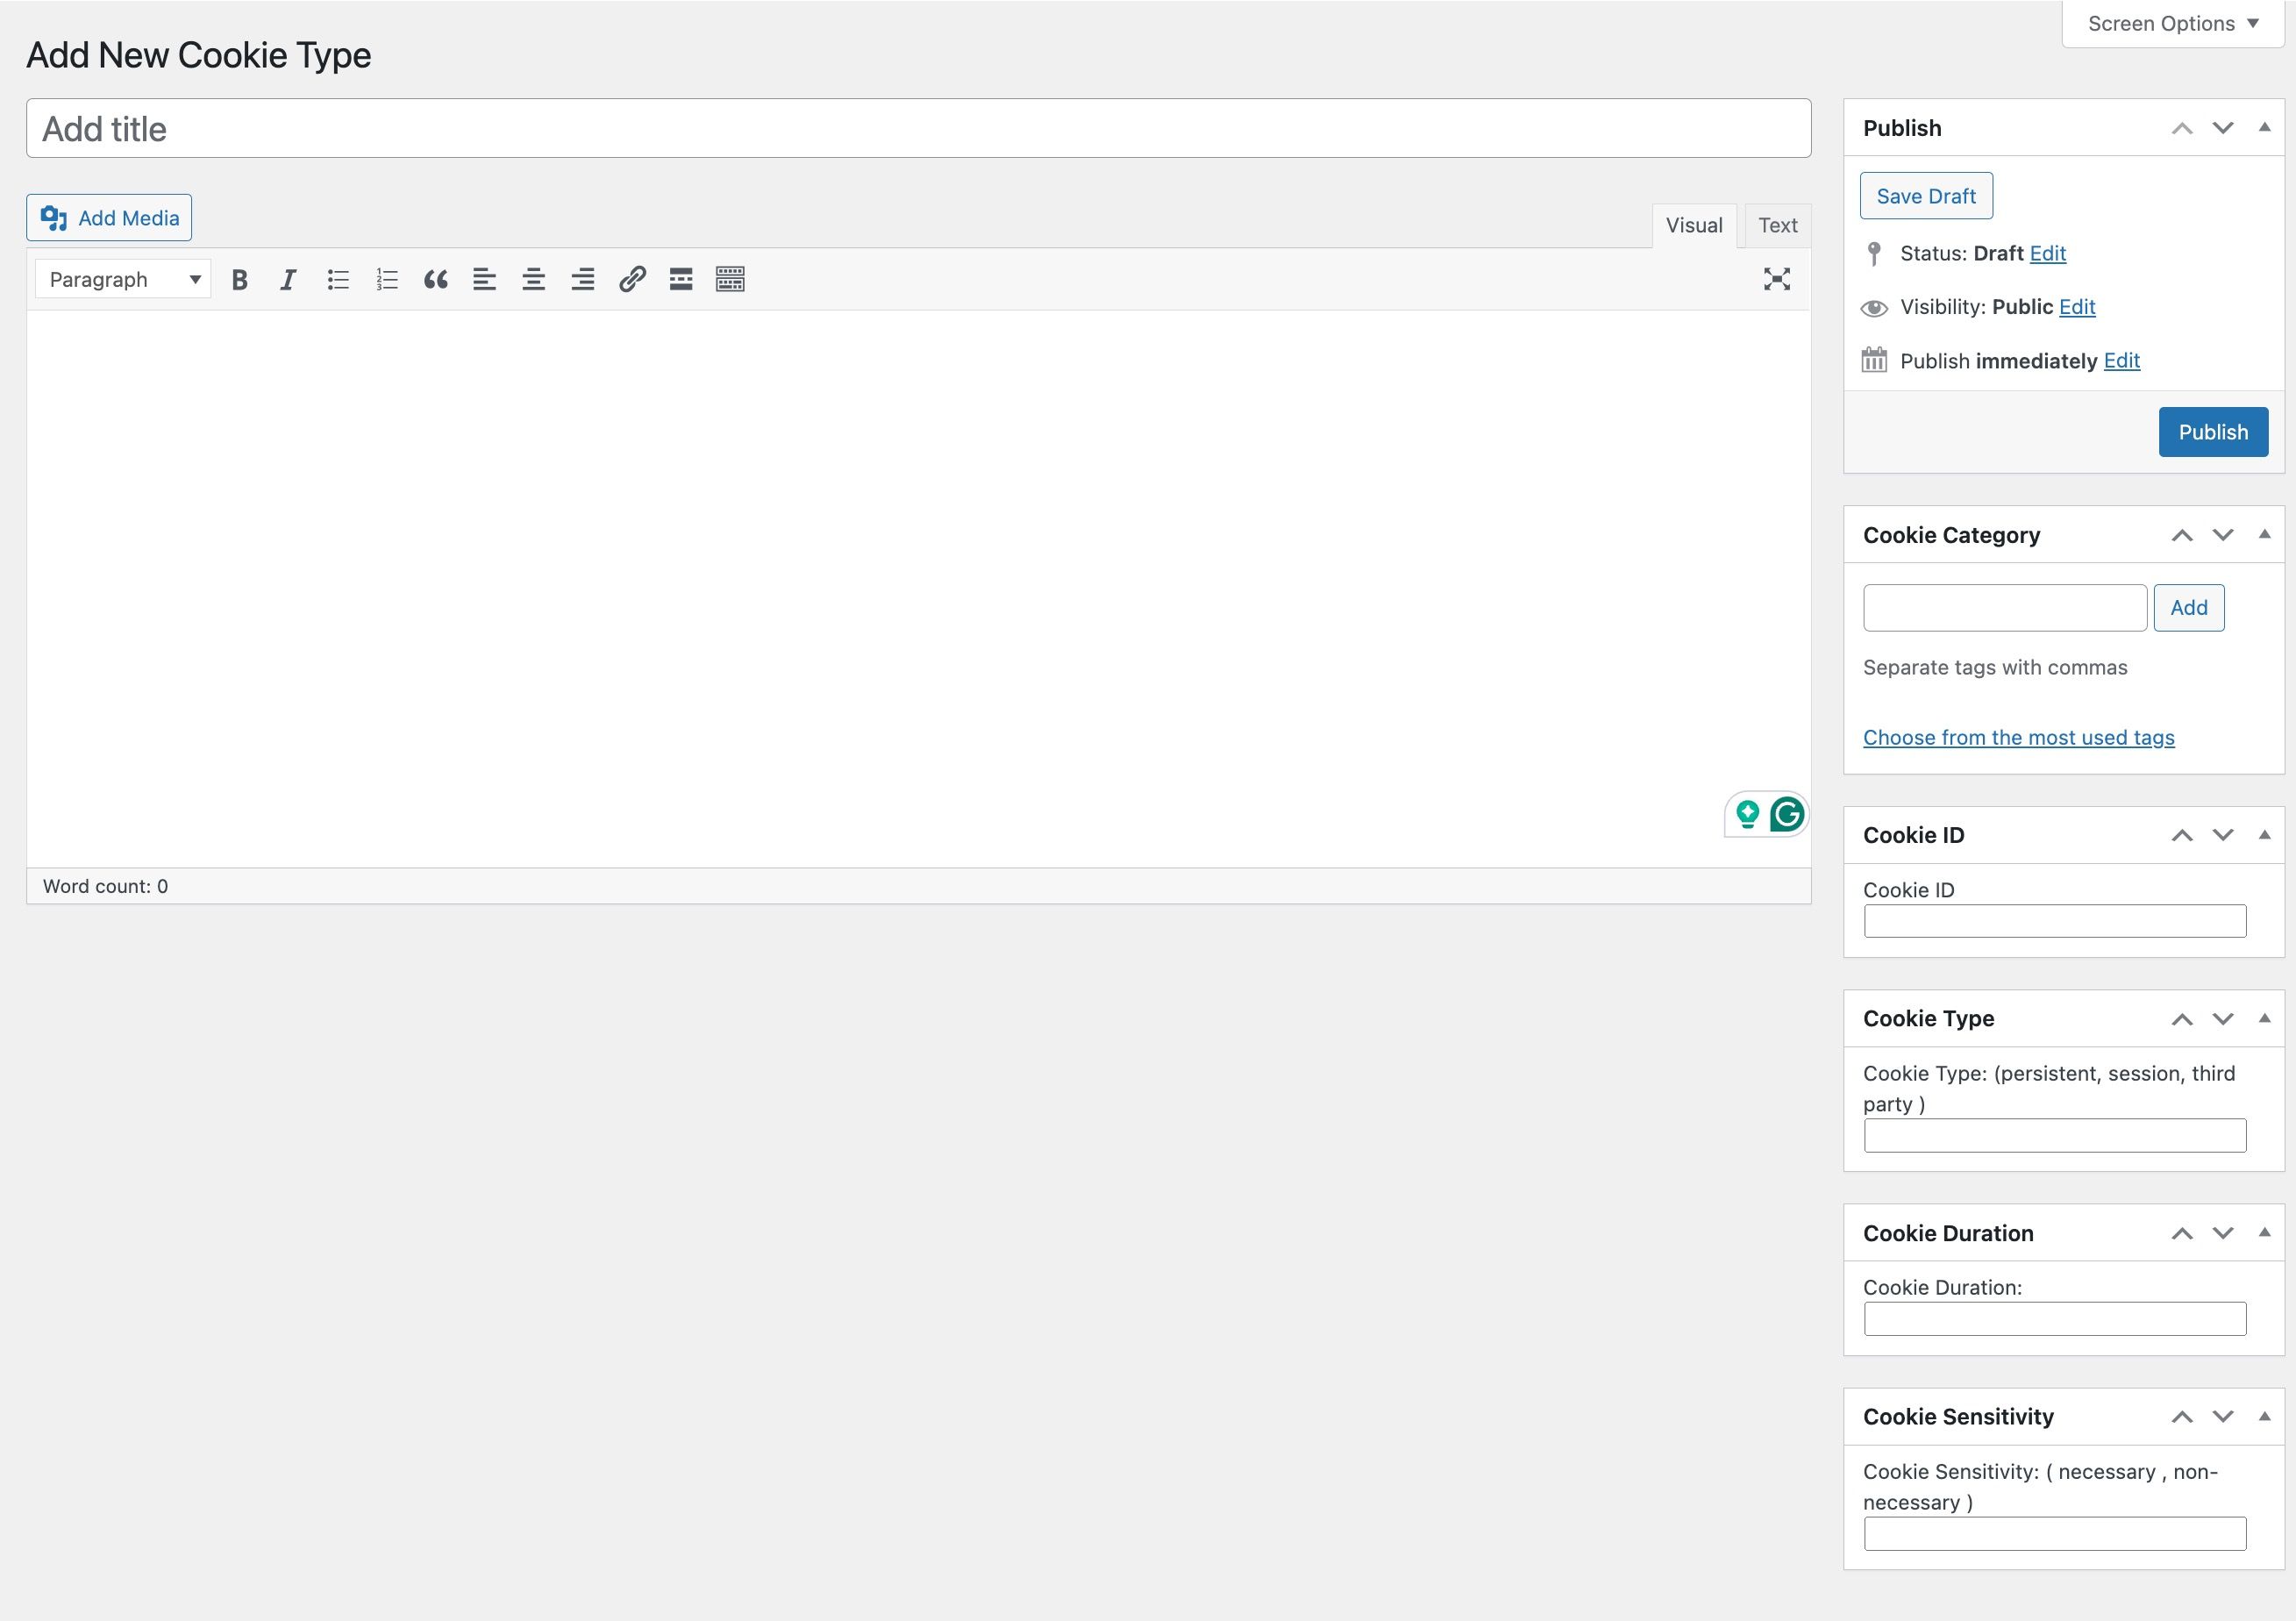
- Enter these fields:
- Cookie Title: Enter the title of the cookie. This field is designated for audit purposes, allowing you to input the cookie name in a user-friendly format.
- Cookie description: Enter the description of the cookie to explain its purpose, functionality, data collection and other relevant details.
- Cookie Category: Enter the cookie category to which the cookie belongs.
- Cookie ID: Add the name of the cookie.
- Cookie Type: Enter the type of the cookie. There are three types of cookies: persistent, session, and third-party. Persistent cookies remain even after the browser is closed. Session cookies expire at the end of the browsing session. Third-party cookies are installed by third-party services used on the website.
- Cookie Duration: The time duration the cookies will be active on the browser.
- Cookie Sensitivity: Enter the sensitivity of the cookie: necessary and non-necessary. Necessary cookies are essential for the website to function properly, and users cannot disable them. Non-necessary cookies require scripts to be added to the plugin and users have the option to enable or disable them.
- Click the Publish button.
- Cookie Title: Enter the title of the cookie. This field is designated for audit purposes, allowing you to input the cookie name in a user-friendly format.
- Cookie description: Enter the description of the cookie to explain its purpose, functionality, data collection and other relevant details.
- Cookie Category: Enter the cookie category to which the cookie belongs.
- Cookie ID: Add the name of the cookie.
- Cookie Type: Enter the type of the cookie. There are three types of cookies: persistent, session, and third-party. Persistent cookies remain even after the browser is closed. Session cookies expire at the end of the browsing session. Third-party cookies are installed by third-party services used on the website.
- Cookie Duration: The time duration the cookies will be active on the browser.
- Cookie Sensitivity: Enter the sensitivity of the cookie: necessary and non-necessary. Necessary cookies are essential for the website to function properly, and users cannot disable them. Non-necessary cookies require scripts to be added to the plugin and users have the option to enable or disable them.
Cookie Category
- Navigate to GDPR Cookie Consent > Cookie Category.
- Enter these fields under the Add cookie category:
- Name: Enter the name of the cookie category, which will appear on the cookie bar.
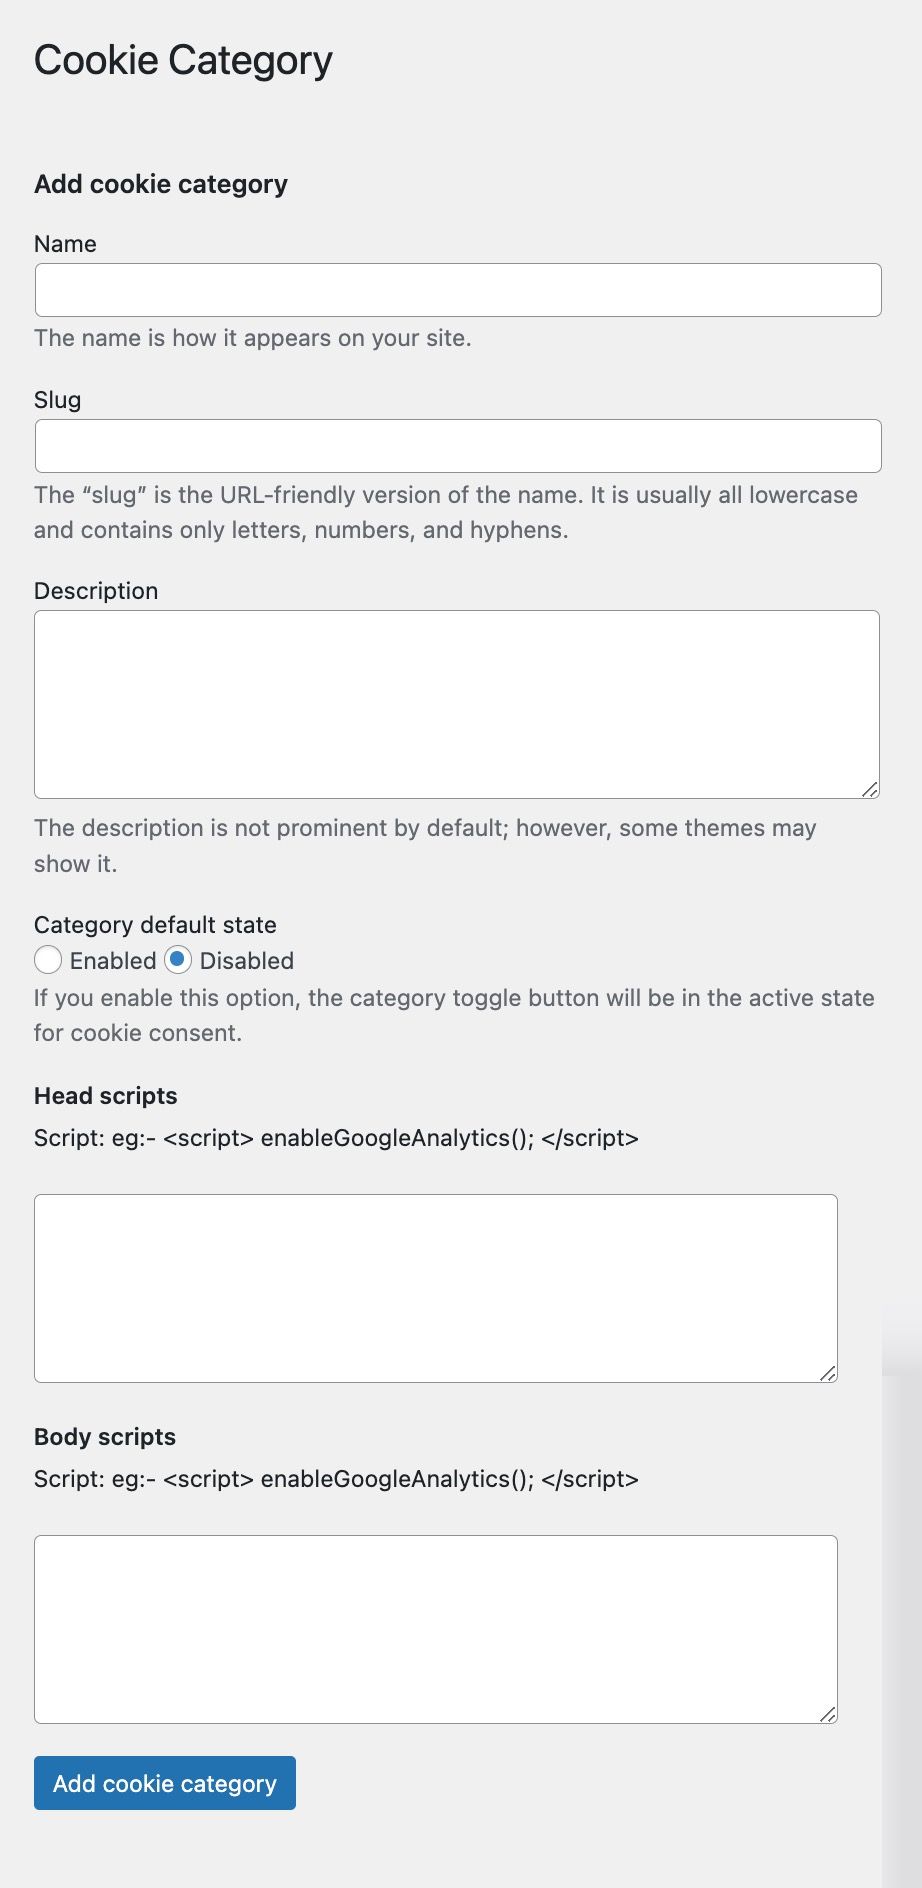
- Slug: Enter a URL-friendly version of the category name. It typically consists of all lowercase letters, numbers, and hyphens.
- Description: Enter the description of the cookie category. Explain its purpose, functionality and other relevant details.
- Category default state: (Enable/Disable) If you enable this option, the category toggle button will be set to active for cookie consent.
- Head scripts/Body Script: Enter the scripts related to the cookies that have been added to this category. If you add scripts in the Head Scripts field, they will be rendered in the head of the website upon user consent. Alternatively, if you add scripts in the Body Scripts field, they will be rendered in the body of the website.
- Click the Add cookie category button.
Cookie Scanner
- Navigate to the GDPR Cookie Consent > Cookie Scanner.
- Click on the Connect & Scan button.

- Existing users of CookieYes can enter their username and password.
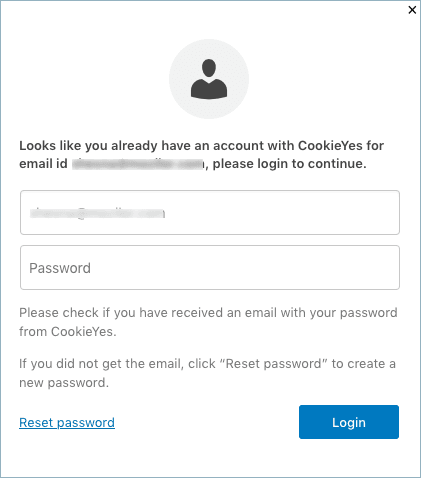 New users will automatically connect with CookieYes. After a successful connection, you can start the scanning process.
 - Click on the Scan website for cookies button to begin the scanning.
 The scanning commences. It may take a few minutes to a few hours. Depends on number of pages to scan and website speed.
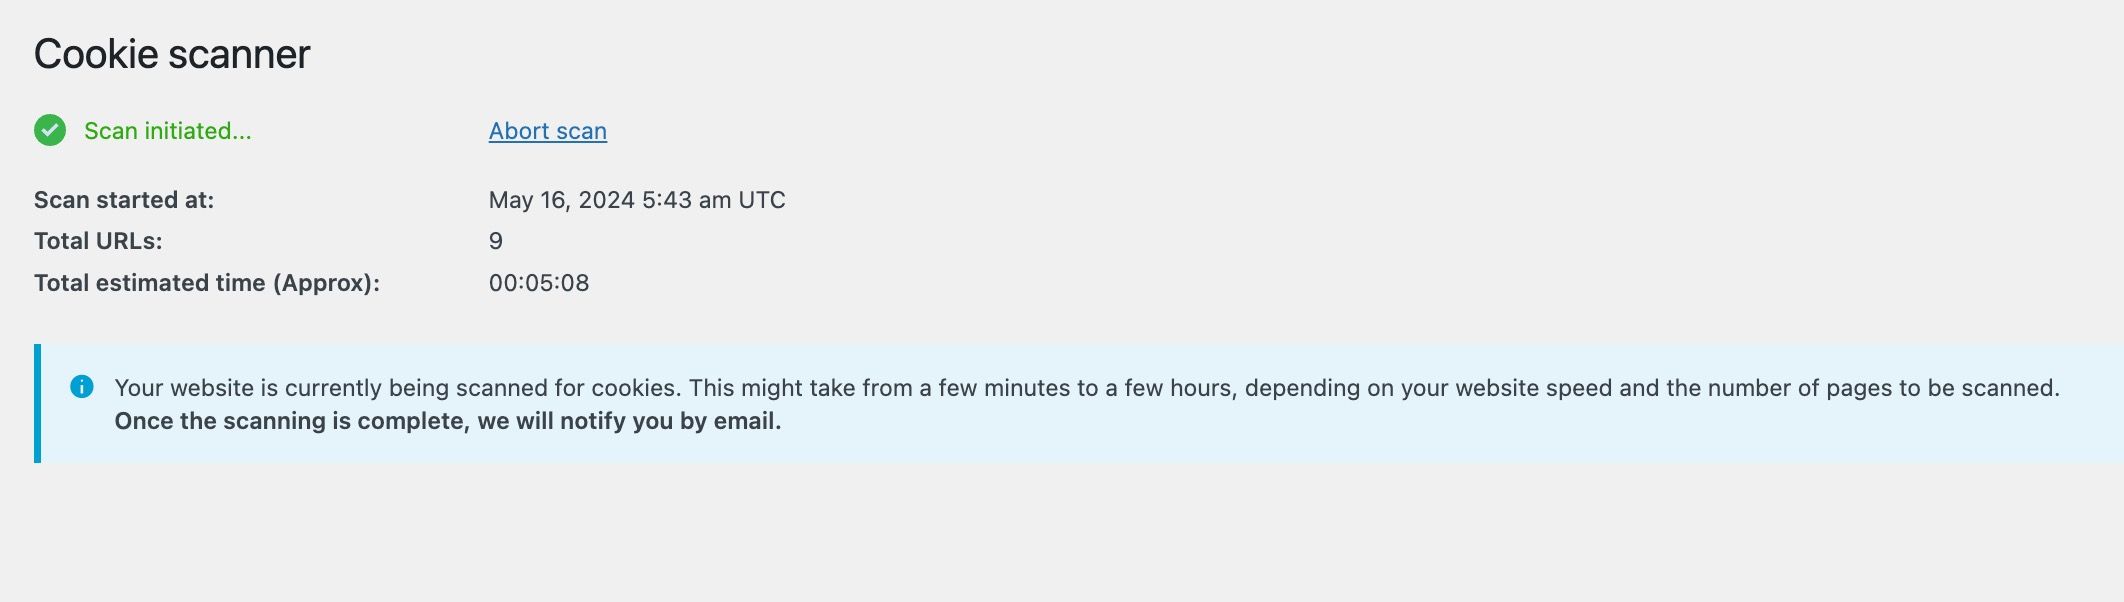 You can navigate to other screens while scanning is ongoing. If needed, you can abort the scan at any time by clicking the Abort scan button.
 - After completing the scan, you can view all the scanned cookies and URLs in the Scan results. The results will be displayed as follows:
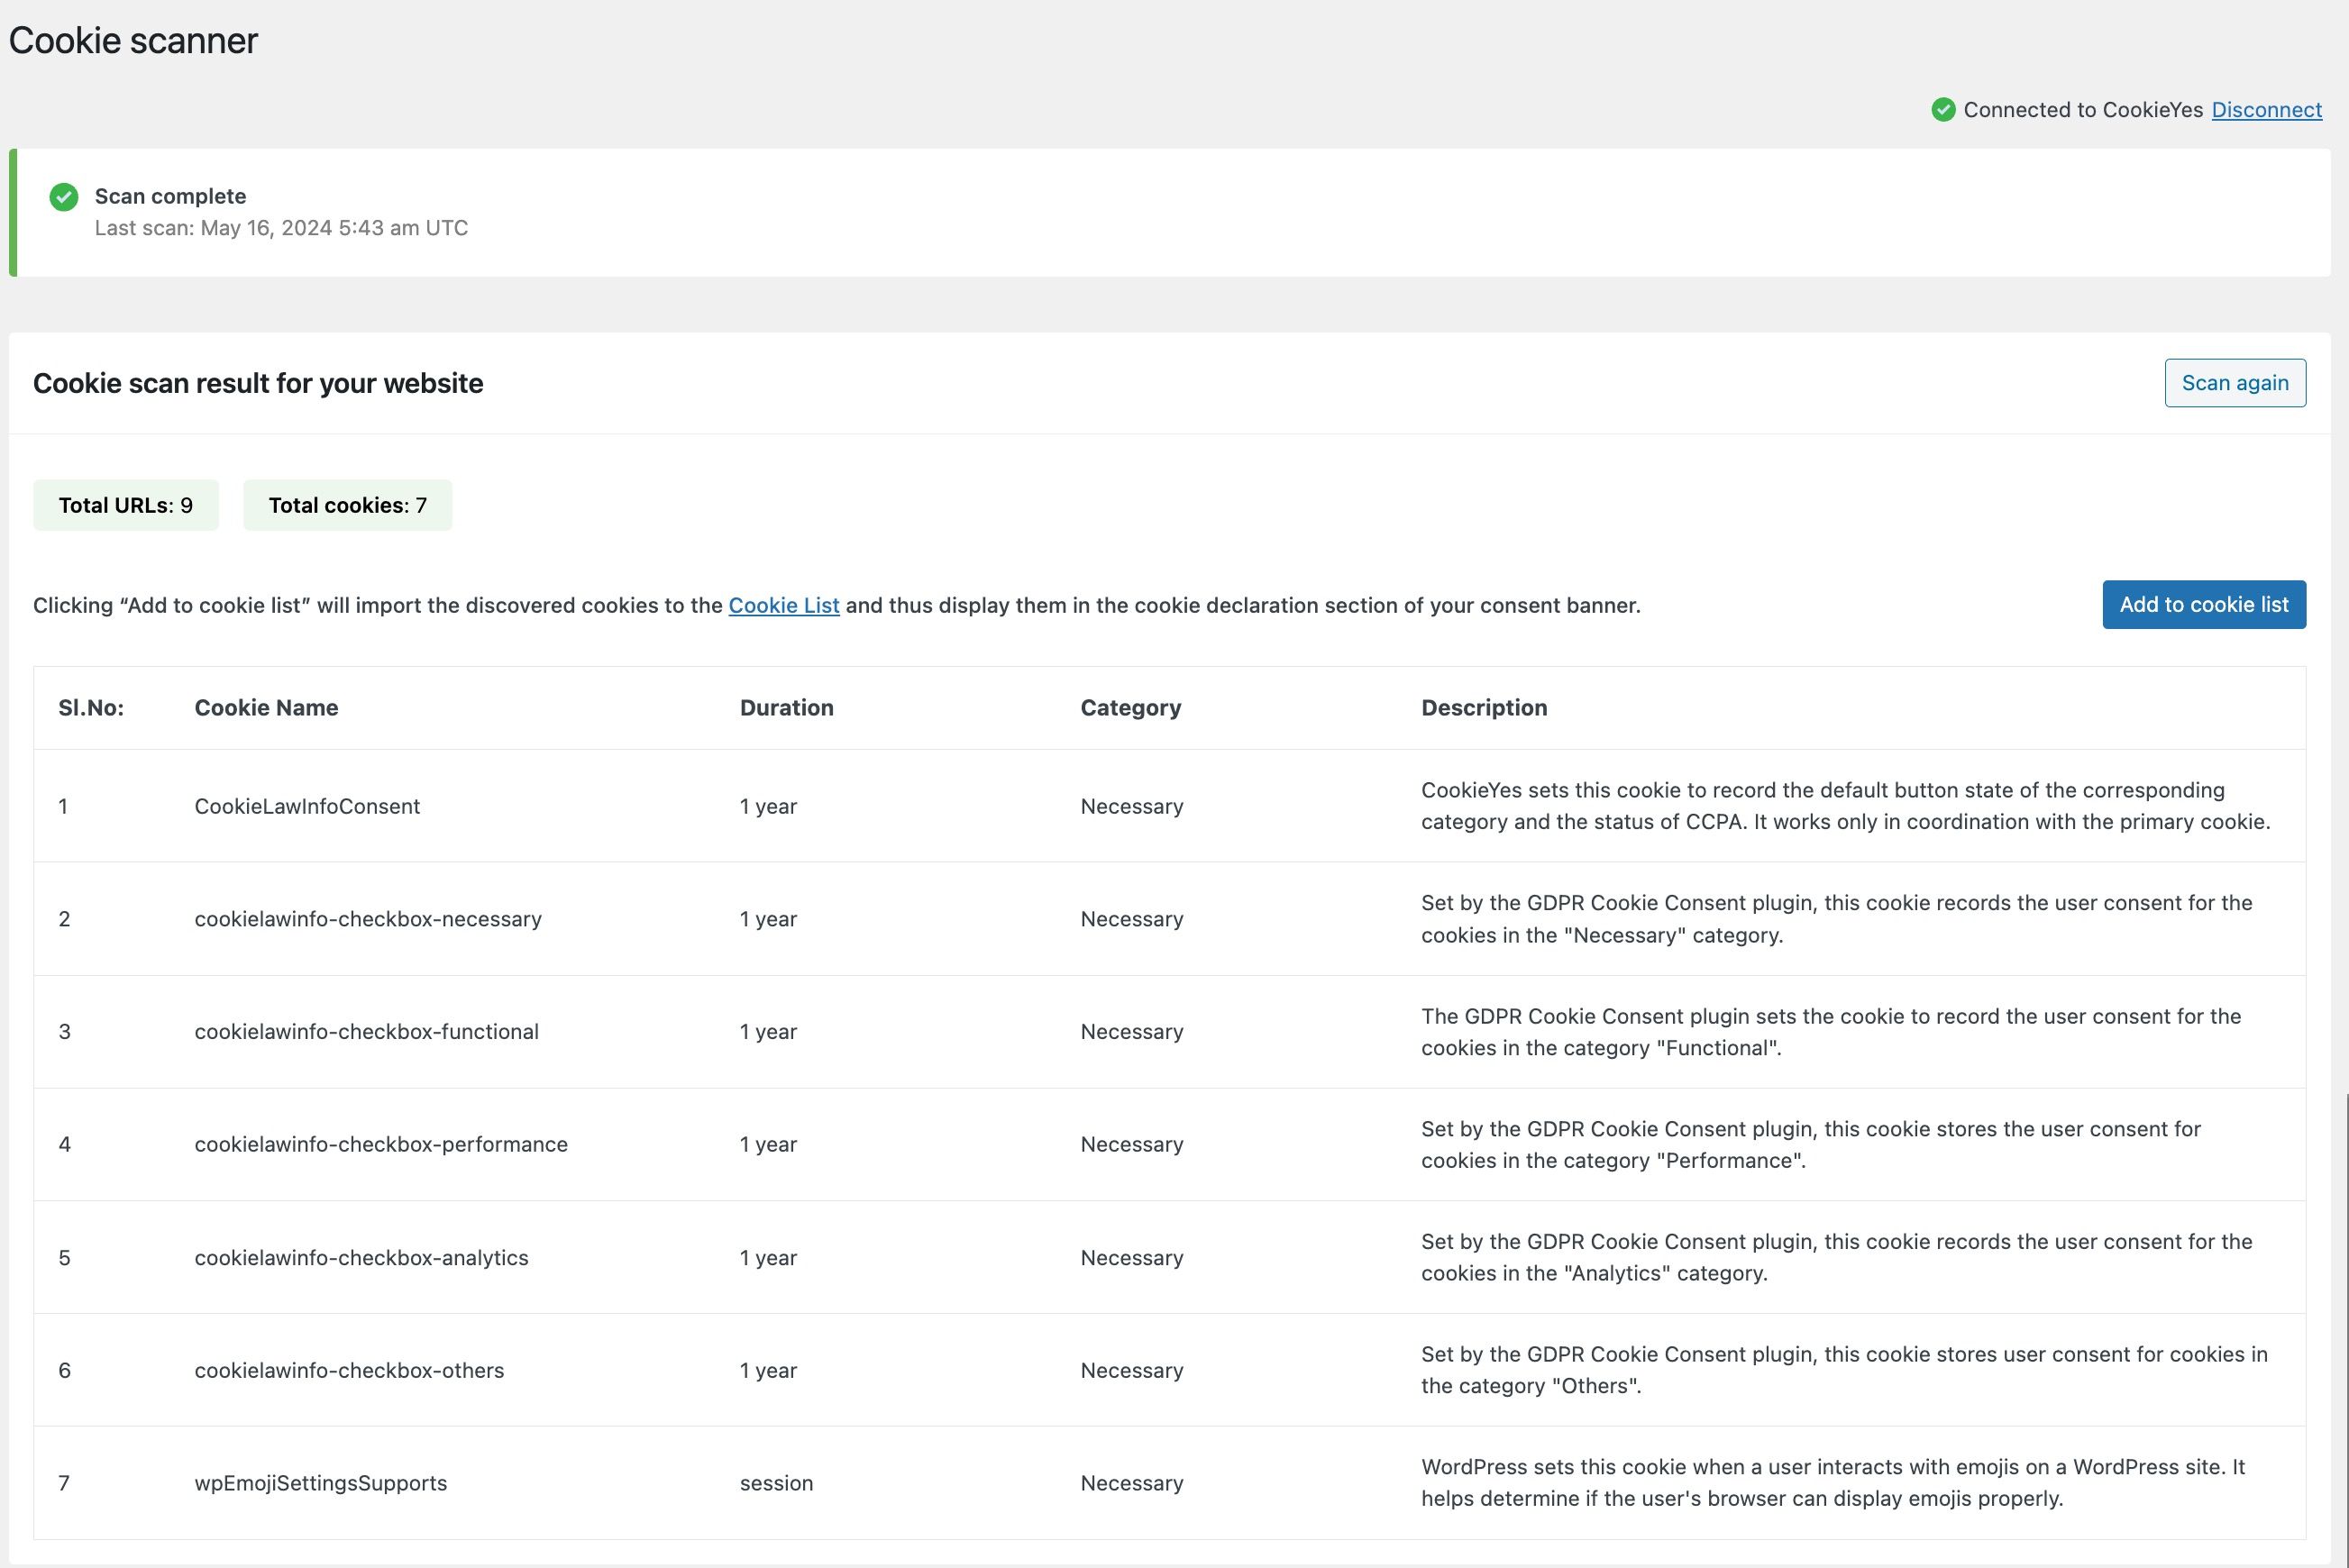 From here, you can add the scanned cookies to the cookie list and perform the scan again.
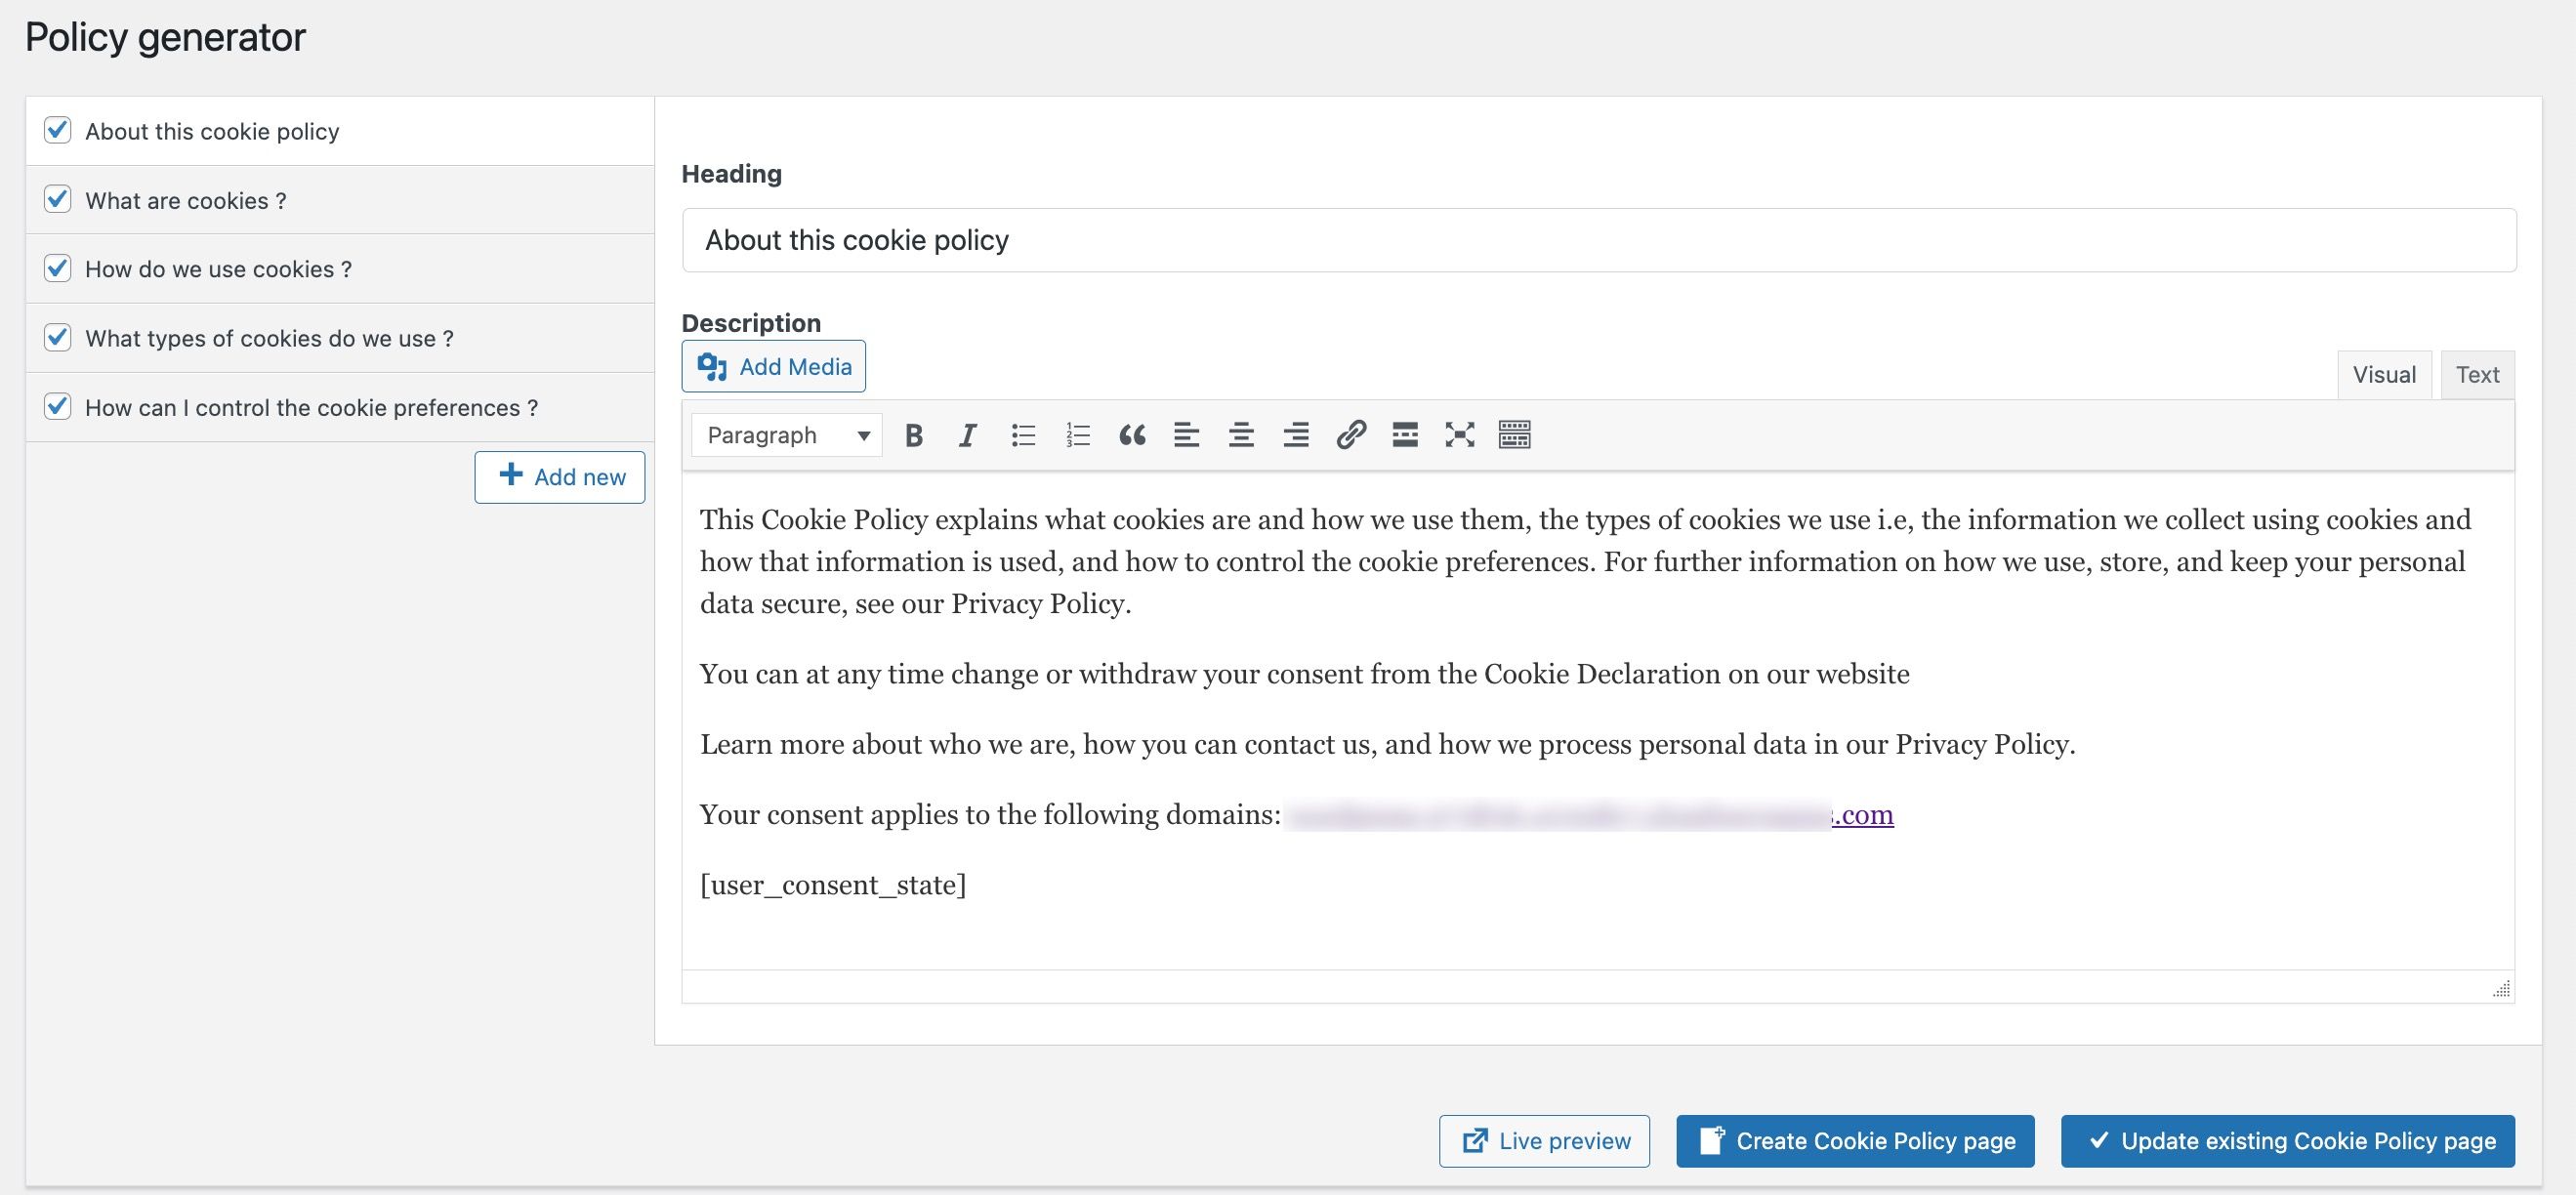
Policy Generator
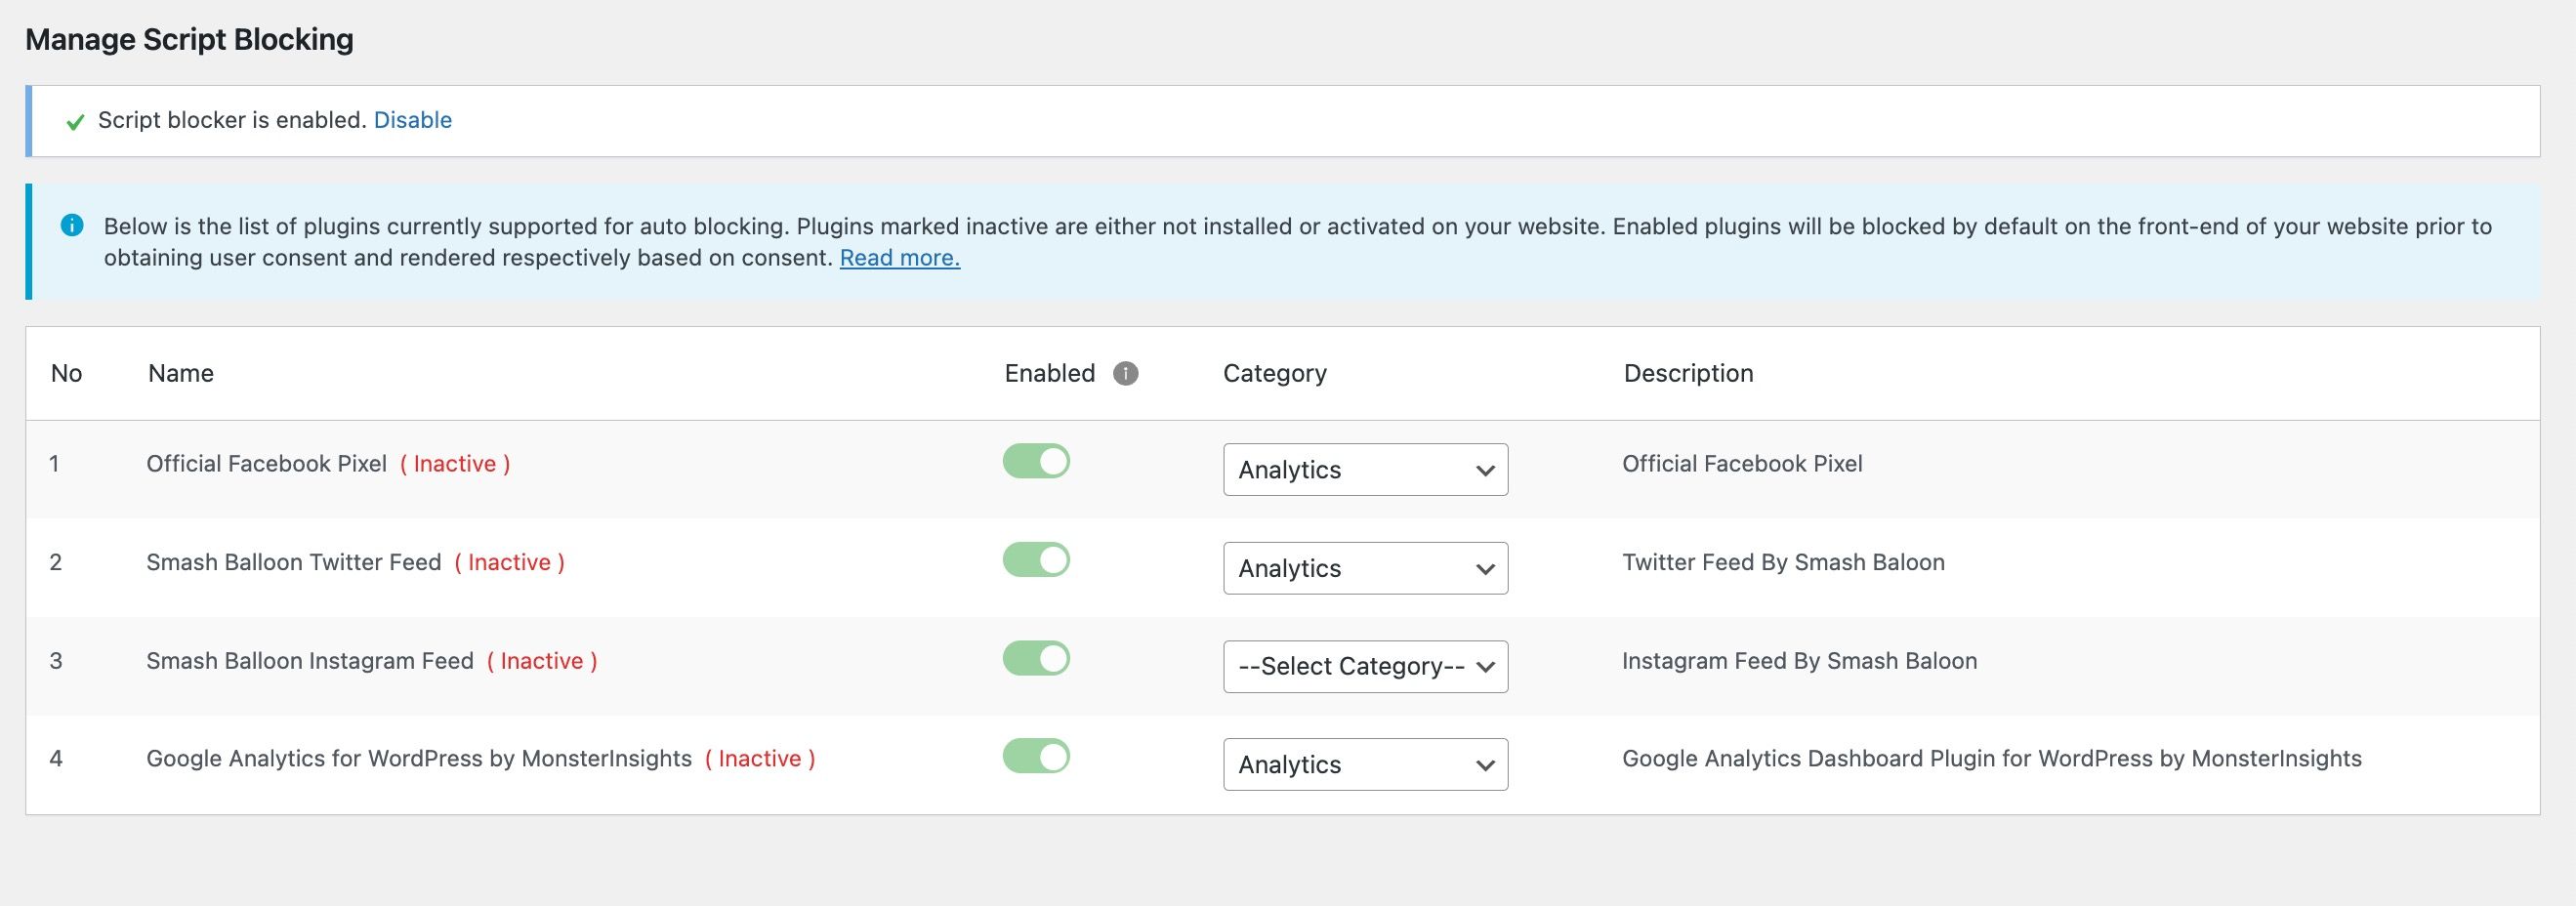
Script Blocker
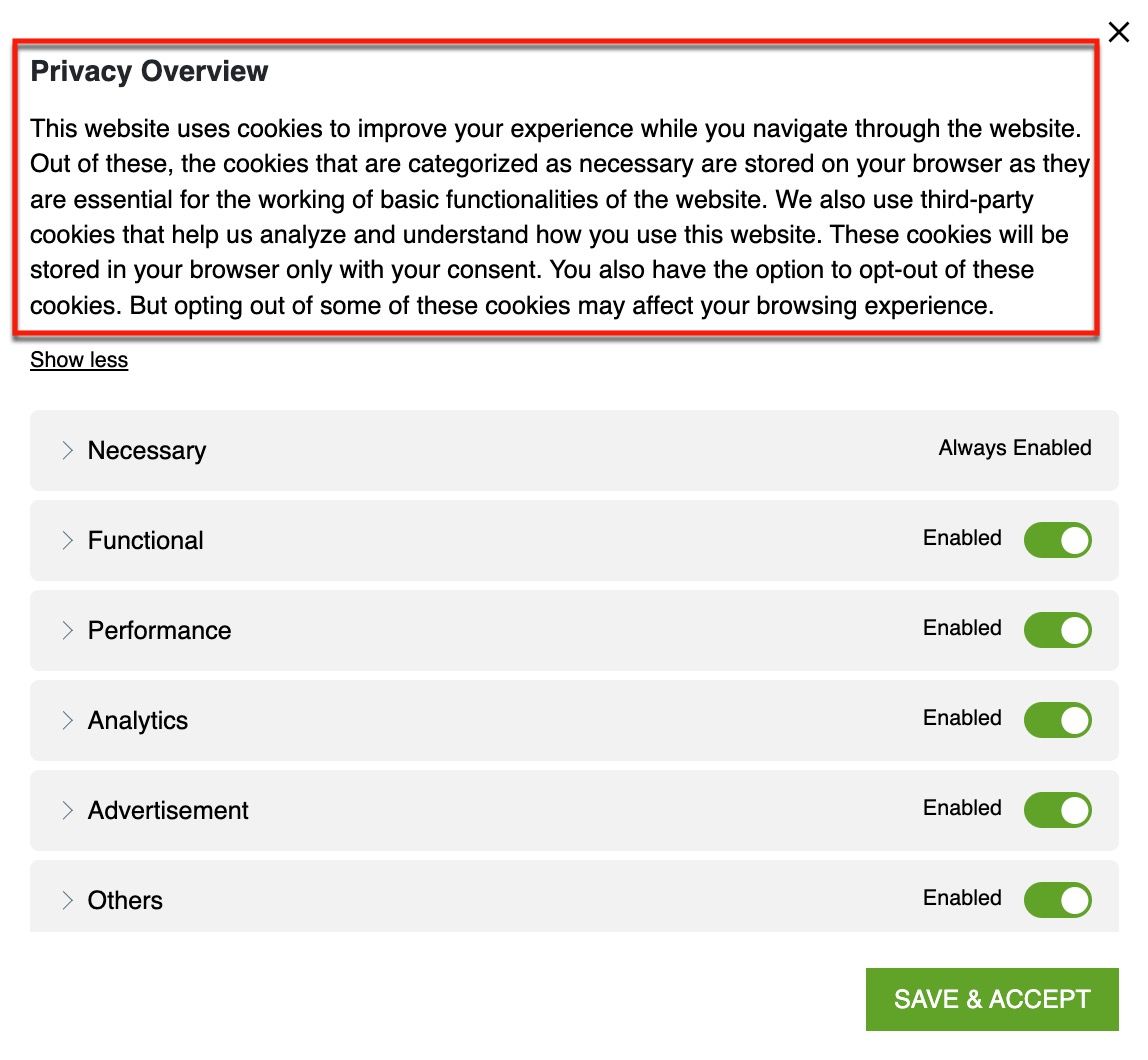
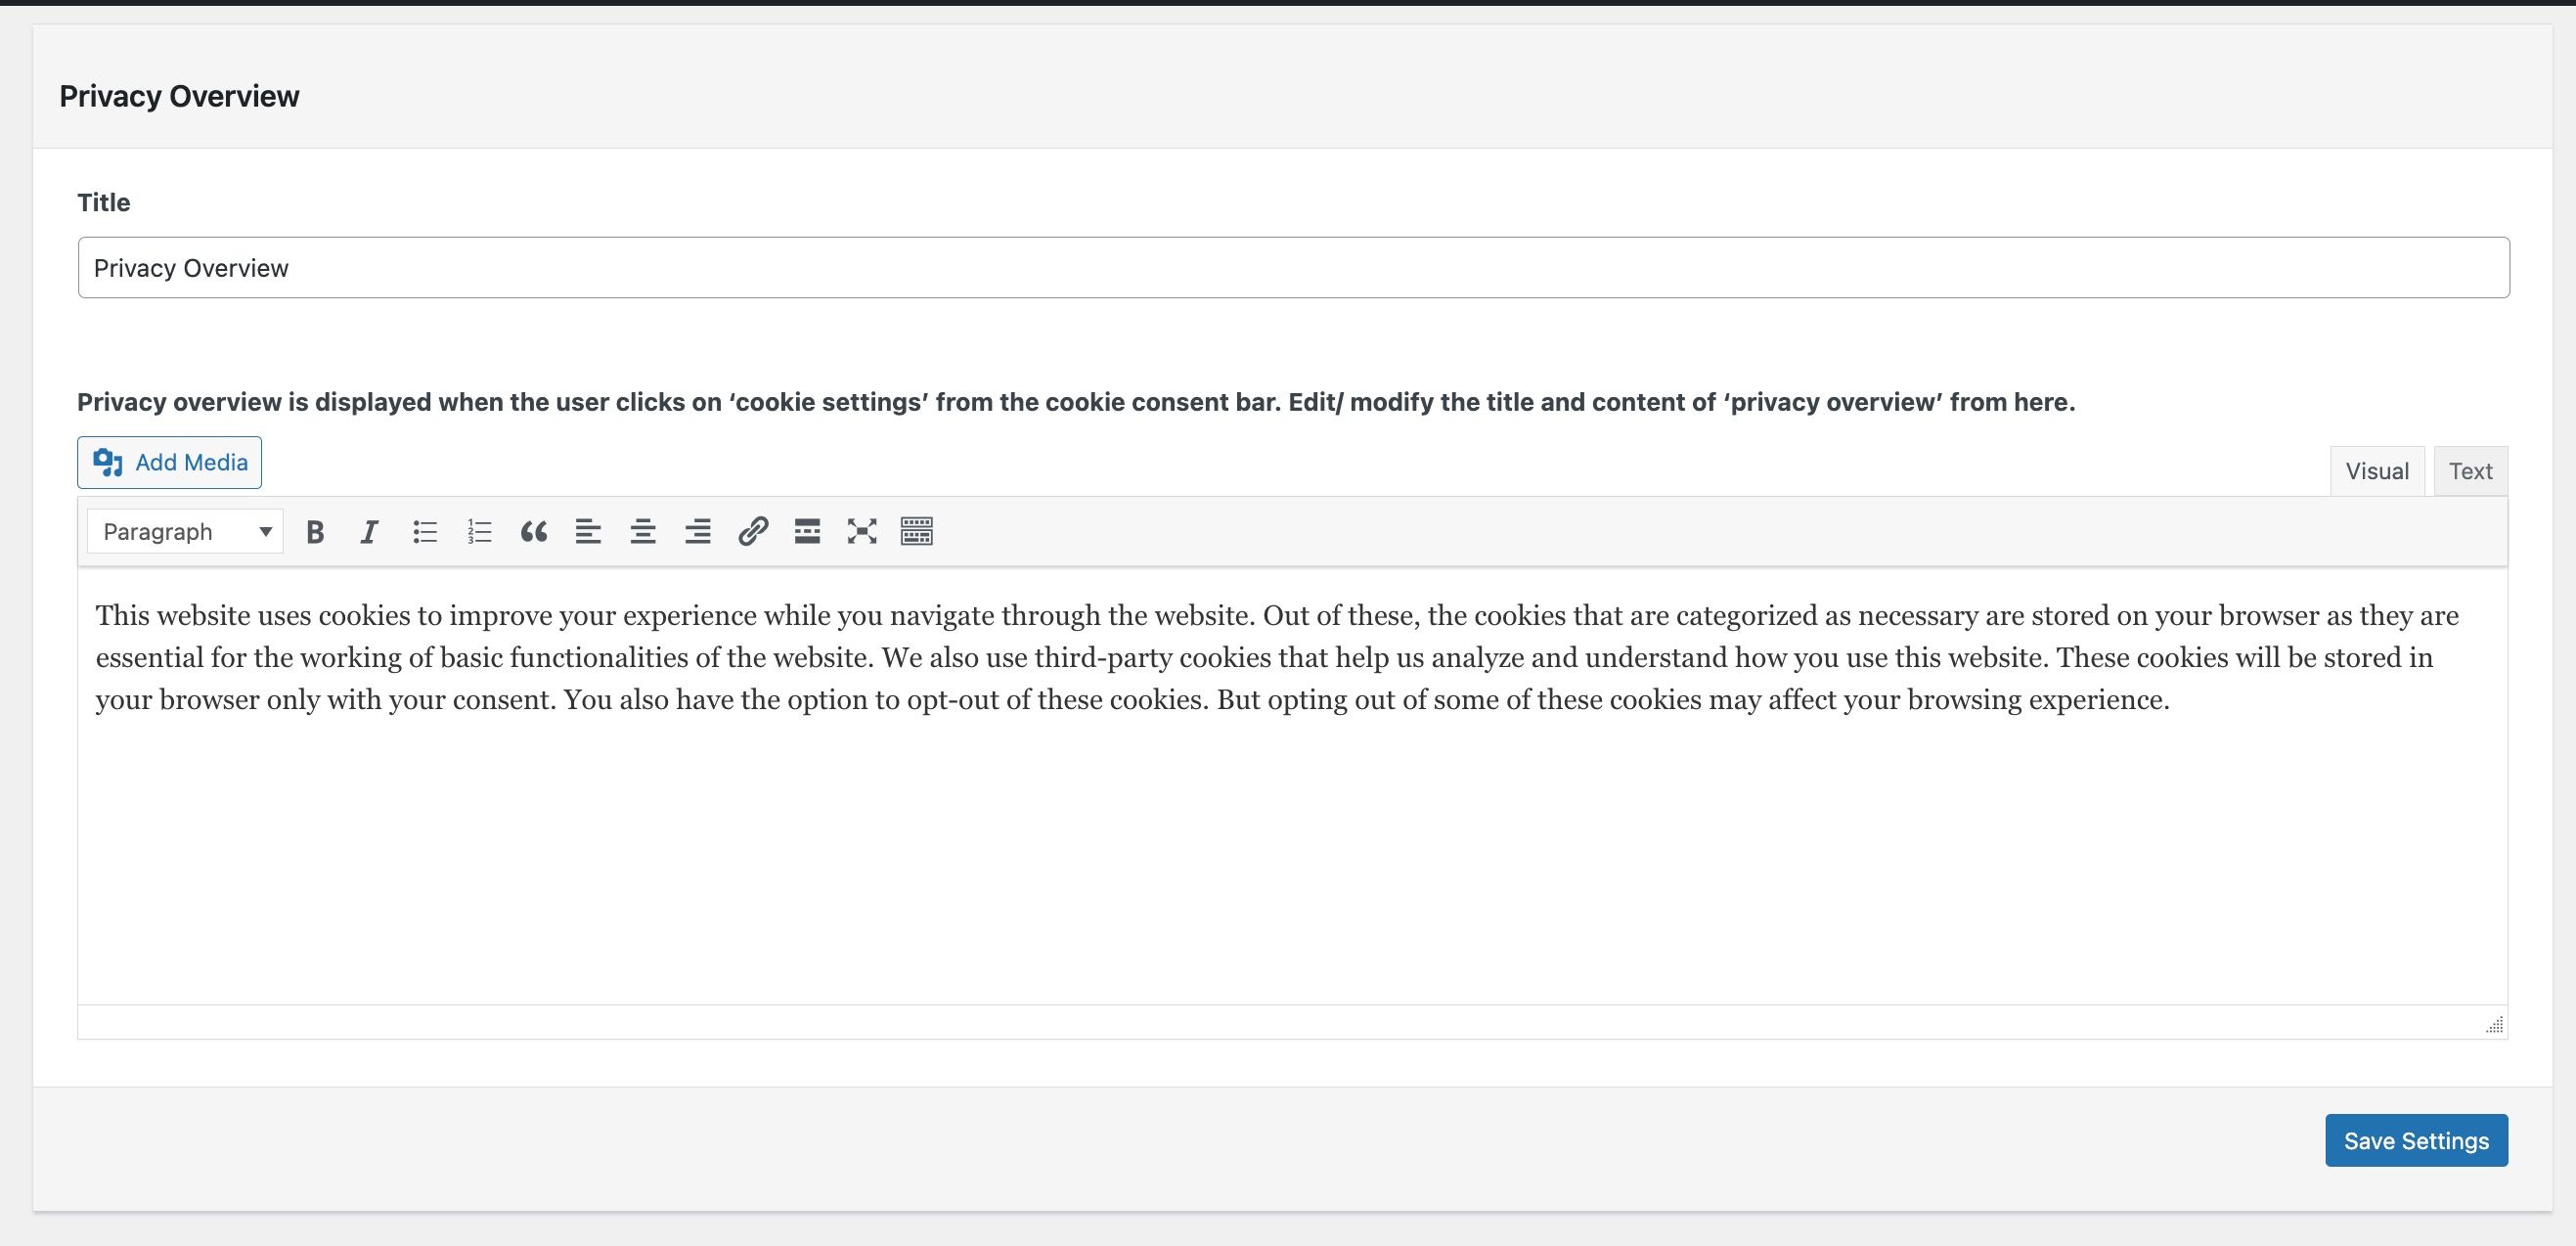
Privacy Overview