Block Third-Party Cookies With Google Tag Manager (GTM)
Last updated on June 5, 2025
CookieYes automatically blocks third-party cookies on your website prior to obtaining user consent. However, if you’re using Google Tag Manager to add third-party scripts to your website, you may want to block cookies set via GTM that have not been consented to use. For this, you will have to create an appropriate custom event trigger in your GTM account. Here’s an example of blocking third-party cookies with Google Tag Manager.
For blocking third-party cookies with Google Tag Manager in the older version (multiple cookies) of CookieYes, refer to our guide.
Creating a custom event trigger in GTM
The following are the steps to create a custom event trigger in GTM that helps CookieYes block third-party cookie scripts on your website (set via GTM) prior to receiving user consent.
For better understanding, throughout this guide, let’s consider the case of blocking an Analytics cookie script (added to your GTM account) until you obtain user consent.
Step 1. Create a user-defined variable
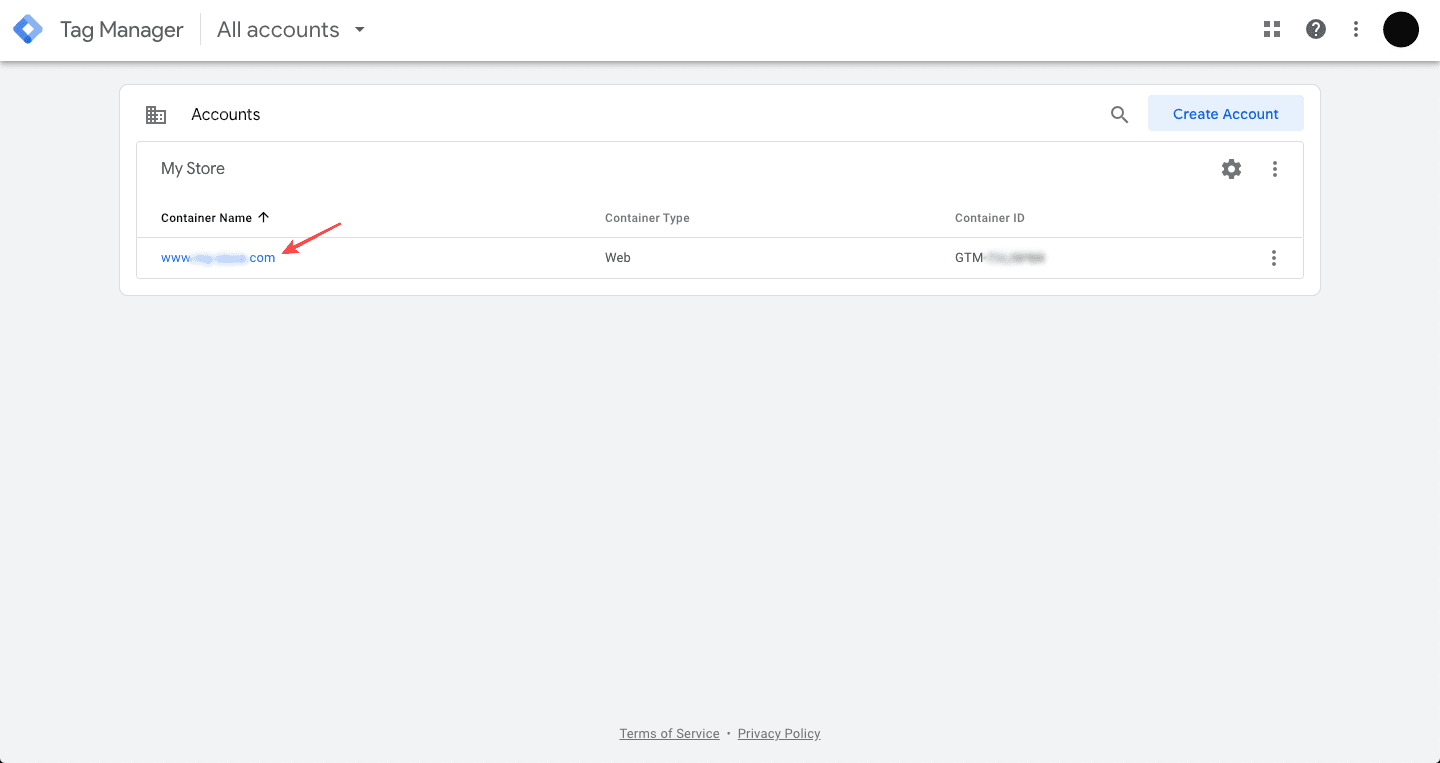
- Sign in to your Google Tag Manager account > Click the required Container Name from your Accounts.
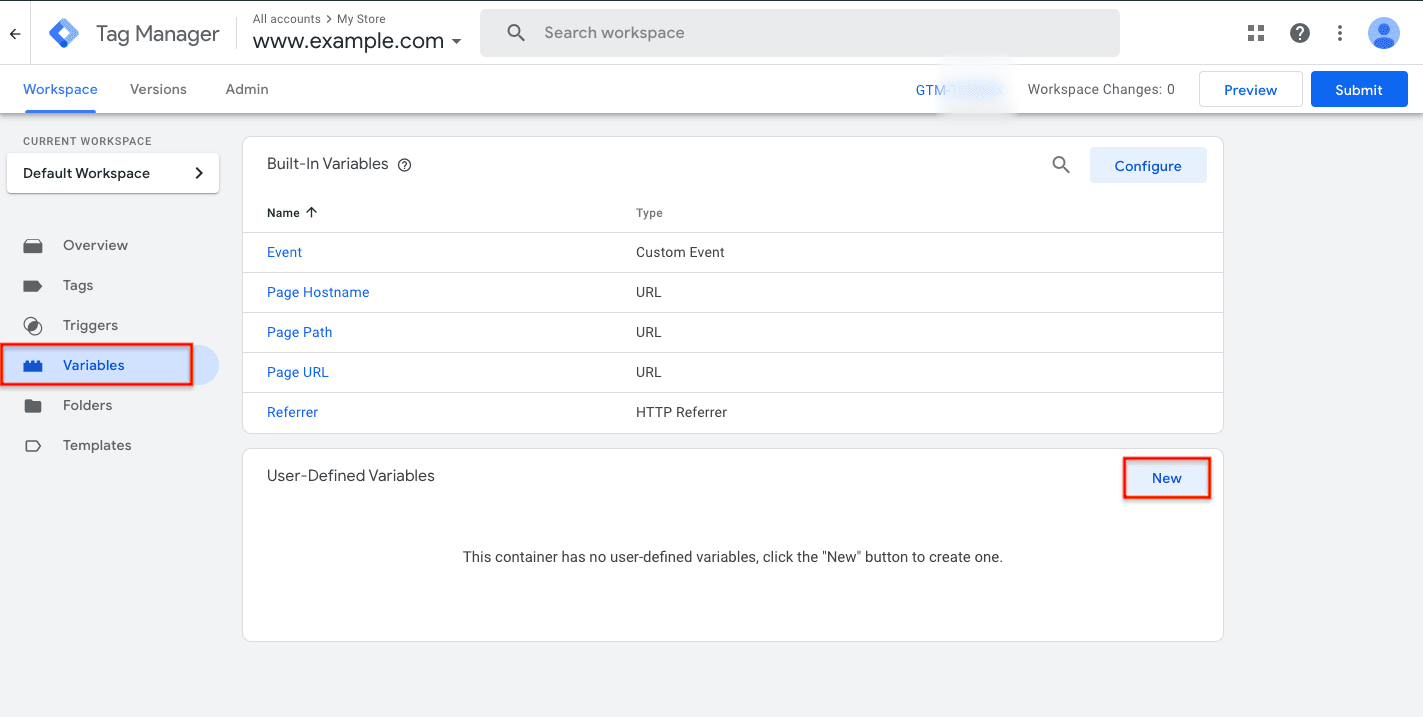
- From the left panel, select Variables > In the User-Defined Variables section, click New.
- Click Variable Configuration > Choose variable type as 1st Party Cookie from under Page Variables.
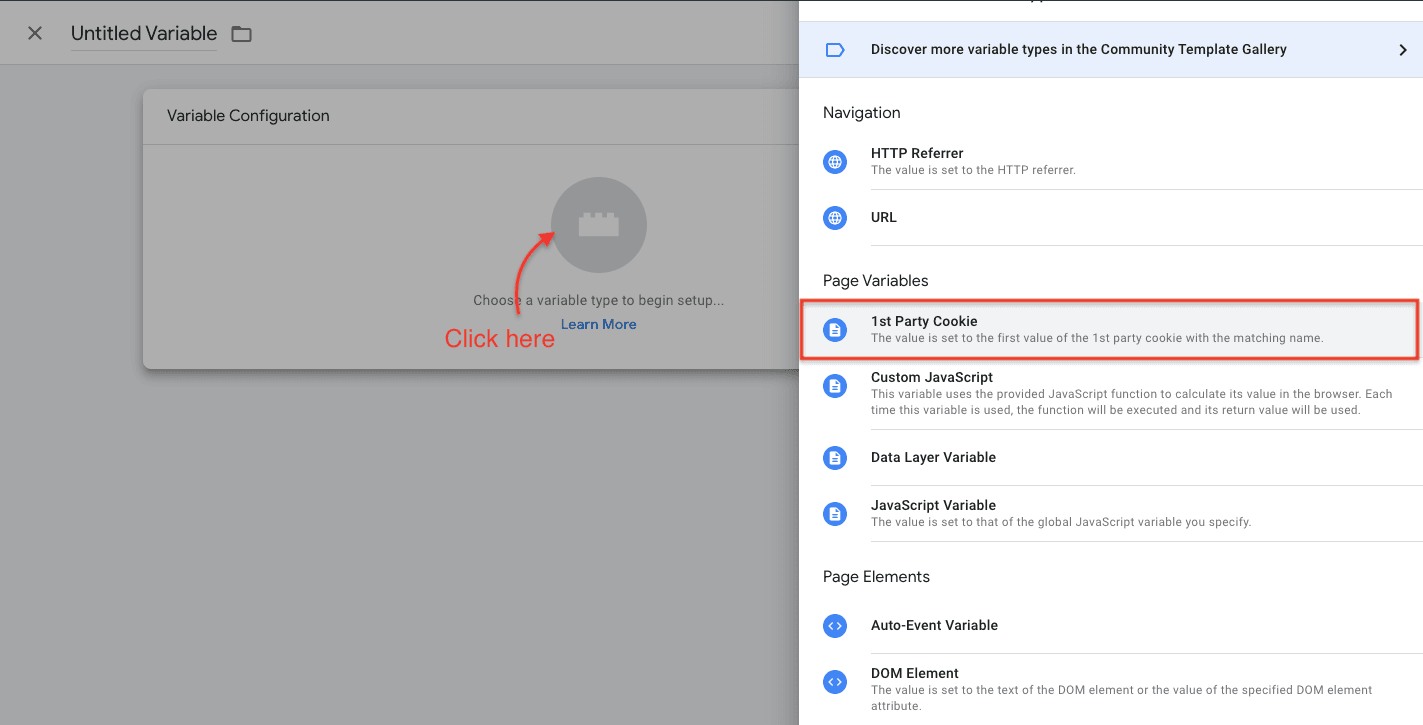 Note: 1st Party Cookie variable allows Google Tag Manager to access the first-party cookies created by your website.
 Cookies installed by the site — are displayed under the Application tab of the Developer console.
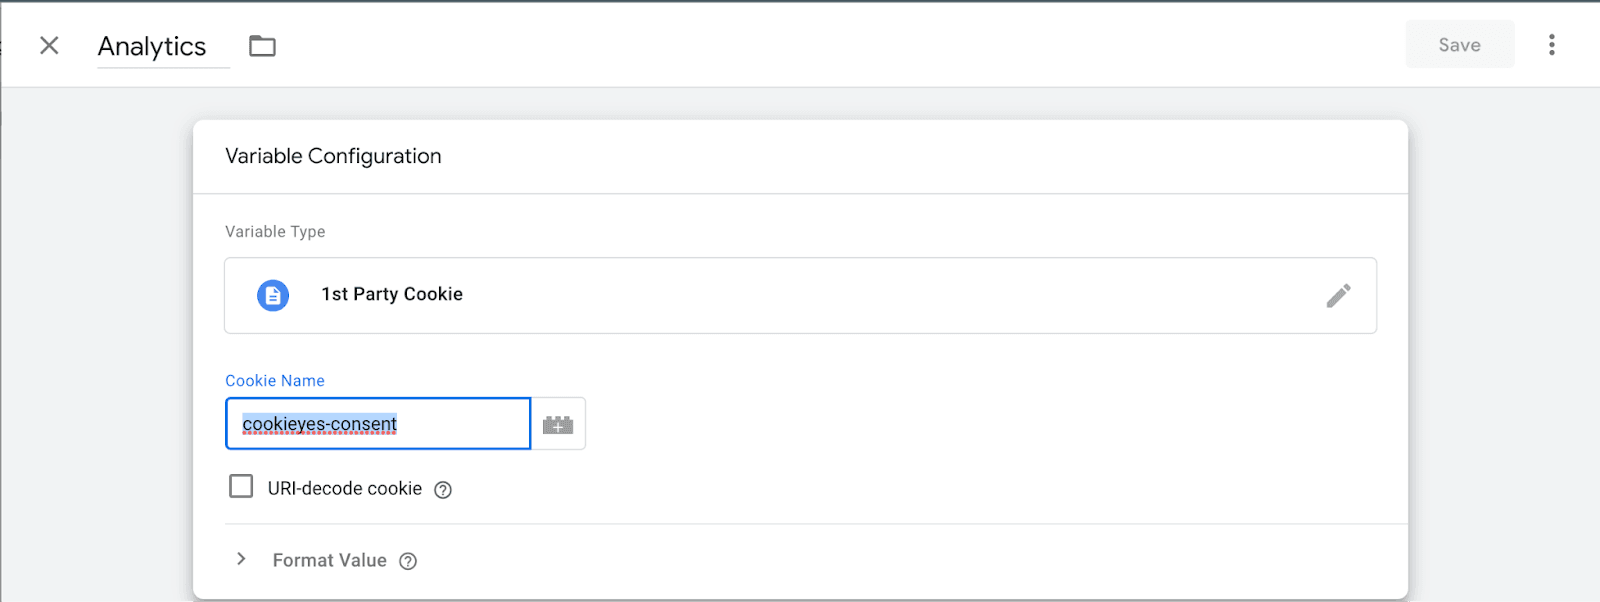
 - In the Cookie Name text box, enter the name of the cookie for which you need to retrieve the value. e.g. cookieyes-consent
- Name the variable (here, we’ve named it ‘Analytics’) and click Save to save the variable.
Step 2. Create a custom event trigger
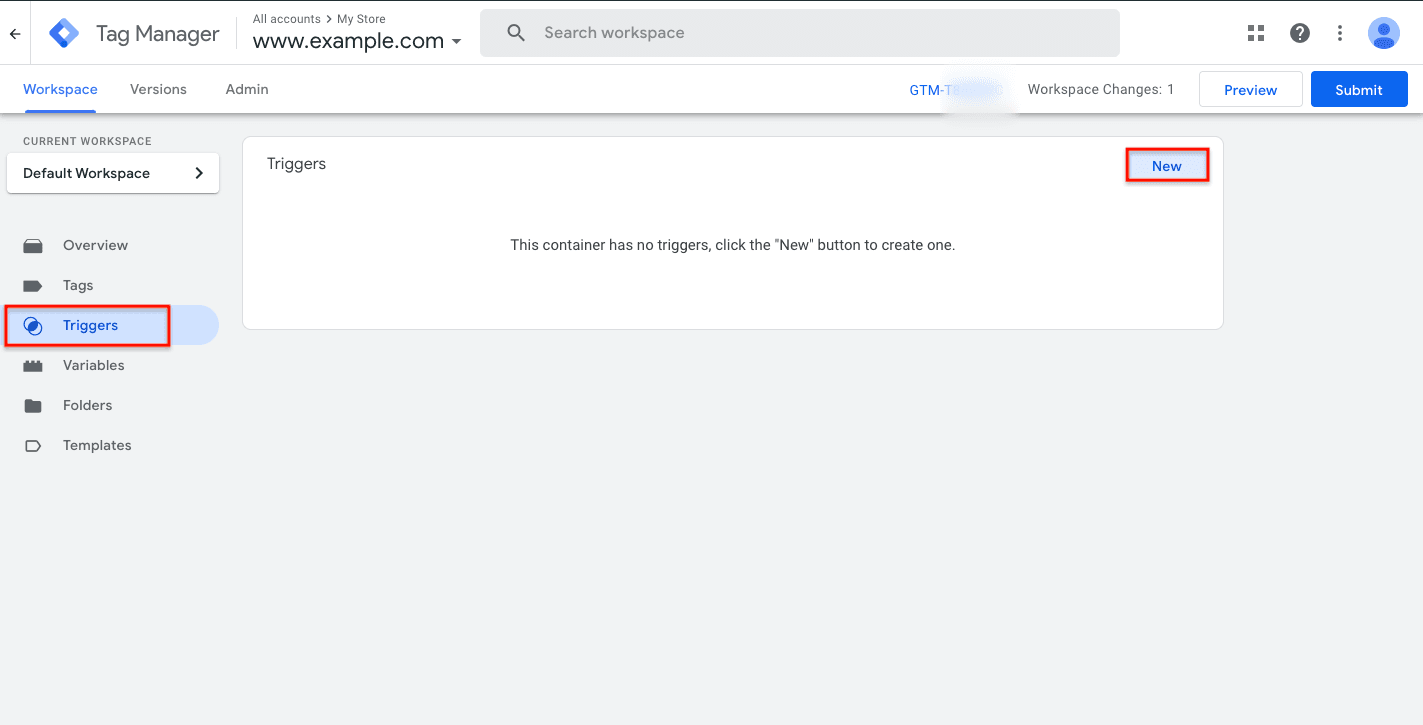
- From the left panel of your GTM account, select Triggers > In the Triggers section, click New.
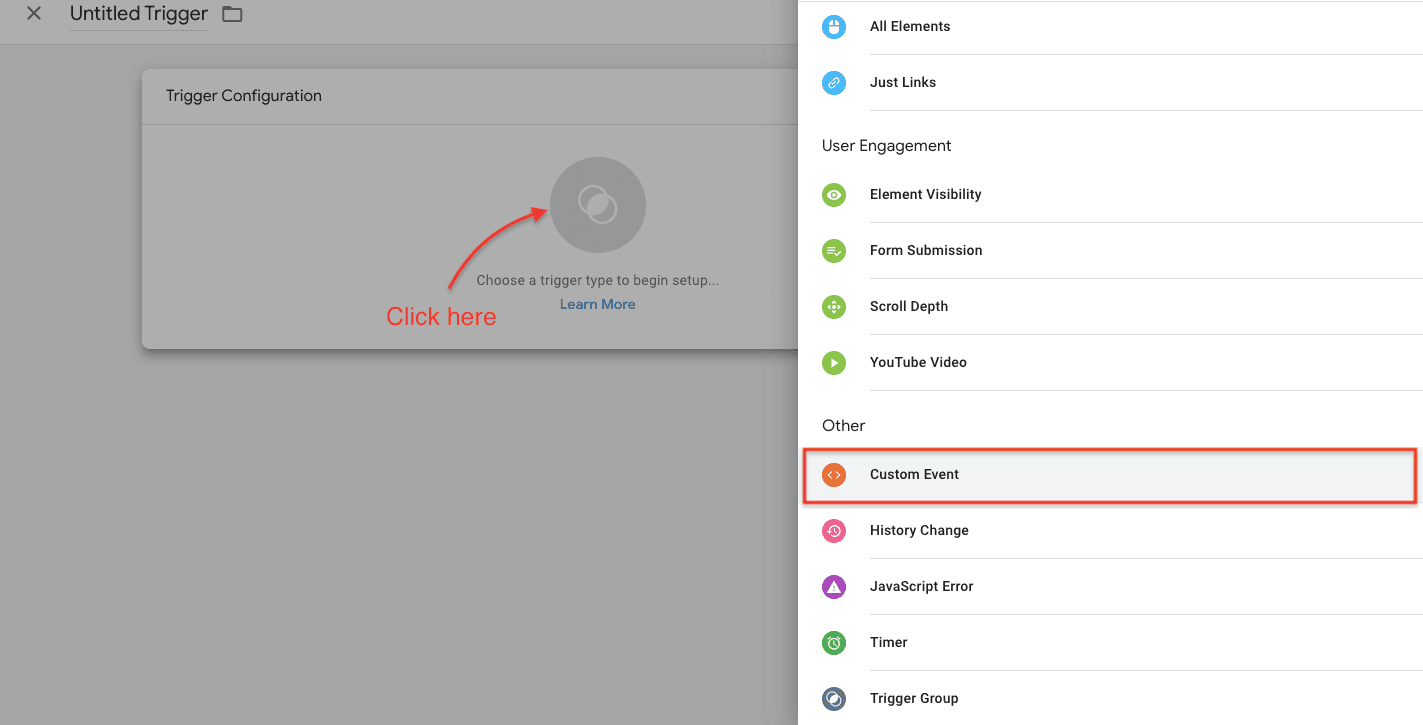
- Click Trigger Configuration > Choose Custom Event as the trigger type.
- In the Event Name text box, enter cookie_consent_update as shown below and check the Use regex matching option.
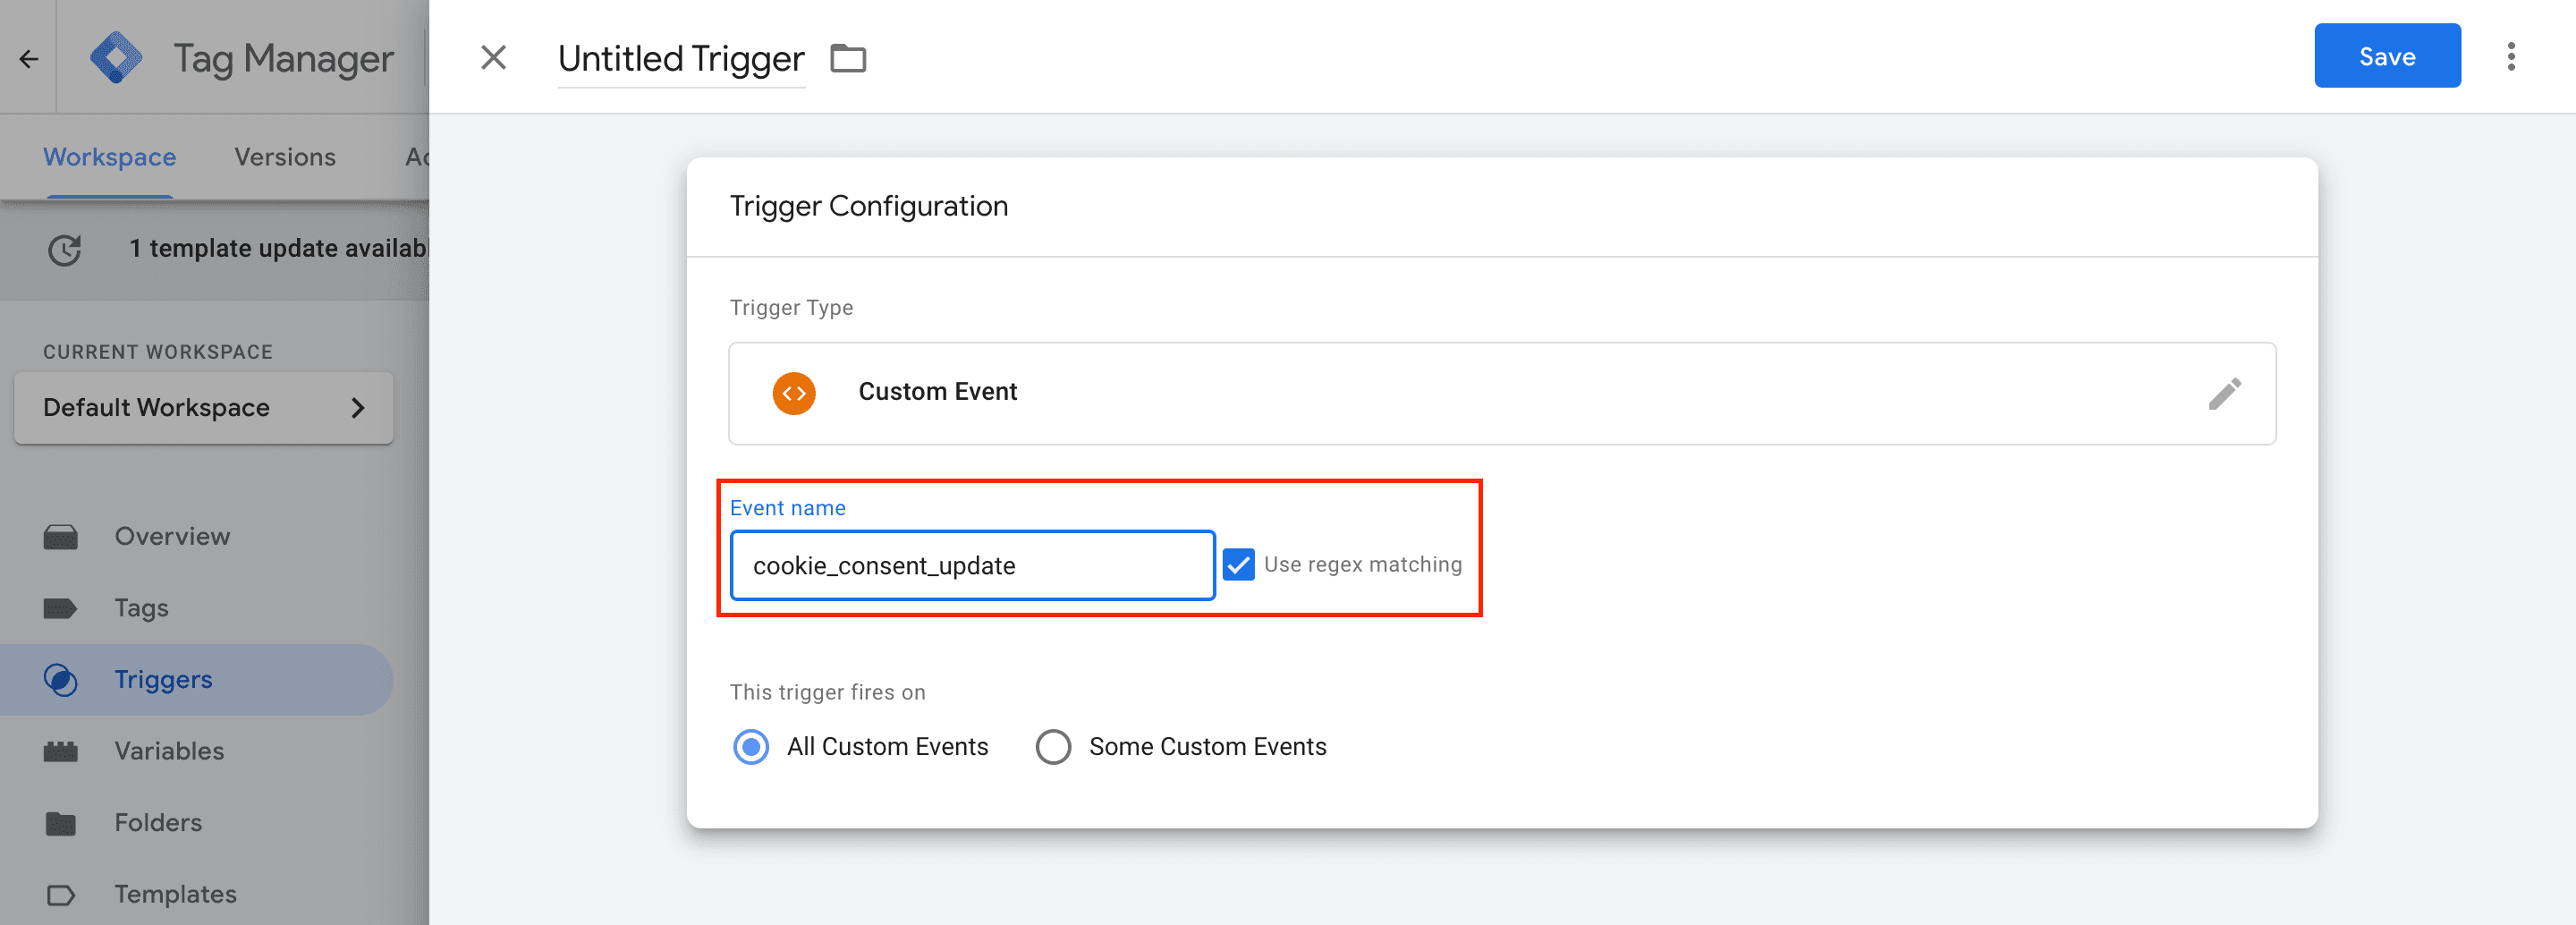 Note: For users who have disabled the Support GCM option in CookieYes, please enter the event name as '.*'.
 - Under This trigger fires on, choose Some Custom Events.
- Under Fire this trigger when an Event occurs and all of these conditions are true, set up a trigger condition.e.g. Analytics Trigger (i.e. the name of the user-defined variable that you have created in Step 1), contains, and analytics:yes (as shown below).
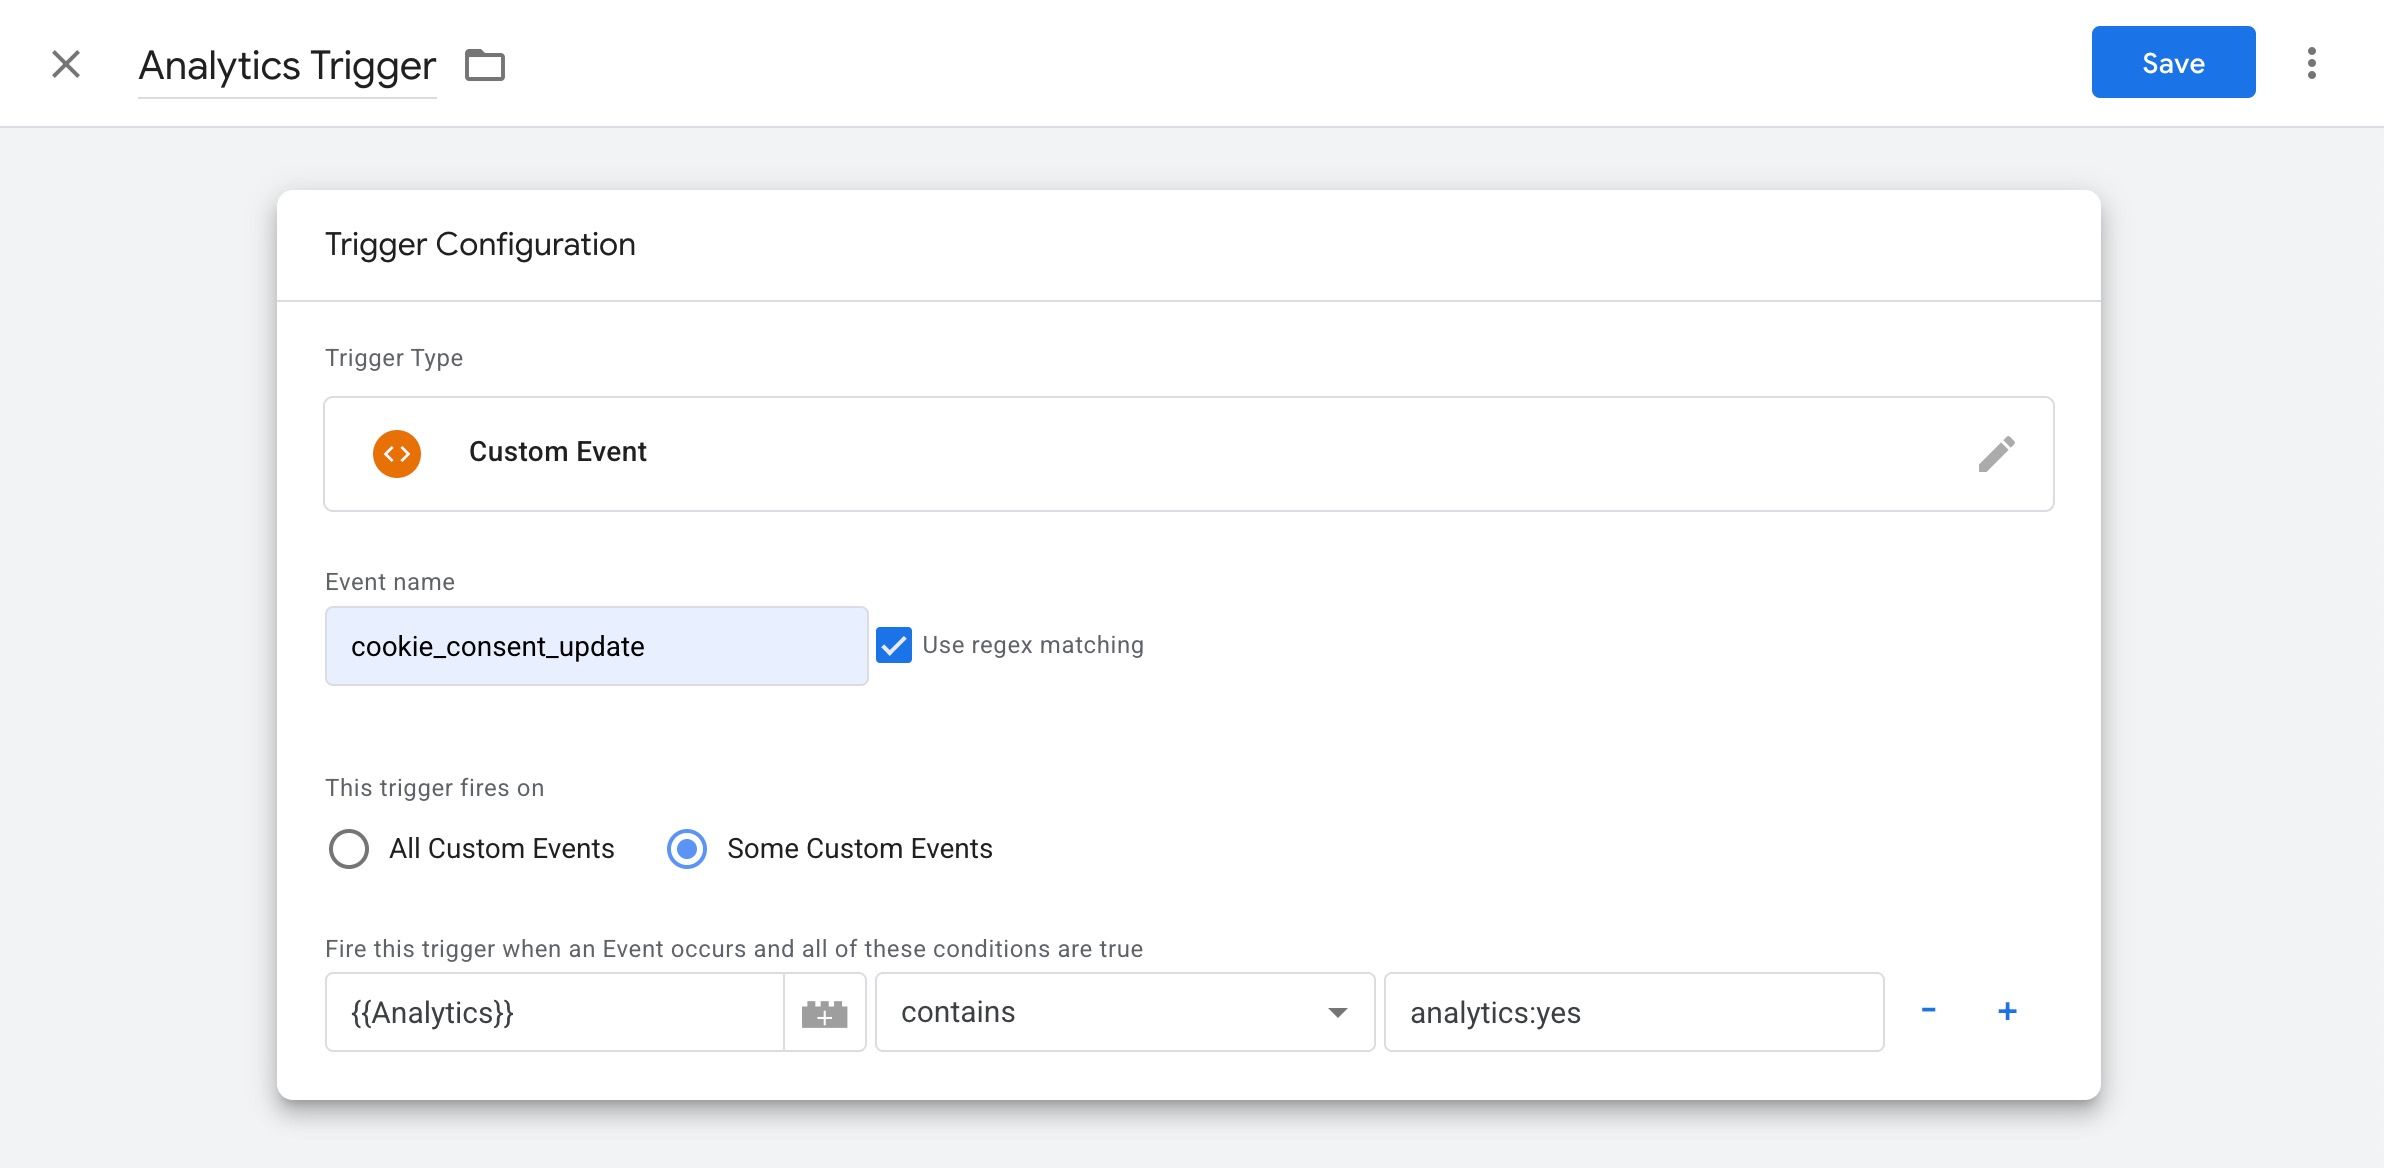
- Name the Trigger (we’ve named it ‘Analytics Trigger’) and click Save to save the custom event trigger.
Step 3. Add the custom event trigger to the required tag
Now edit the tag configuration that is responsible for loading third-party scripts to include the trigger you created in the previous step. Follow these steps:
- From the left panel of your GTM account, select Tags > Click the Tag name that needs to be fired. Here it is, Analytics Tag.
- Click Triggering.
- Choose the custom event trigger that you have created in Step 2.
- Then click Save.
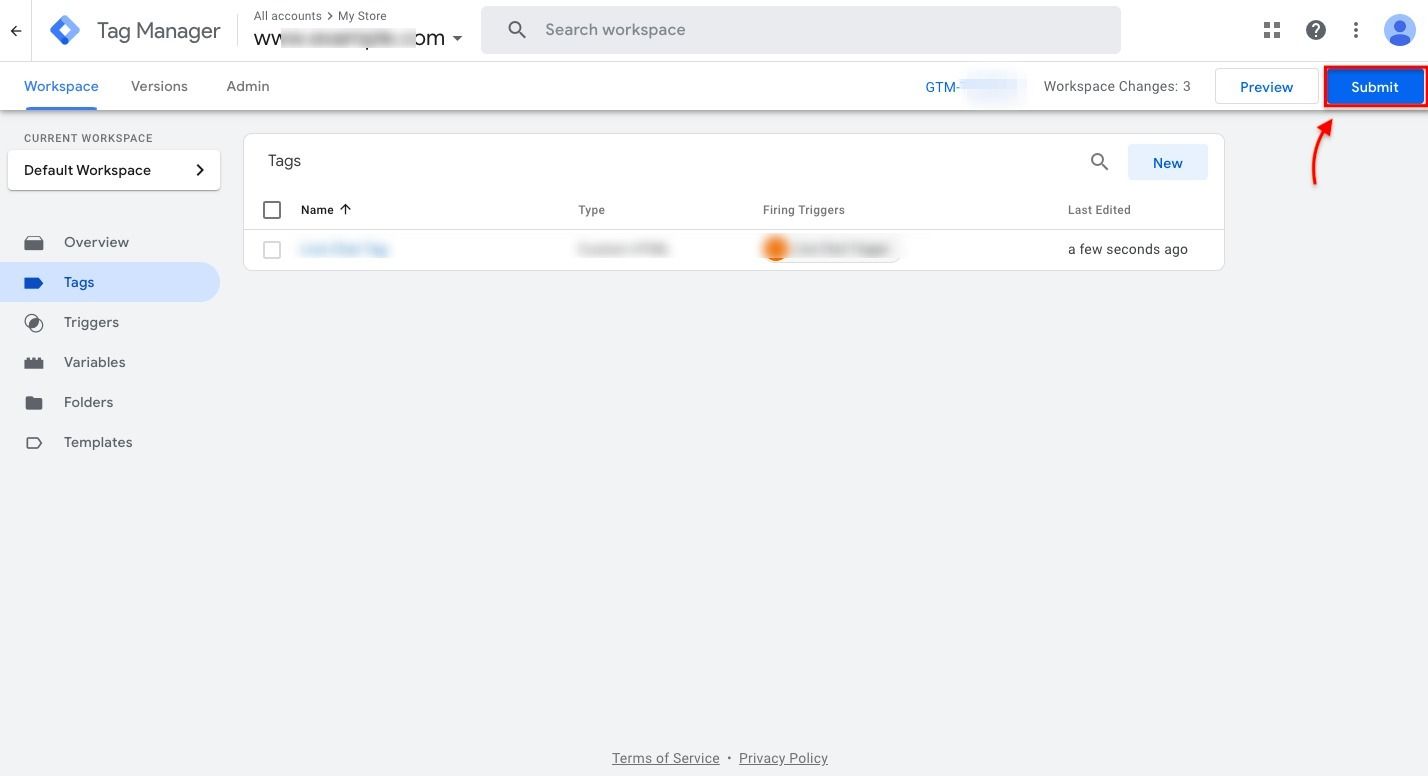
Step 4: Submit changes
- Click the Submit button at the top right corner of your GTM account.
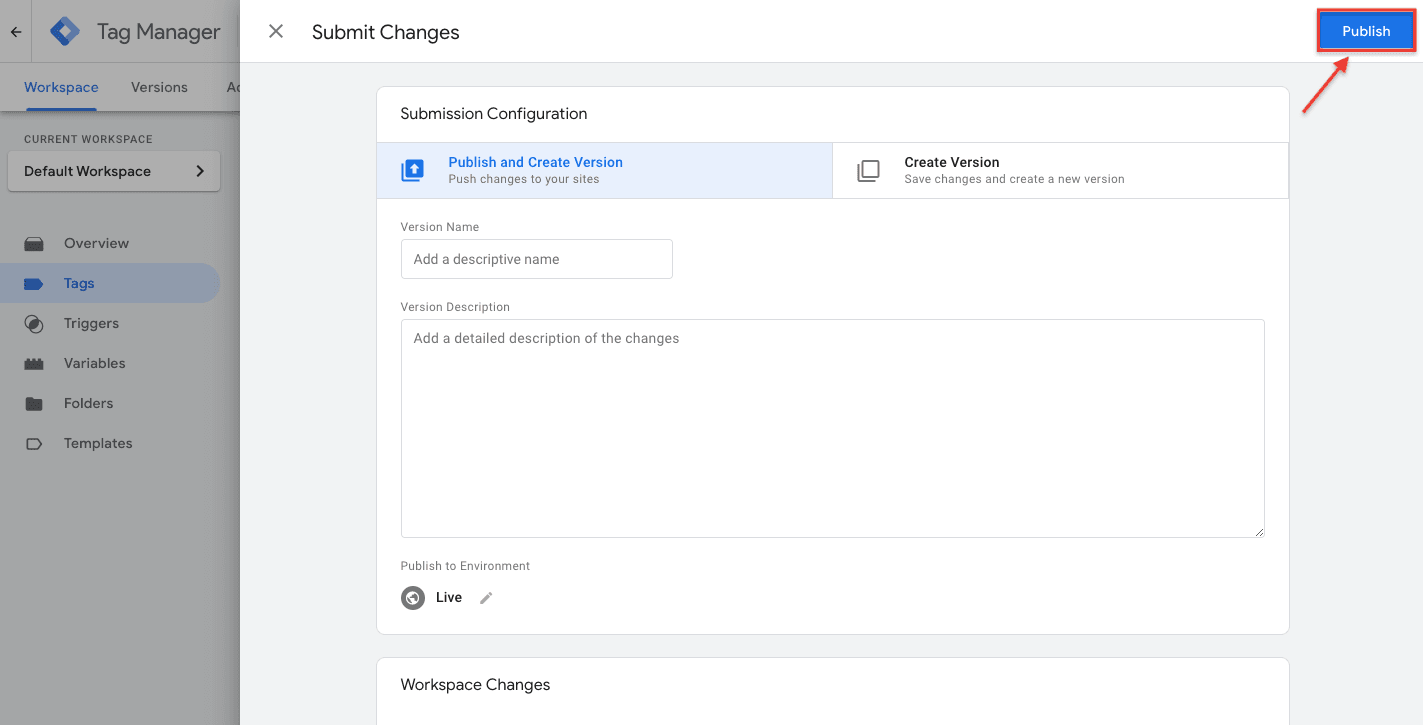
- Finally, click Publish to make this tag live on your website.
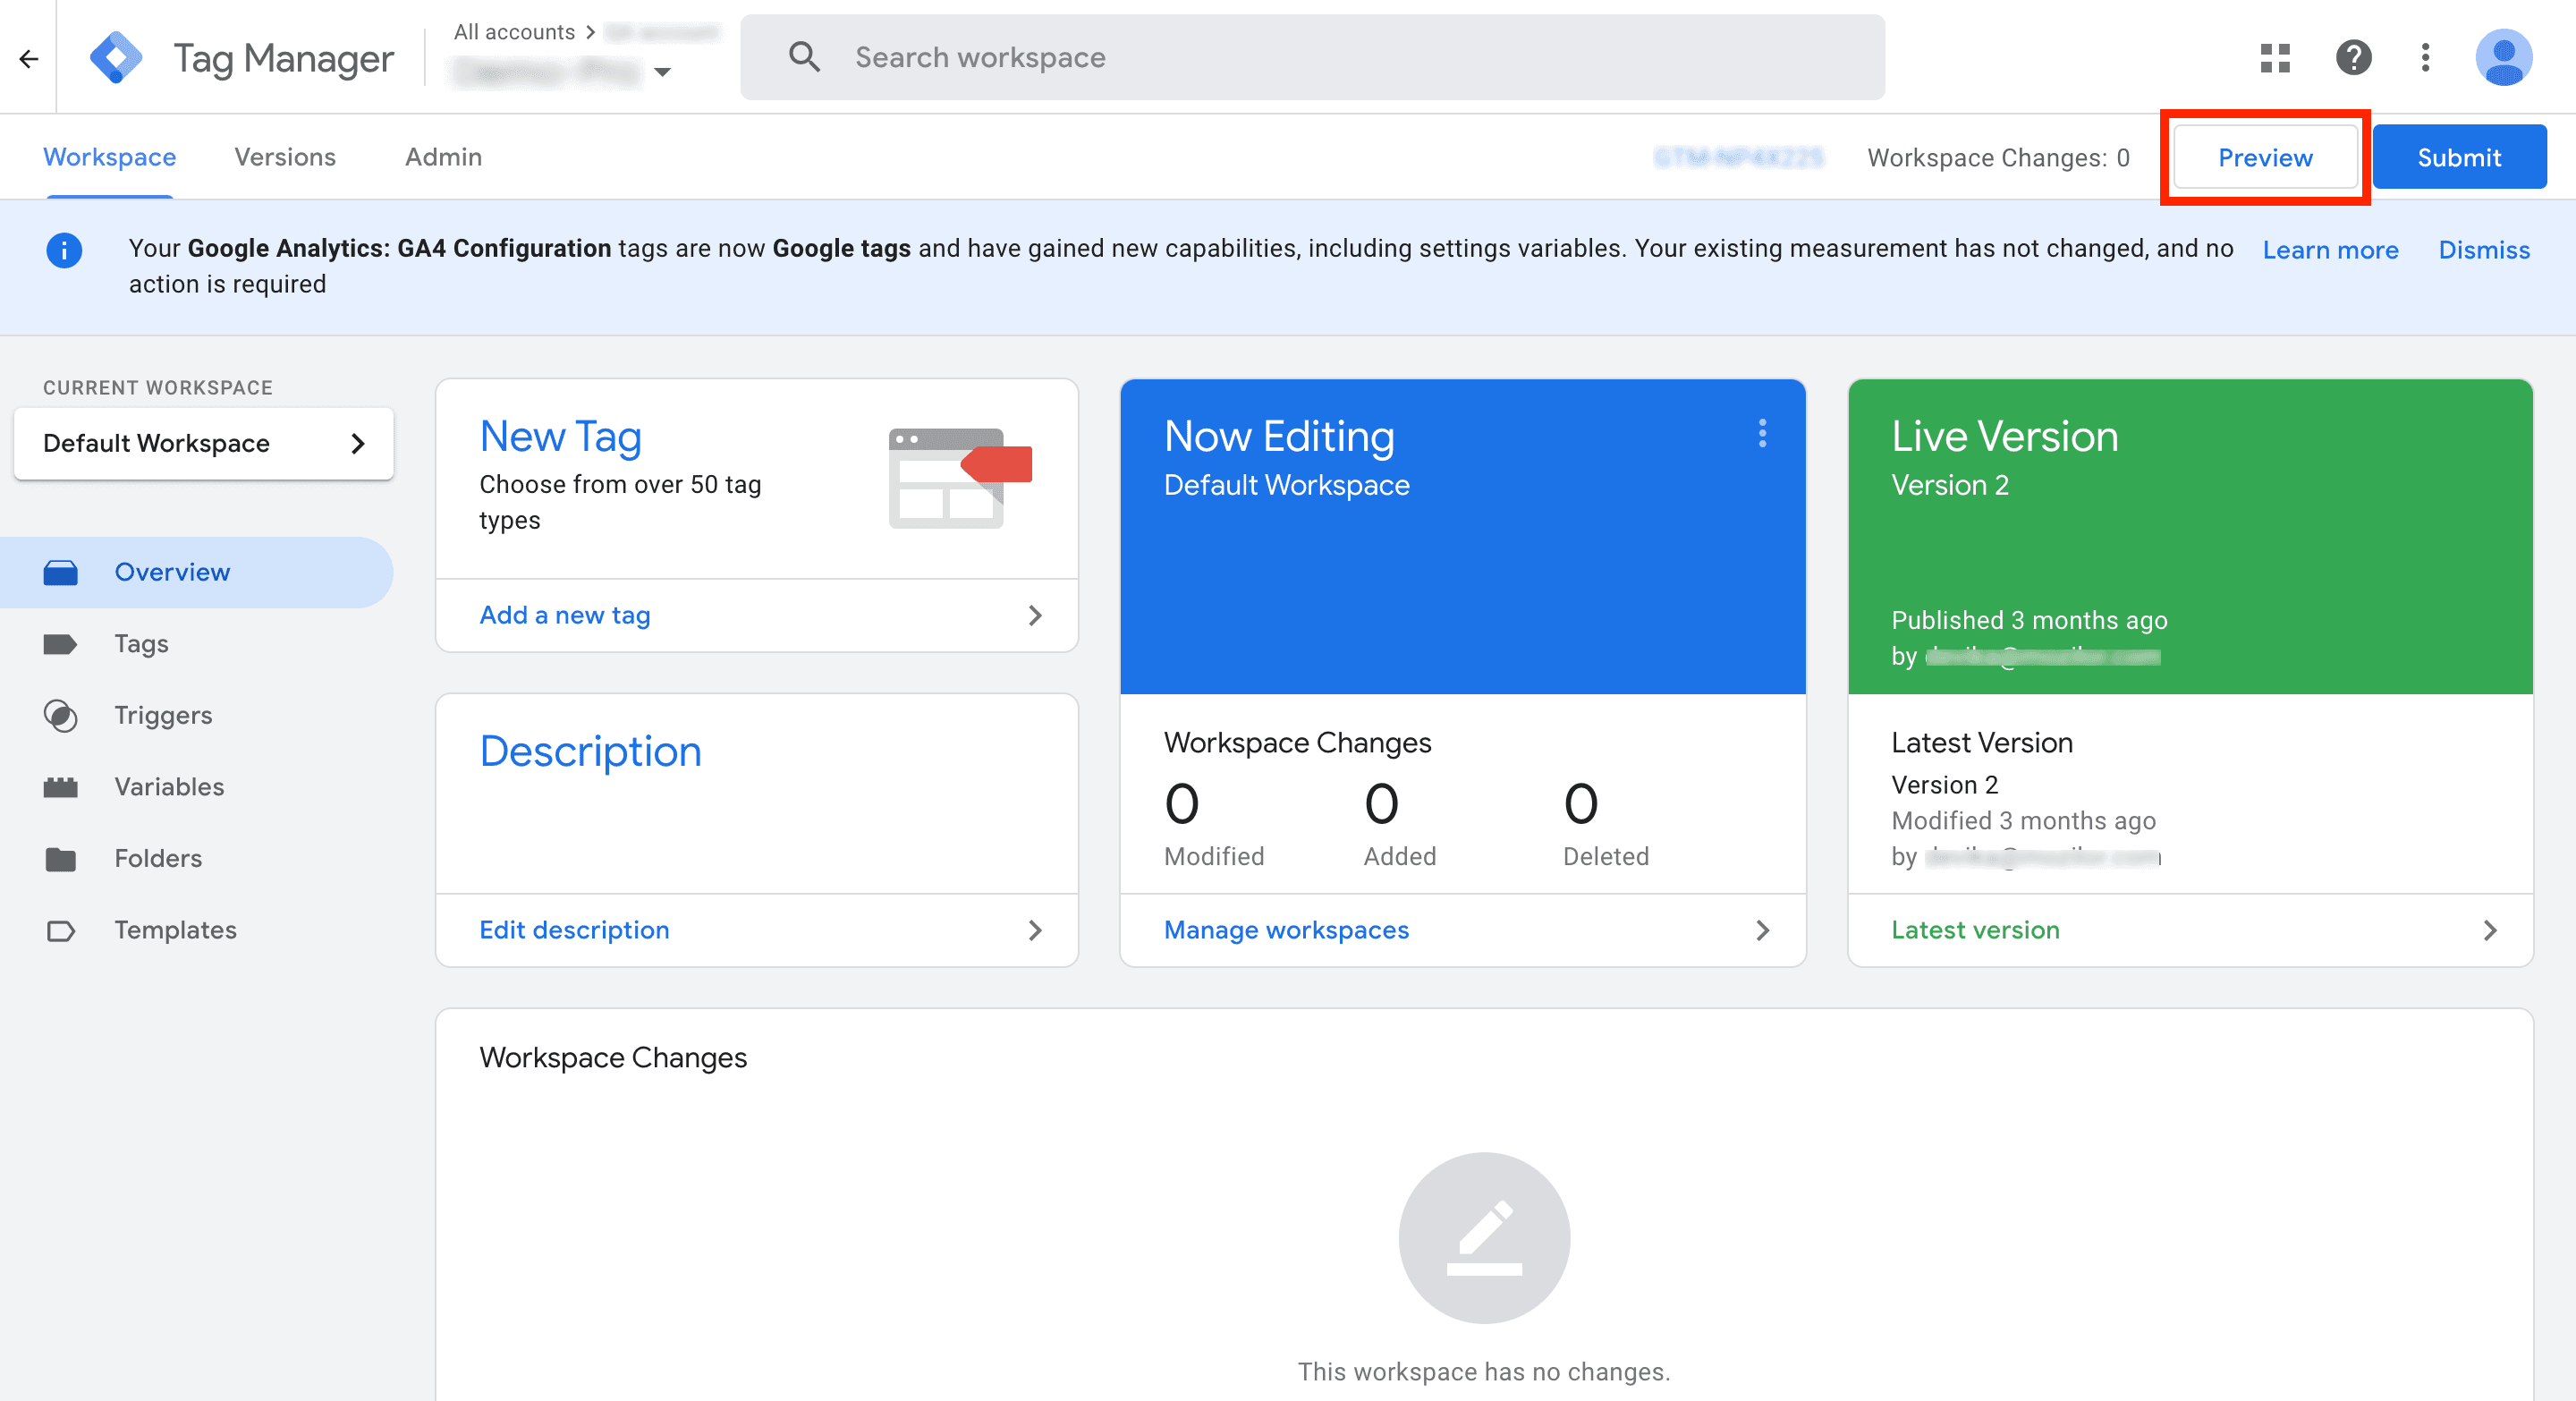
Step 5: Verify integration
To preview and debug your website, click the Preview button at the top right corner of your GTM account. For more instructions, follow Google's guide to check if you've blocked tags.
CookieYes and GTM integration is now complete. Your website will unblock and load third-party scripts only when visitors select a specific category and provide their consent.